Where can I find the original treat?
- This treat can be found at the Jolly Holiday Bakery in Disneyland.
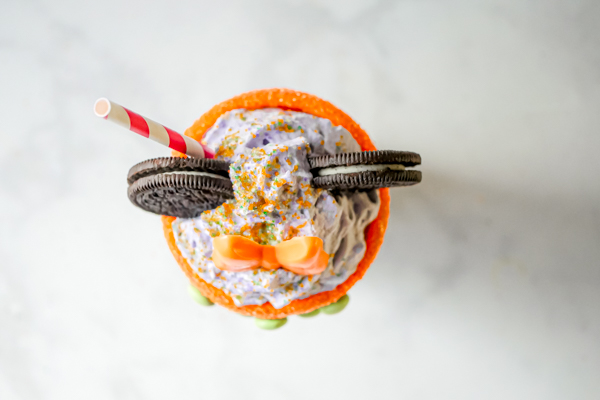
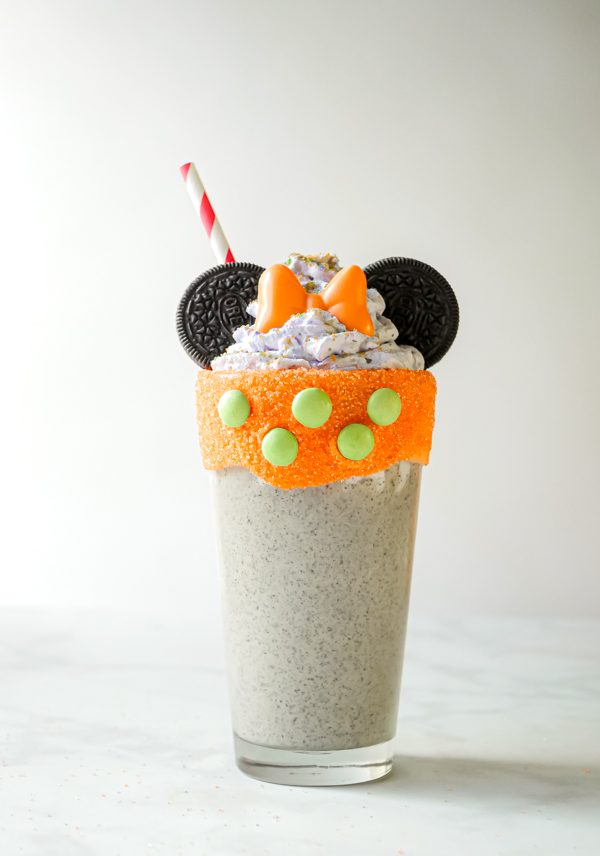
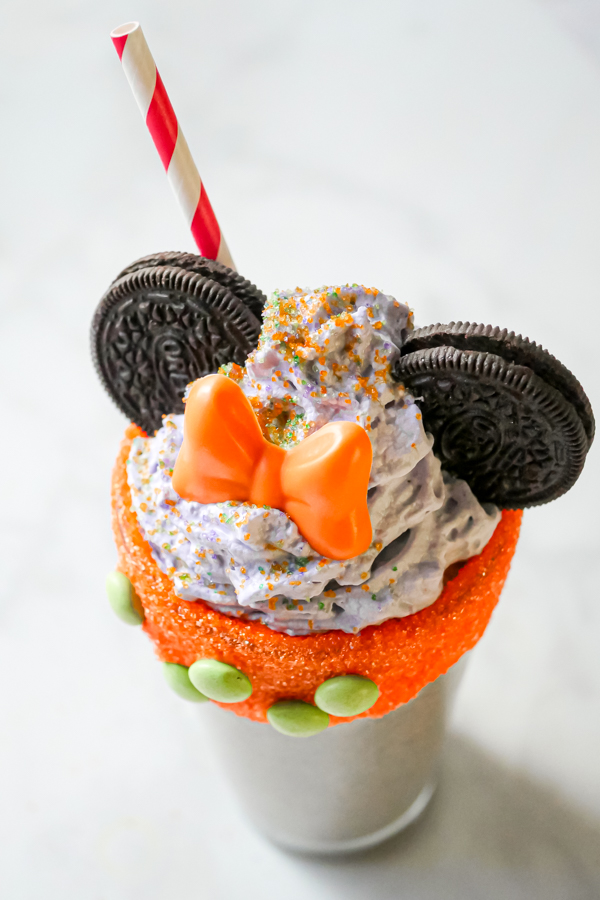
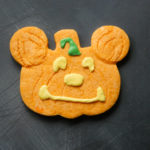
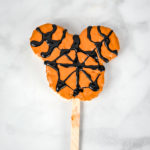
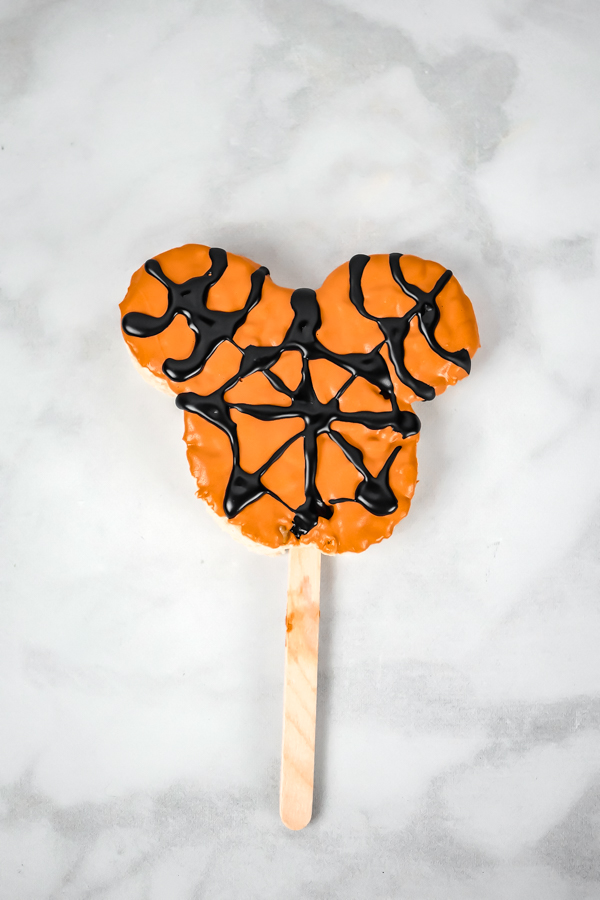
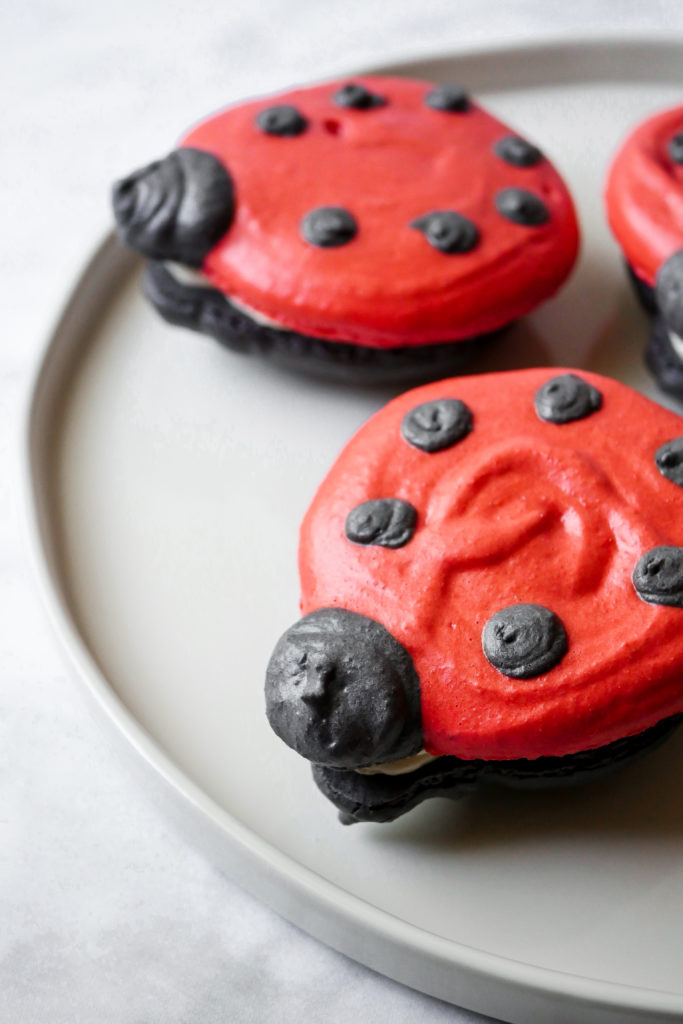
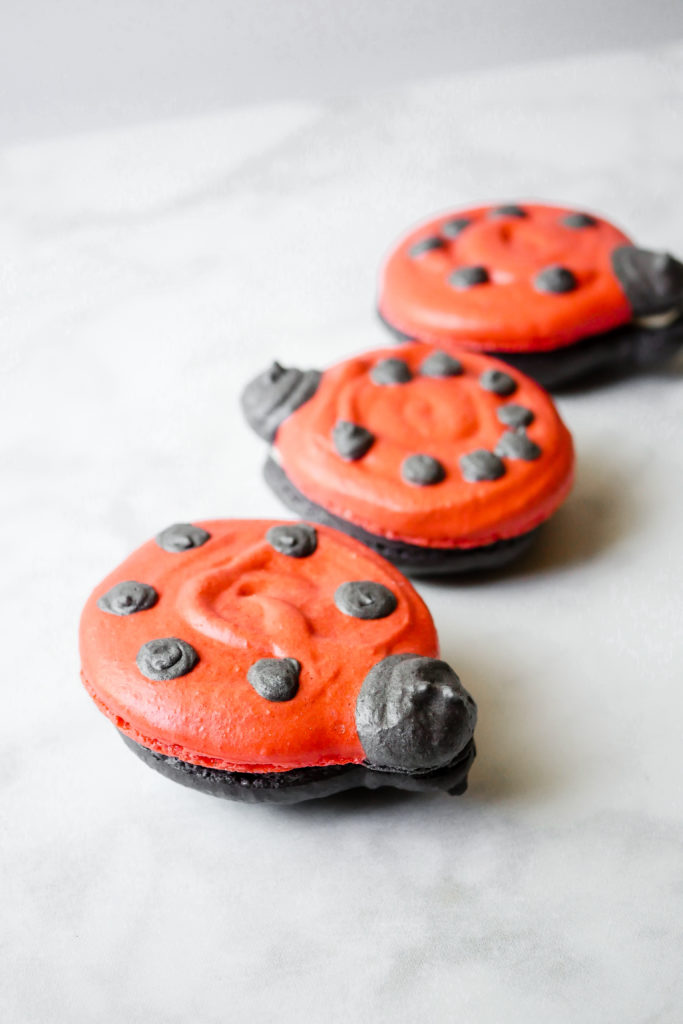
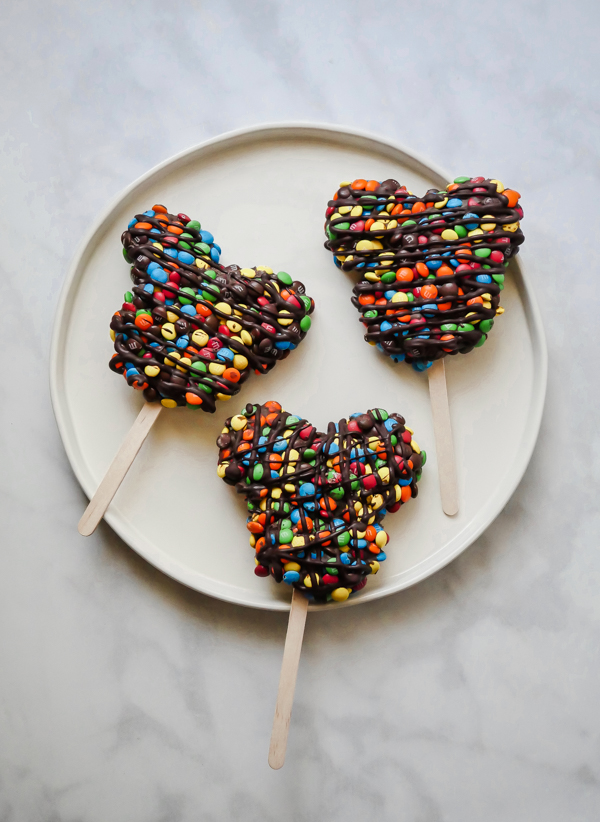
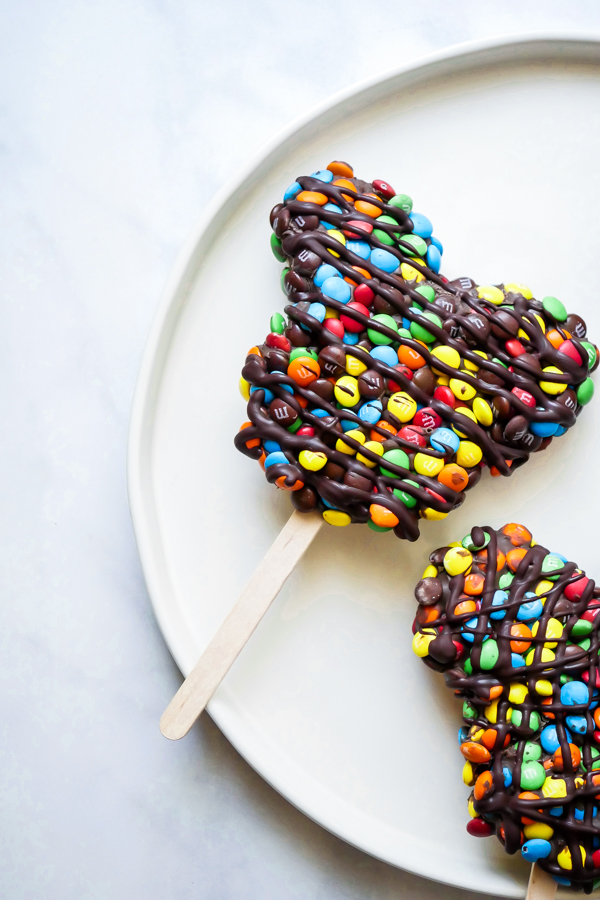
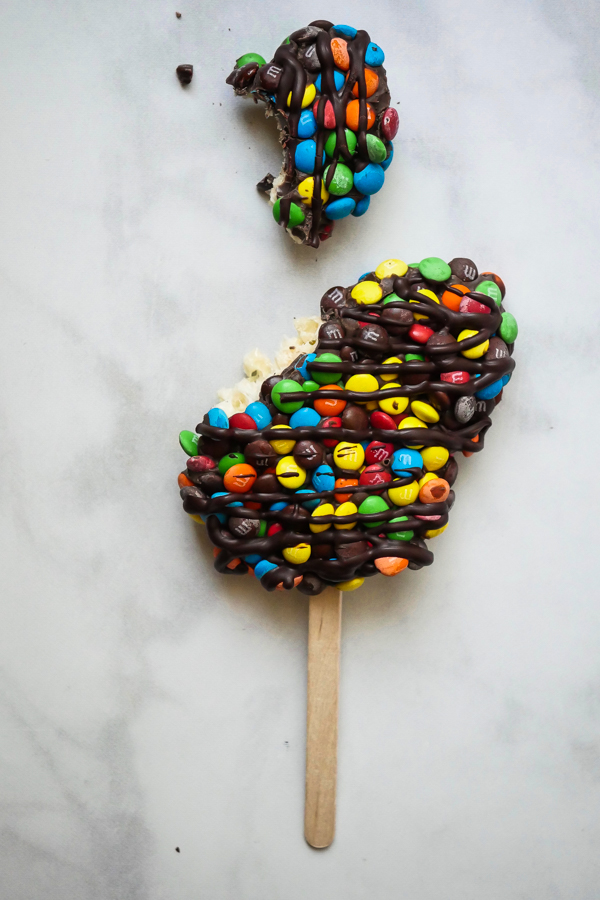
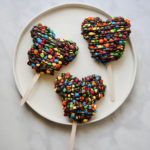
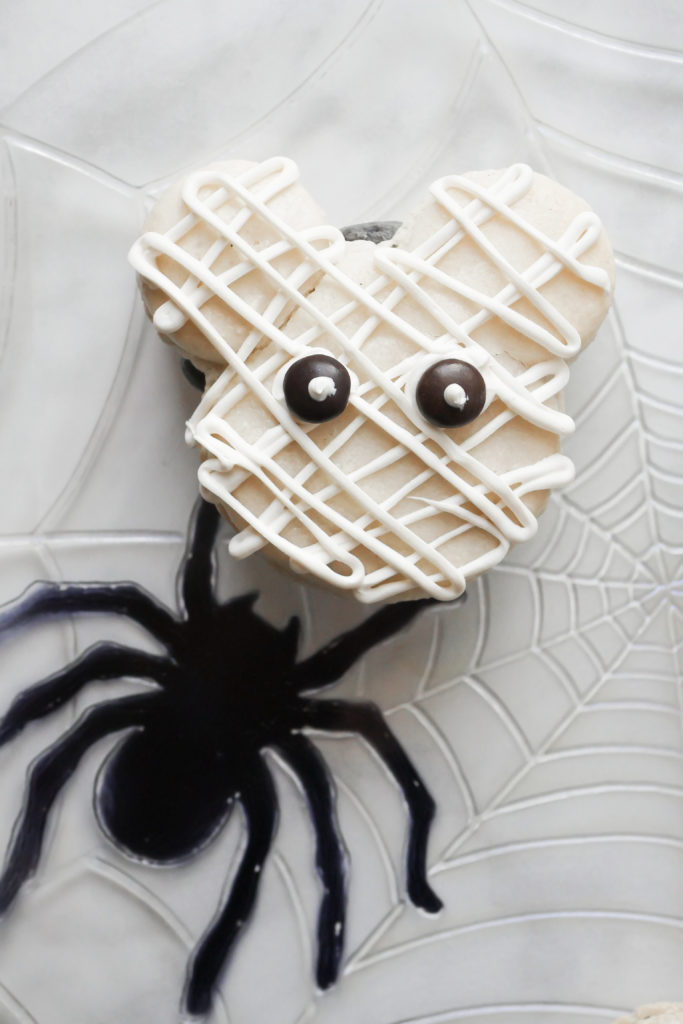
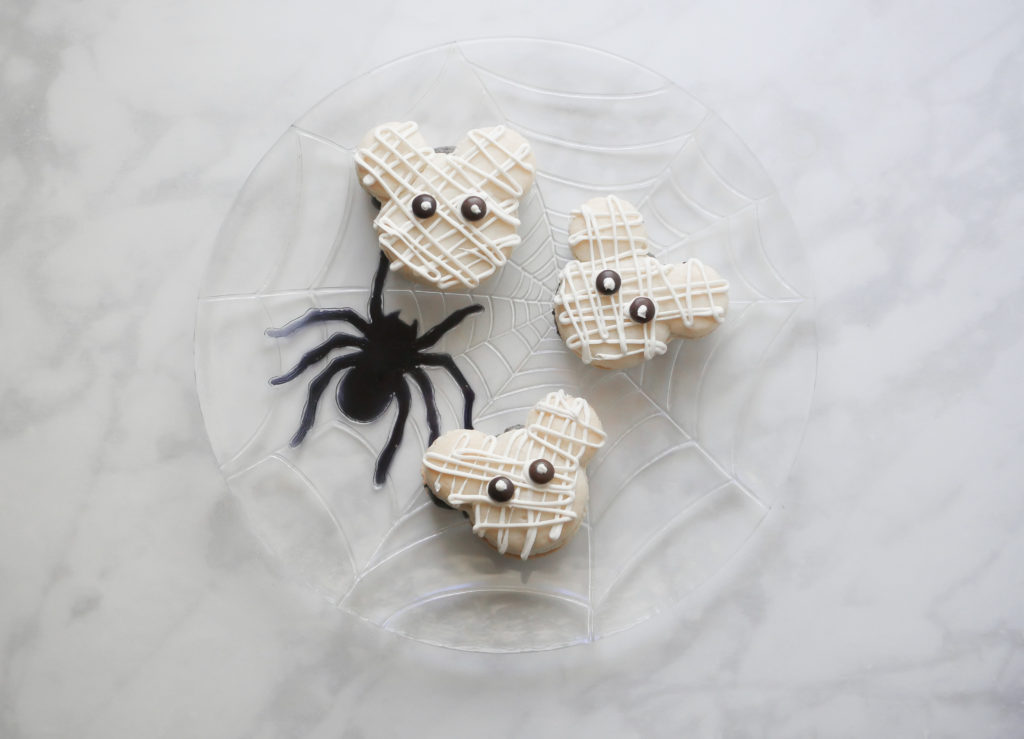
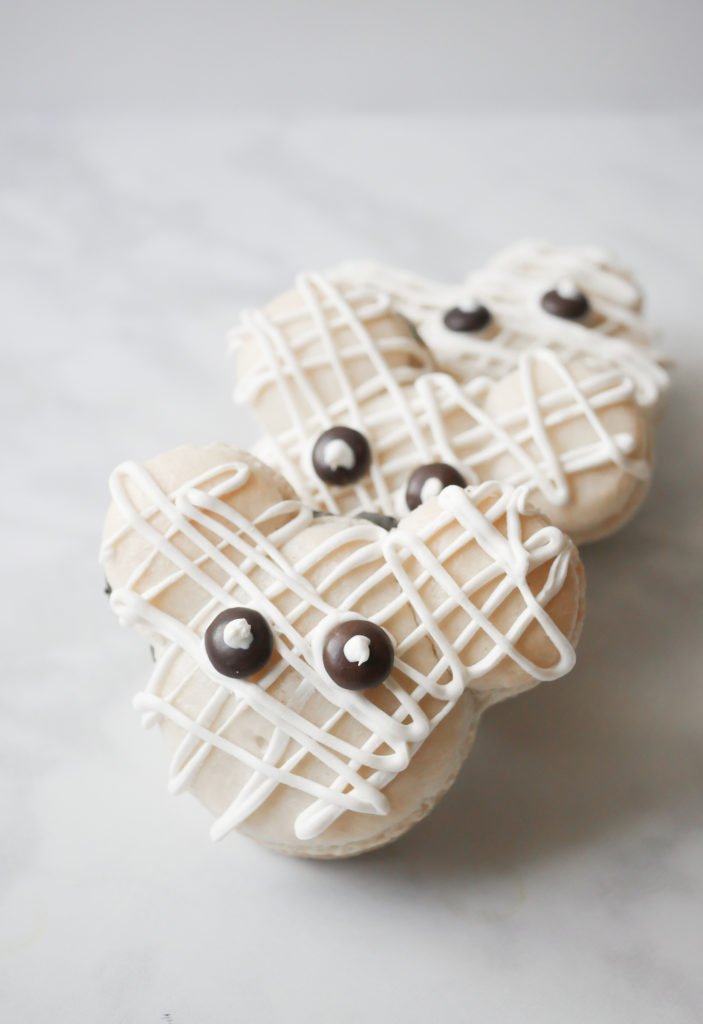
Need a spooky treat for a Halloween party? Well, these cookies and cream Mickey Mouse shaped Mummy Macarons would be a delicious addition to any cookie spread.
If the idea of French-style macarons scare you silly, don’t be afraid! You just need a gentle hand and these come together fairly easily. One tip I will have for making filled cookies like this, that need a top and a bottom, is that you should really use a stencil to map out how big to make them. Then they’ll all be uniform in size. Just remember to turn the parchment sheet over before you pipe them or you’ll get the outline on your cookies when you bake them (I speak from experience here. Whoops!).
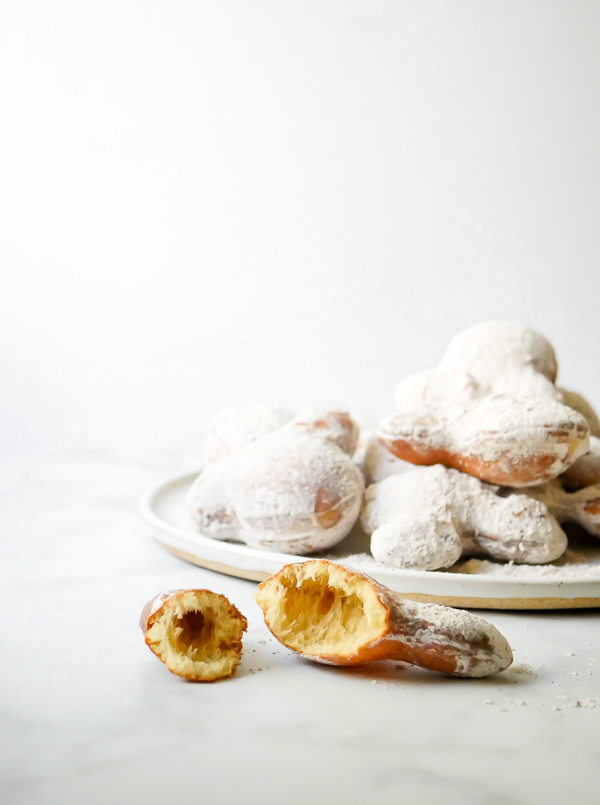
These macarons are not overpoweringly sweet. I hold back on the sugar in the actual cookie part so that you taste more of the center filling. I feel like that gives the overall treat a nice balance. If you feel like this is not sweet enough for you, feel free to add another tablespoon of sugar into the mix.
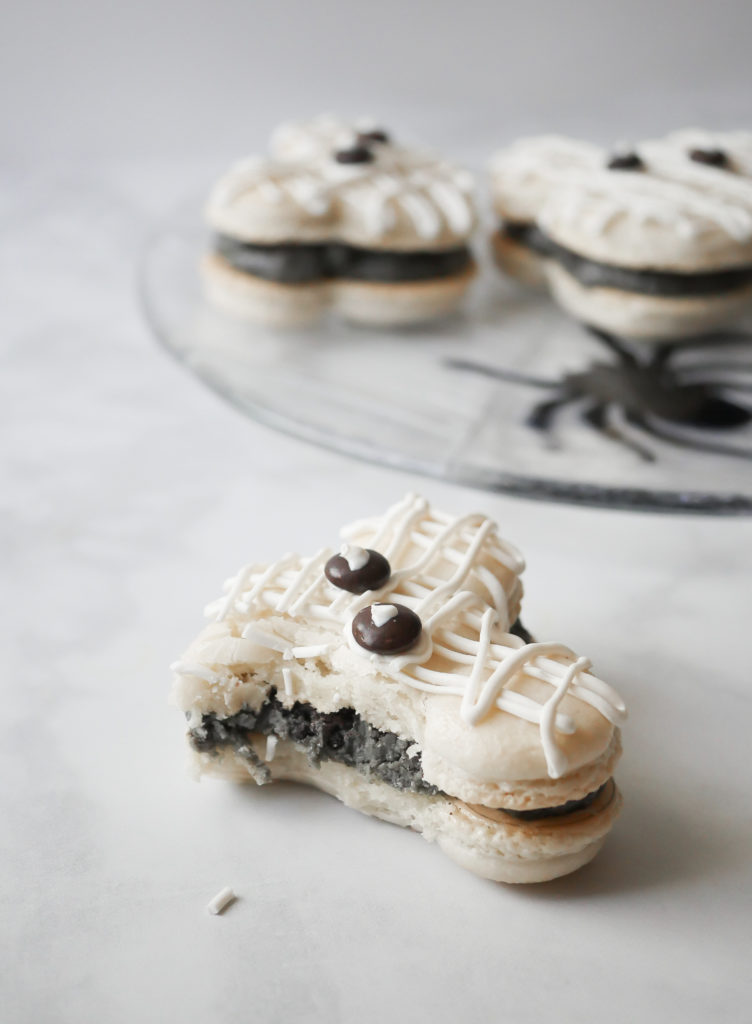
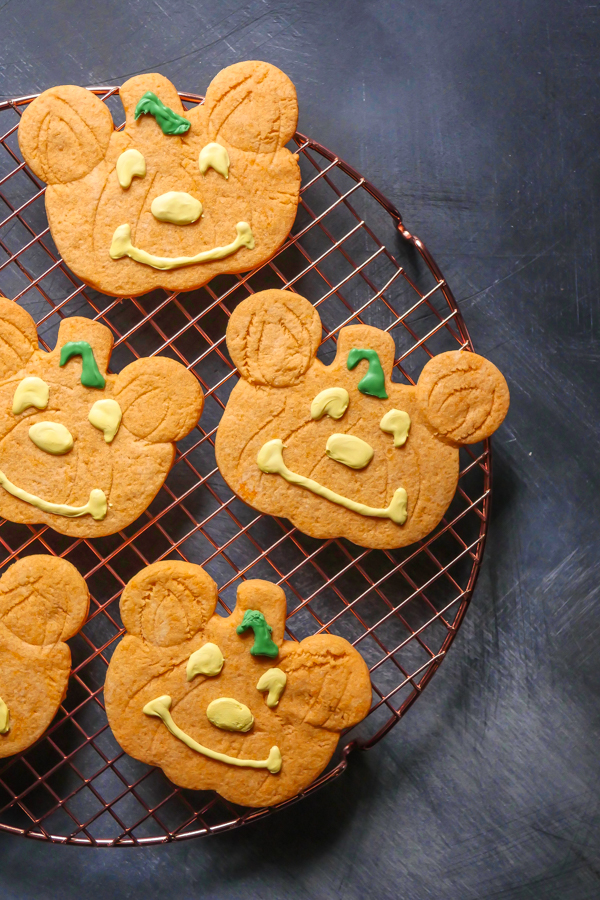
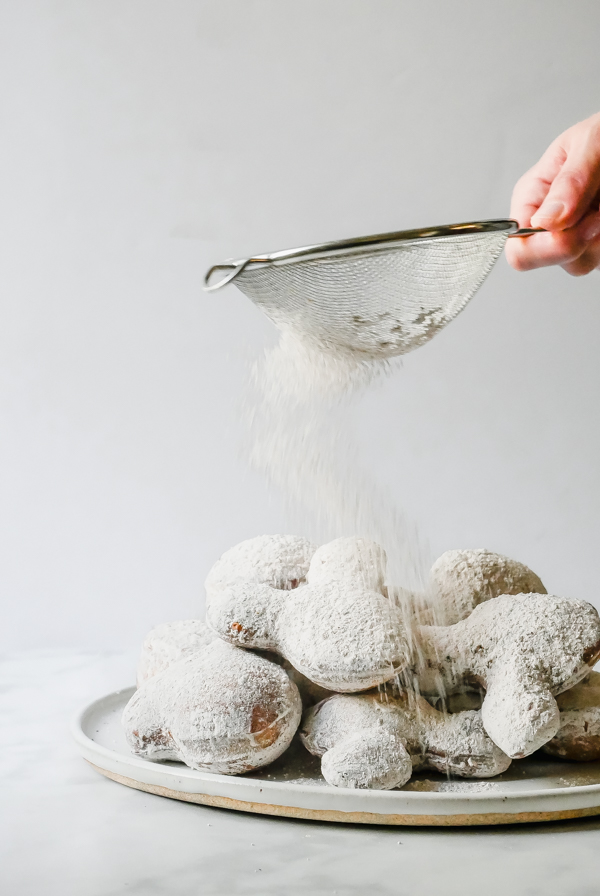
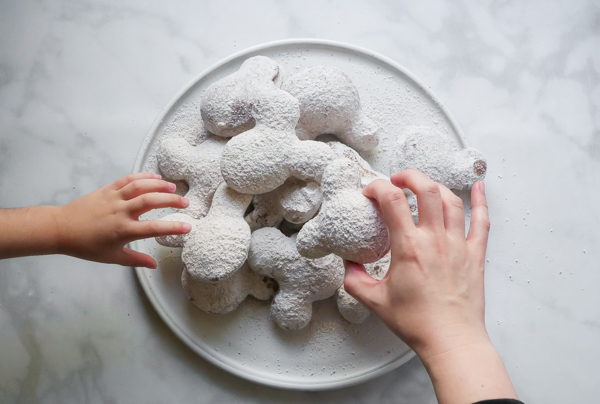
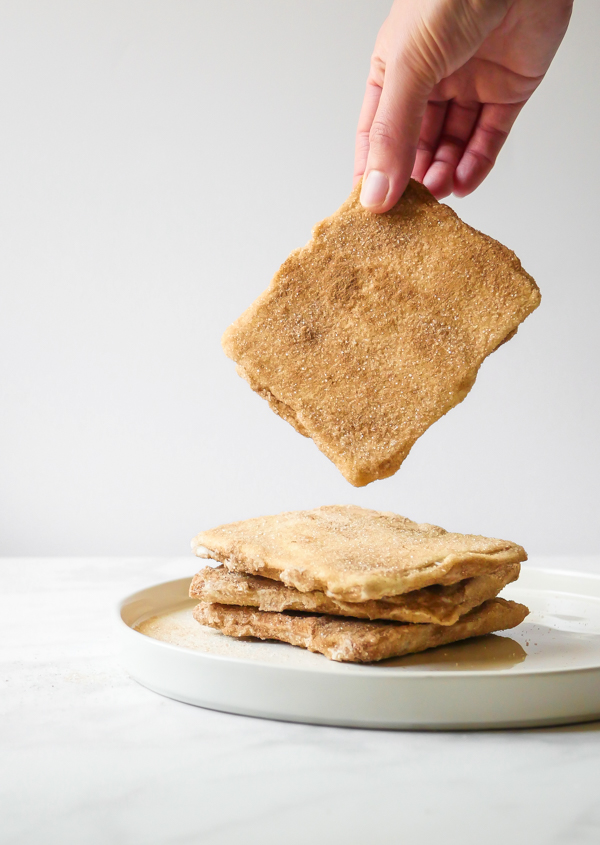
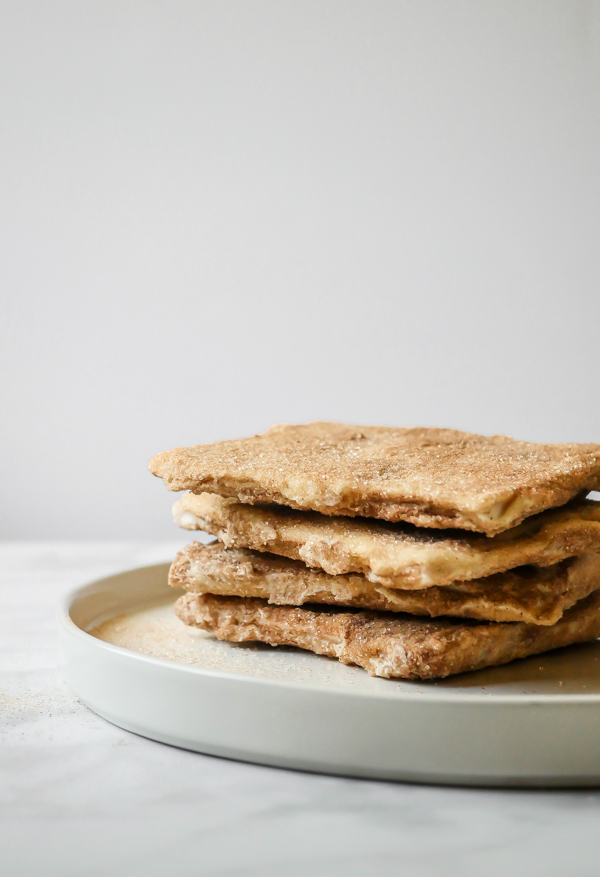
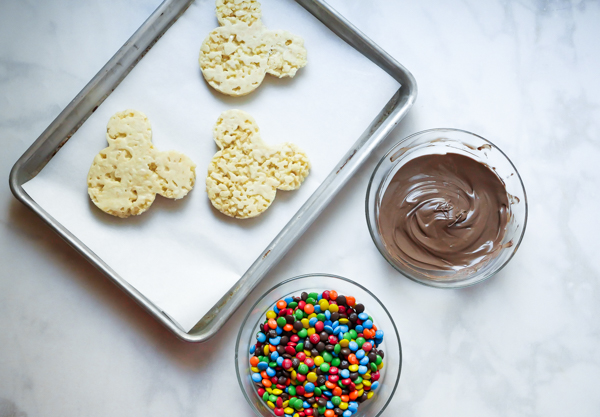
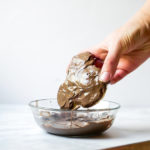
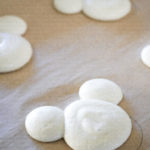
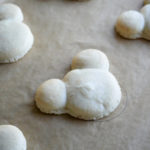
![]() Once these are baked, kids here can help fill and assemble them. An adult should help melt the candy melts, but since it only ever gets warm, not hot, small hands can hold the piping bag, or spoon, to help create the decorations.
Once these are baked, kids here can help fill and assemble them. An adult should help melt the candy melts, but since it only ever gets warm, not hot, small hands can hold the piping bag, or spoon, to help create the decorations.
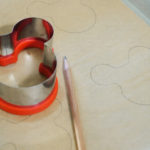
BONUS: now you can create perfectly shaped Mickey macarons without a cookie cutter. Print out our 3″ Mickey Macaron template below and just slip under your parchment when piping! Easy!
So let’s get in the kitchen and make these chewy, creamy, sweet treats for Halloween time! Boo to you!
Print
Mickey Mummy Macarons
- Yield: 3 large Mickey Mummy Macarons 1x
Description
Enjoy these cookies and cream filled Mickey Mouse Mummy Macarons this Halloween season, or any time of year! A Disneyland-inspired treat.
Ingredients
For the macarons:
- 90g (1 cup) almond flour
- 120g (1 cup) powdered sugar
- 70g egg whites, from about 2 large eggs
- 1/4 teaspoon cream of tartar
- 40g (3 tablespoons) granulated sugar
For the filling:
- 35g egg whites, from about 1 large egg
- 1/3 cup (67 g) sugar
- pinch salt
- 4 ounces (1 stick) unsalted butter, cut into small pieces
- 1/2 teaspoon of vanilla extract
- 3–4 Oreo cookies, crumbled into fine pieces, divided
- 1 drop black food gel paste
Special Tools:
Instructions
For the macarons:
- First sift the almond flour, powdered sugar, and salt back and forth four times between two bowls using a mesh strainer. Set aside.
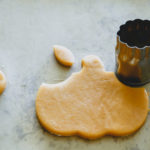
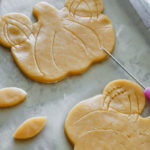
- Line a baking sheet with parchment. Using a pencil, trace 6 Mickey Mouses uses the cutter as a guide, leaving at least an 1″ between shapes. Flip parchment over so that you can still see outlines, but the graphite will not transfer to macarons. Set aside.
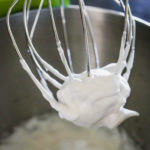
- In the bowl of a stand mixer fitted with the whisk attachment, add in the egg white and whisk until slightly foamy. Add in the cream of tartar and whisk until soft peaks appear. Then slowly pour in the sugar. Whisk on high until stiff peaks form.
- Sift a third of the dry mixture into the egg whites and fold until barely incorporated, about 10 turns. Repeat twice with remaining dry mix. Mix gently until all of the almond mixture has been absorbed and there are no visible lumps in batter.
- Add batter into a piping bag and pipe shapes onto the parchment lined baking sheet. Let the batter sit about 1 hour.
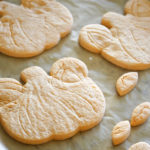
- Preheat your oven to 350°f. Place cookies in oven to bake, and then lower the temperature to 300°f. Cook for 17-18 minutes.
- Let the macarons cool at least 20-30 minutes before decorating.
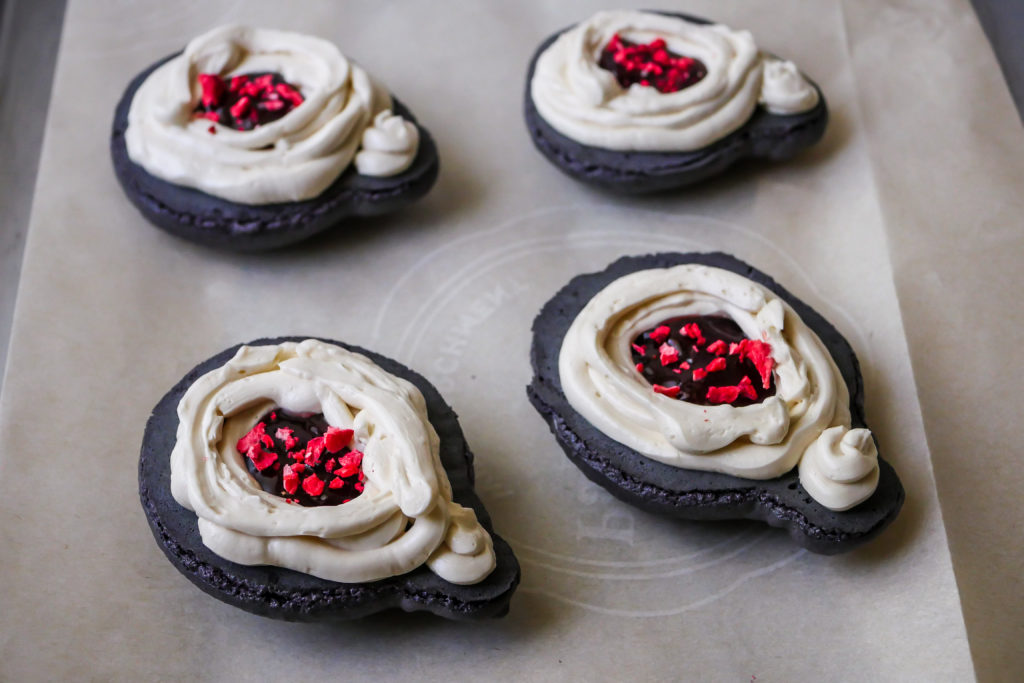
For the filling and decoration:
- First make the Swiss cookies and cream buttercream frosting by stirring the egg whites, sugar, and salt together over a double boiler (or bowl set over simmering water on the stove), until temperature reaches 160°f.
- Pour heated egg whites into the bowl of a stand mixer and beat until glossy, soft peaks form.
- When the bowl is cool to the touch, add the butter, one piece at a time, whipping between pieces to incorporate butter, but not fully mixing it in.
- Next, add in vanilla extract and black food coloring. Whip everything on high until smooth.
- Then, add in 2/3 of the Oreo cookie pieces and stir until well combined.
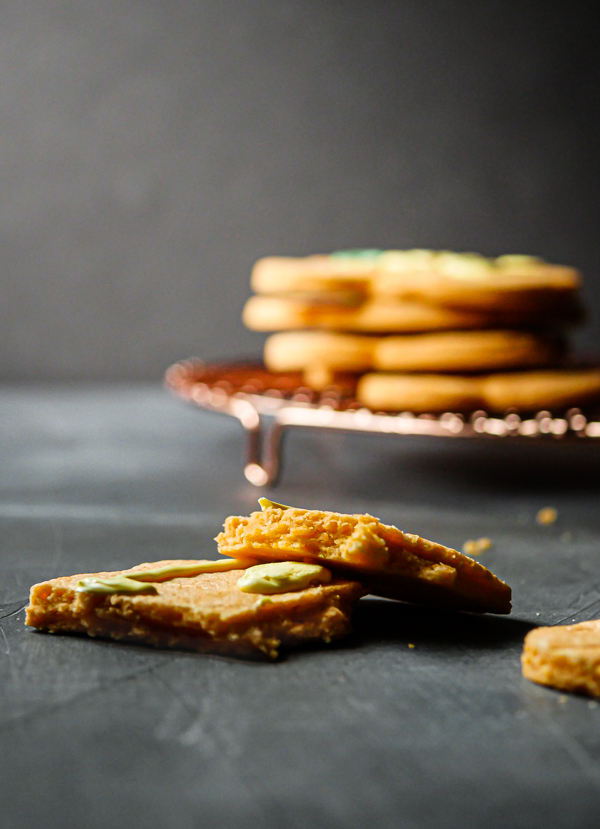
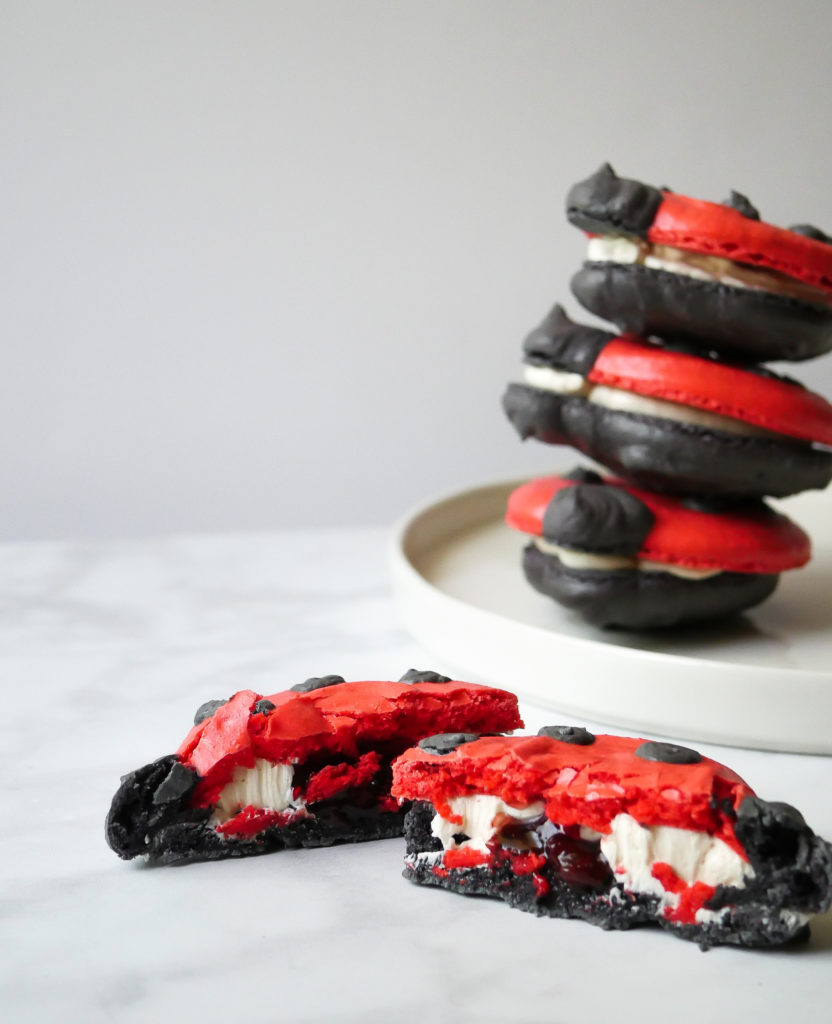
- Place the frosting in a piping bag (with either a round tip attached, or just the tip of the bag cut off) and pipe filling onto bottom half of the macaron. *You may have leftover frosting. Storage instructions in notes below.
- Sprinkle reserved cookie pieces on top of the frosting and lightly press the other macaron to top.
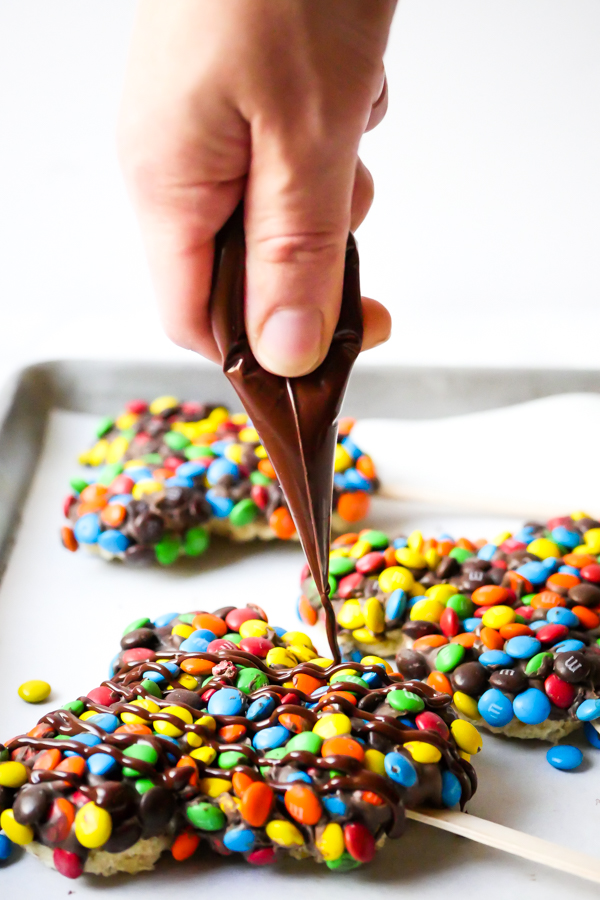
- Next, melt the white candy melts in the microwave inside a microwave safe bowl, like glass, for 30 seconds. Stir and microwave again for an additional 30 seconds. Keep stirring and microwaving in short bursts of 15-20 seconds until melted and smooth. Use can alternatively use a double boiler for melting.
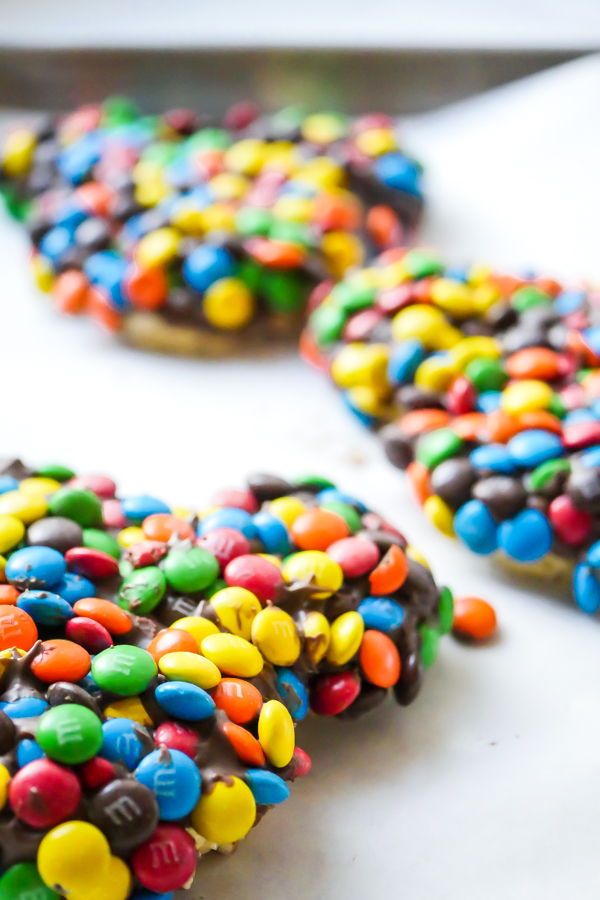
- Transfer to a piping bag with the tip cut off, or using a spoon, drizzle over the top of the macaron in a crisscross pattern.
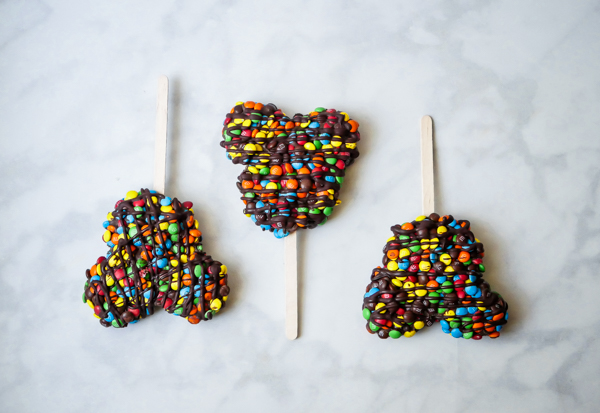
- Put two small dots of candy melts where you want the eyes and place the M&M’s there. Then make a small dot in the center of the M&M’s.
- Let the macarons set for about 15-20 minutes then enjoy!
Notes
- Sifting the almond flour and powdered sugar together is necessary for the absorption of oils and to prevent clumping of batter.
- Any left over macaron batter can be piped into smaller cookies and baked off for 15 minutes.
- Swiss buttercream heats the egg whites to 160°f to kill off any bacteria.
- Leftover buttercream can be stored in the fridge up to two weeks, brought to room temperature, and whipped before using. It can also be stored in the freezer up to 3 months.
- Macarons can be stored in the refrigerator up to one week. Let them sit 10-15 minutes to come to room temp before enjoying.