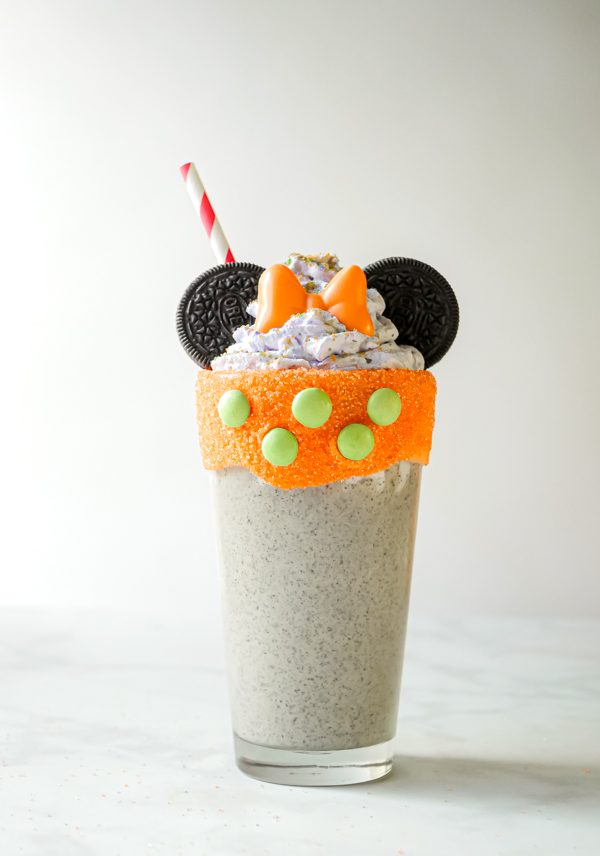
Where can I find the original treat?
- These specialty treats were found at the Grand Californian Hotel.
One of the perks of the Disneyland resort being so contained and walkable, is that two parks and three hotels are all walking distance from each other. And while the parks boast some amazing treats, well, tucked away inside the Grand Californian Hotel is the small eatery GCH Craftsman Bar and Grill which I’ve found to have some delicious treats as well. Like today’s Peanut Butter Blondie.
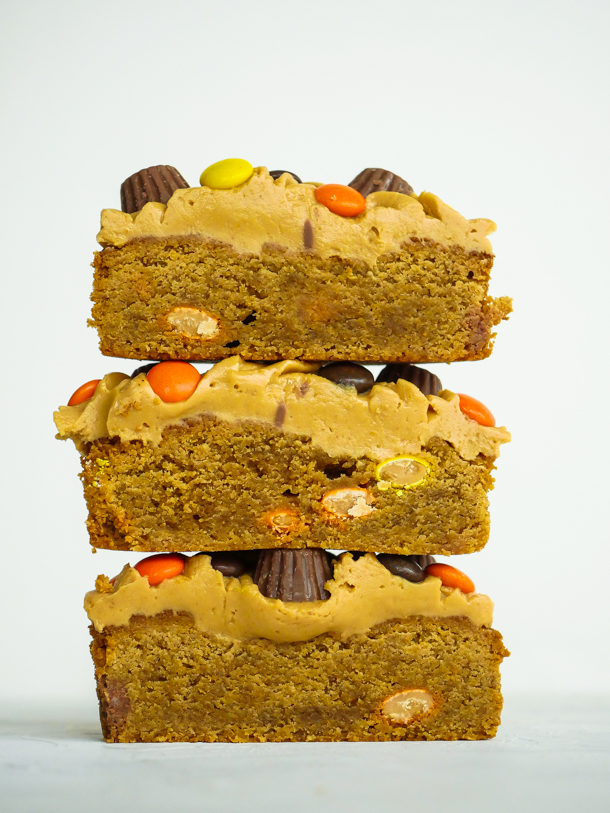
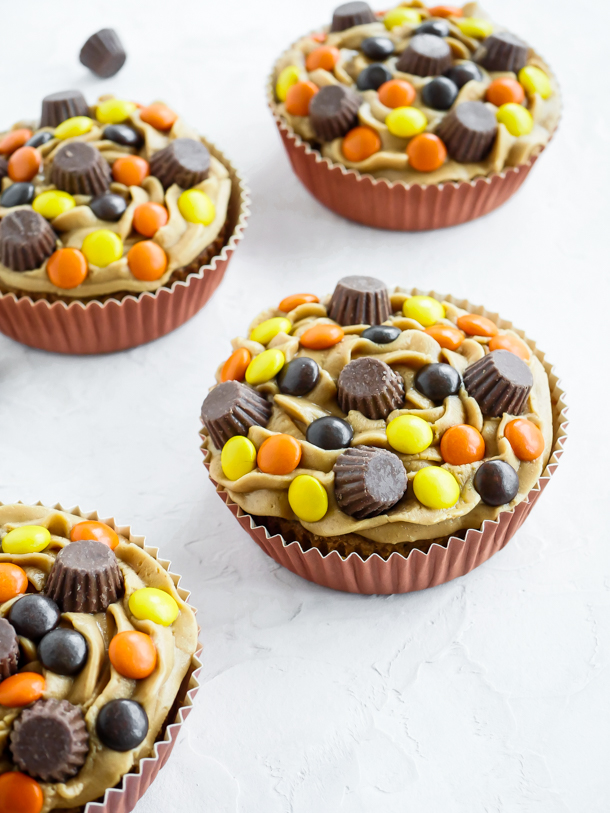
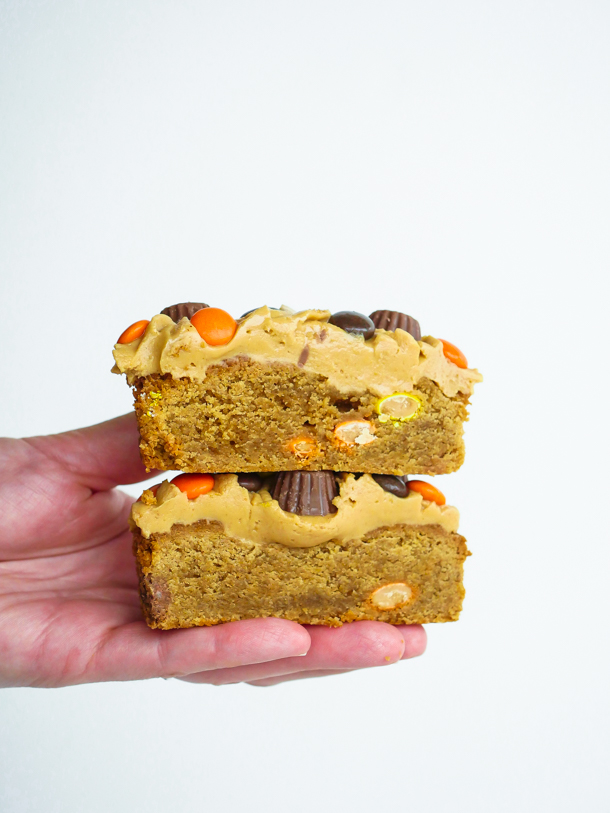
The name is very no nonsense, but this decadent peanut butter lover’s dream treat is anything but that. The treat consists of a hefty peanut butter blondie studded with Reeses Pieces, topped with peanut butter icing, and crowned with more Reeses Pieces and mini peanut butter cups. If you’re a fan of peanut butter desserts (and I can attest to peanut butter cups making up at least 50% of my diet as a child), YOU WILL WANT TO MAKE THIS STAT. And so it’s a good thing you’ve come to the site today because we’ve got that recipe for you below!
I used my one bowl blondie recipe for the base of this recipe, a recipe so simple that I consistently made this during my kids’ nap time so that I would have a snack to eat when they went to bed later that day (what? You think I was making it for them LOL?!). And I’ll note here that blondies with peanut butter in them have more of a dryer, cake-ier quality to them than the standard chocolate brownie. So expect that, and take a few minutes off baking time if you’d like them a little undercooked in the center. The icing can be whipped up while these cook too, making them ready for consumption pretty quickly.

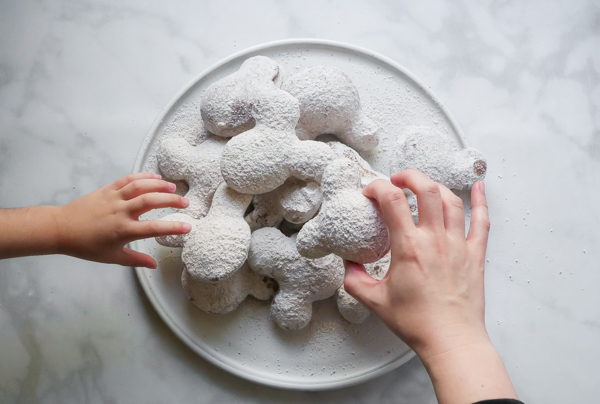
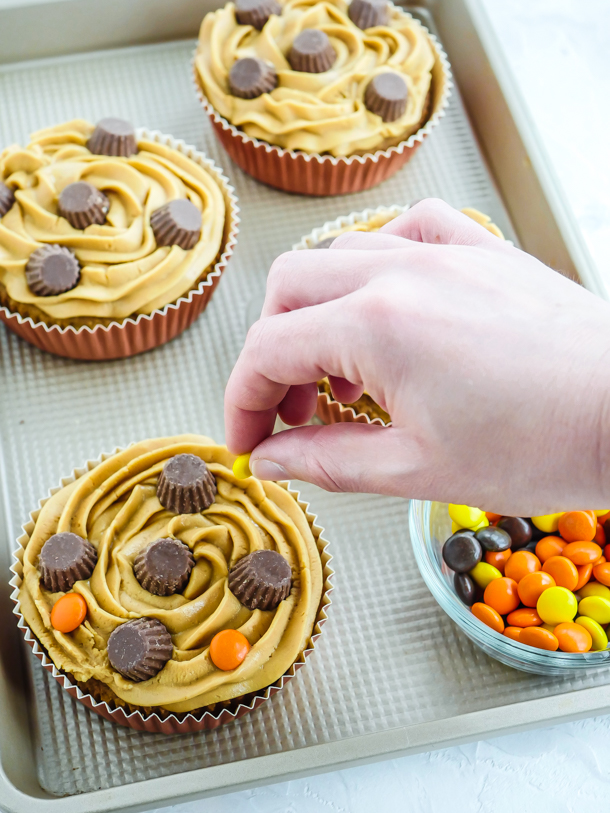
Other than melting the butter on the stove, most steps can be completed with the help of kids as young as 3. To help with icing the blondies, you can place the icing in a piping bag and let them dollop on top, and then place the candies. Just watch the level of candies you have. Every time I turned my back, candies went missing.
And if you’re thinking, wait, what happened to Whitewater Snacks at GCH? This is the same place at the hotel basically with a facelift.
OK? Let’s bake!
Print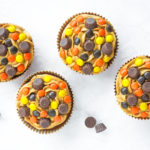
Peanut Butter Blondies
- Yield: 4 Oversized Peanut Butter Blondies 1x
Description
Calling all peanut butter lovers! This oversized peanut butter blondie is chock full of creamy peanut butter and studded with a generous portion of peanut butter and chocolate candies. A Disneyland-inspired treat.
Ingredients
Blondie Base:
- 1 stick butter (1/2 cup)
- 1/2 cup creamy peanut butter
- 3/4 cup brown sugar light or dark (1 cup if you like your brownies sweeter)
- 1 egg
- 1/2 teaspoon kosher salt
- 1 teaspoon vanilla extract
- 1/2 teaspoon baking powder
- 1 cup flour
- 1/2 cup Reese’s Pieces
Peanut Butter Frosting:
- 1 cup creamy peanut butter
- 3 tablespoons unsalted butter
- ½ – ⅔ cup powdered sugar (depending on how runny your peanut butter is you may need more or less powdered sugar)
- 1 teaspoon vanilla extract
Topping:
- Reese’s Pieces candies
- Mini Peanut Butter Cups
Specialty Tools
Instructions
For the blondie base:
- Preheat the oven to 350°f.
- Melt the butter in a small saucepan, or in the microwave.
- In a large mixing bowl, combine the melted butter, peanut butter, and brown sugar. Whisk until smooth.
- Mix in the egg, salt and vanilla extract until smooth.
- Sprinkle baking powder over the mixture, stir in, and then add in the flour and stir until just combined.
- Fold in the Reese’s Pieces candies.
- Pour the mixture into 4 of the baking cups (the mixture will be on the stiff side), and smooth the tops.
- Bake for 22-26 minutes
- When done, let fully cool before frosting.

For the peanut butter frosting:
- In a mixing bowl, beat together the peanut butter and butter until smooth.
- Mix in the powdered sugar and vanilla extract until fully combined and smooth.
- Spread on top of the blondie bases.
- Any leftover frosting can be kept refrigerated in an air-tight container for up to 4 days.
Topping:
- After spreading peanut butter frosting on blondies, top with Reese’s Pieces candies and mini peanut butter cups.
- Enjoy!
Notes
- You can also bake this in an 8×8″ baking pan lined with parchment.
- If your powdered sugar is lumpy, sift before mixing in to the frosting.
- Extra frosting can be refrigerated up to 4 days in an air-tight container, or frozen up to 3 months. Re-whip once defrosted.