Where can I find the original treat?
- This holiday time treat can be found at the Jolly Holiday Bakery Cafe at the Disneyland resort.
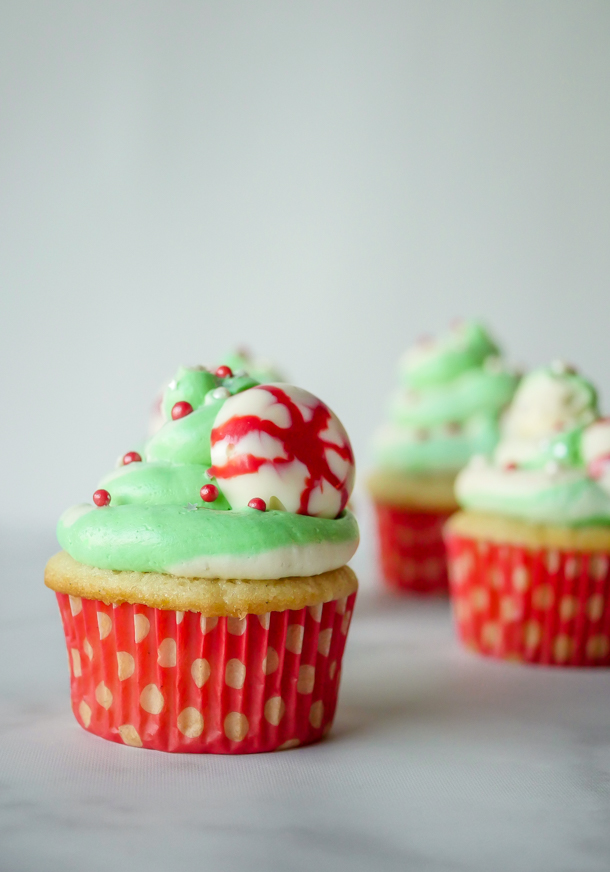
I’m having a pretty hard time this year trying to narrow down what to eat treat-wise every week at the park; the offerings this year are just so good! One of my stops is always the Jolly Holiday Bakery Cafe because the baked goods there almost never disappoint. Case in point, the Holiday Cupcake. Which is what we’re making this week!
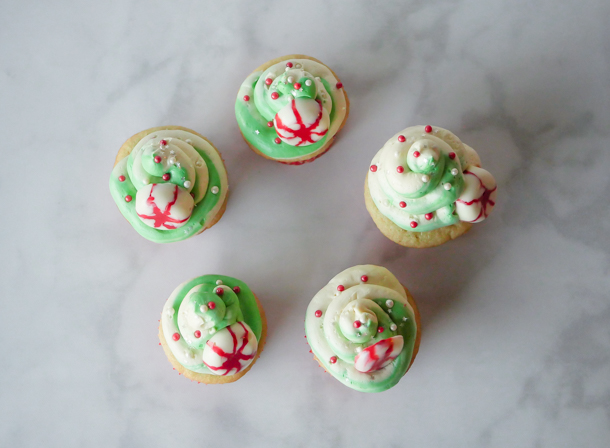
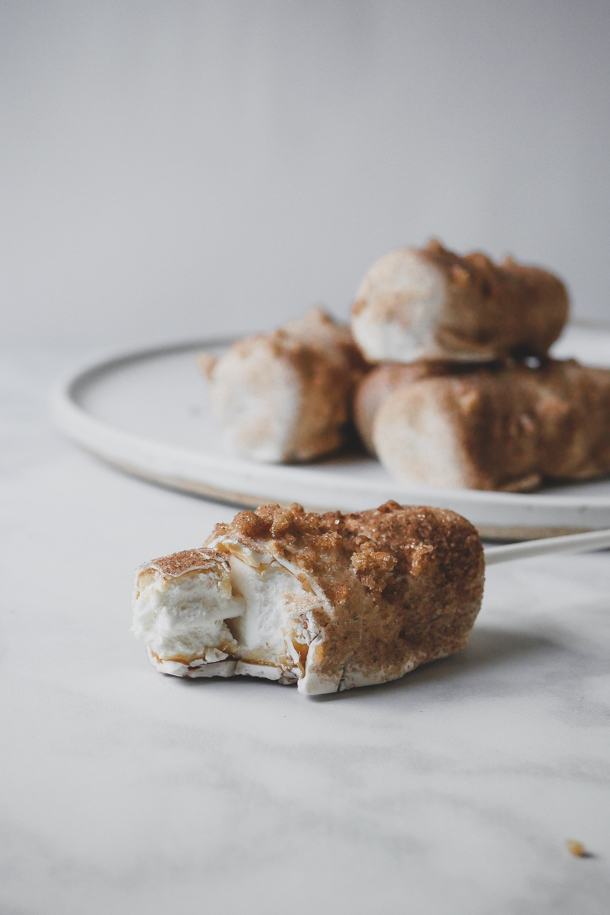
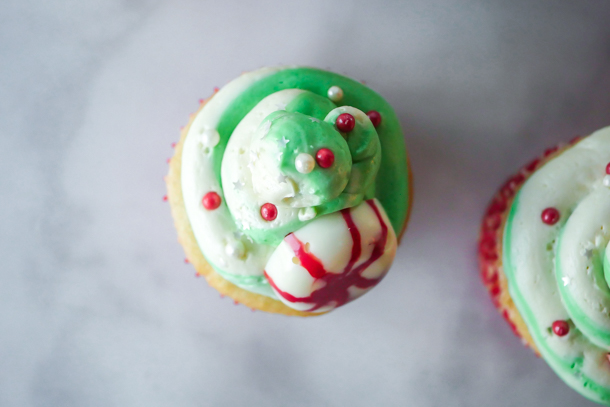
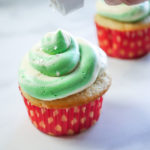
With such a nondescript name, the “Holiday Cupcake” could be anything, and what it is, is a moist vanilla bean cupcake with a tight crumb, lightly sweetened two-tone frosting, delicate red and white sugar pearl decorations, edible silver stars, a peppermint-inspired white chocolate candy, and a surprise filling of red and green M&M’s candies. What a mouthful! What could easily be a treat too sweet to finish, is actually pretty balanced in that department and I think it has to do with the lightly sweetened frosting. Landing somewhere between an Italian buttecream and Ermine frosting, it’s light like whipped cream, but stable, and very lightly sweetened.
So, for this recipe I’m going with Ermine frosting, a boiled milk style frosting, which might not be a familiar name to some people, but it’s actually been around for some time. Ermine has a whipped cream like texture when made fresh, and was the original type of frosting for red velvet cakes before the ubiquitous cream cheese frosting took over. I love to use it on cakes as a filling and outer layer, and then decorate with American buttercream for decorations as I get the sharper edges I am looking for when I want stars and lines. I hope you try the combination, people I’ve served it to love the contrast in frostings!
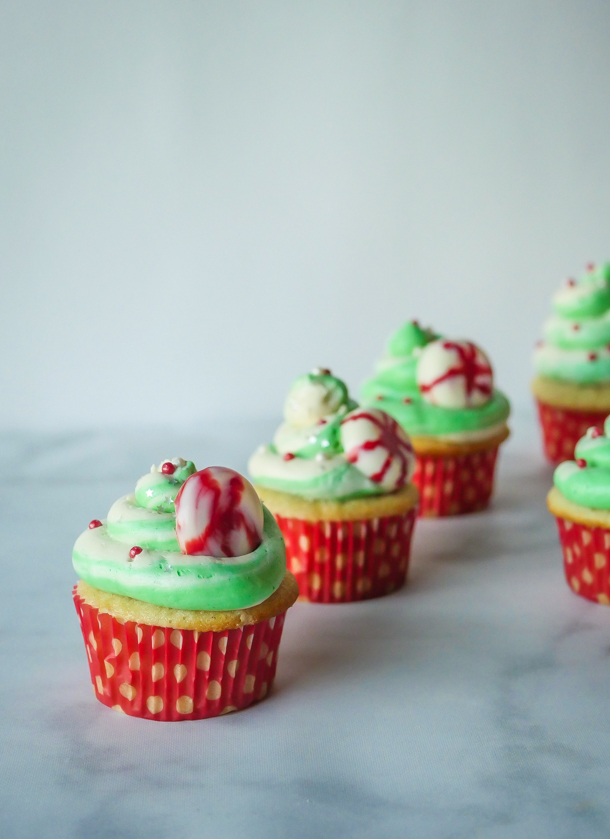
The vanilla cupcake base utilizes vanilla bean paste so you get to see all the tiny vanilla bean seeds throughout the cake. It’s moist but holds up to cutting as you’ll need a bit of a tighter crumb for hollowing out the center to fill with candy.

And the decorations, well, here you can go as big and bold as you want. Or tone it down too. The sugar pearls and the edible stars can easily be purchased from Amazon or your local craft store like Michael’s. The peppermint inspired white chocolates can be made at home (I know these are definitely looking homemade!), but you could also sub in an actual peppermint here too, and I think that would look pretty.
![]() Kids can help in a few ways here. My 2-1/2 year old helped me mix the cupcakes, fill them, and decorate. But I’d say maybe 5 and up could handle piping out the frosting too.
Kids can help in a few ways here. My 2-1/2 year old helped me mix the cupcakes, fill them, and decorate. But I’d say maybe 5 and up could handle piping out the frosting too.
Decorating cupcakes in such a festive way has really gotten me into the holiday spirit this year. And I hope they bring a little magic into your home and kitchen too!
Print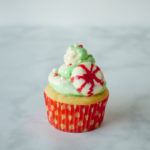
Disneyland Holiday Cupcakes 2019
- Yield: 12 Holiday Cupcakes 1x
Description
The Holiday Cupcake is a festively decorated vanilla bean cupcake topped with two-toned, lightly sweetened ermine frosting, with a candy filled surprise center. A Disneyland-inspired treat.
Ingredients
For the cupcakes (adapted from Sally’s Baking Addiction):
- 1 and 2/3 cup (210g) all-purpose flour
- 1/2 teaspoon baking powder
- 1/4 teaspoon baking soda
- 1/2 teaspoon salt
- 1 cup (200g) granulated sugar
- 1/2 cup (115g) unsalted butter, melted and slightly cooled
- 2 large egg whites
- 1/4 cup (60g) Greek yogurt
- 3/4 cup (180ml) milk (or non-dairy milk)
- 2 teaspoons vanilla bean paste
For the frosting (adapted from Wilton):
- 1 cup granulated sugar
- 1/4 cup all-purpose flour
- 1/4 teaspoon salt
- 1 cup cream
- 1 cup butter, softened (2 sticks)
- 1 teaspoon vanilla extract
For the decoration:
- green food coloring gel (Leaf green from Americolor used here)
- red sugar pearls
- white sugar pearls
- silver edible stars
- 1 cup white melting chocolate wafers
- 1 ounce red candy melts
- red and green M&M’s (~72)
Specialty Tools:
- holiday cupcake liners
- 3/4″ round cutter (I use one from this set)
- pastry bags
- Wilton 2A pastry tip
- hemisphere mold
Instructions
For the cupcakes:
- Preheat oven to 350°F (177°C). Line muffin pan with 12 cupcake liners. Set aside.
- In a medium bowl, mix together flour, baking powder, baking soda, and salt. Set aside. In a large microwave-safe bowl, melt butter in the microwave. Whisk in sugar – mixture will be gritty. Whisk in egg whites, yogurt, milk or milk substitute, and vanilla bean paste until combined.
- Slowly mix dry ingredients into the wet ingredients until no lumps remain. Batter will be thick.
- Divide batter among 12 cupcake liners and bake for 20 minutes or until a toothpick inserted in the center comes out clean. Allow to cool.
For the frosting:
- In medium saucepan, stir together sugar, flour and salt. Whisk in cream until smooth. Cook over medium heat, stirring constantly, until very thick, about 5-7 minutes. Remove from heat and pour into medium bowl; press plastic wrap over top of mixture and sides of bowl to seal completely and prevent a skin from forming. Let cool to room temperature, about 1 to 1-1/2 hours.
- In a stand mixer, beat butter at medium speed for 5 minutes until light and fluffy. Slowly drizzle cream mixture into whipped butter and beat until smooth, scraping down bottom and sides of bowl often. Add vanilla and beat 3 more minutes, or until frosting reaches the consistency of whipped cream.
- Remove 2/3 of the frosting and spread it into a large piping bag, fitted with a Wilton 2A tip, on one side of the bag. Set aside.
- To the remaining frosting, add one drop of the leaf green food coloring. Whip until all the frosting is green.
- To make the two tones frosting, you’ll need to spread the green frosting inside the pastry bag on top of the white cream, so that it is in two layers. Twist the bag and push the frosting towards the tip. Pipe some of the frosting out in a swirl until both colors have appeared. Set aside.
For the decorations:
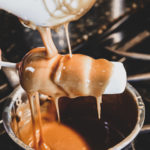
- At least one hour before decorating the cupcakes, melt the white chocolate in the microwave inside a microwave safe bowl, like glass, for 30 seconds. Stir and microwave again for an additional 30 seconds. Keep stirring and microwaving in short bursts of 15-20 seconds until melted and smooth. Use can alternatively use a double boiler for melting. Repeat for the red candy melts and transfer them into a small pastry bag. Cut a small amount of the tip off the end.
- Pipe the red candy melts as lines mimicking peppermint candy swirls inside the round molds. Then pour the white chocolate over the red and, using a toothpick, swirl the two together. Refrigerate about 45 minutes to an hour. Then pop out the candies and set aside.
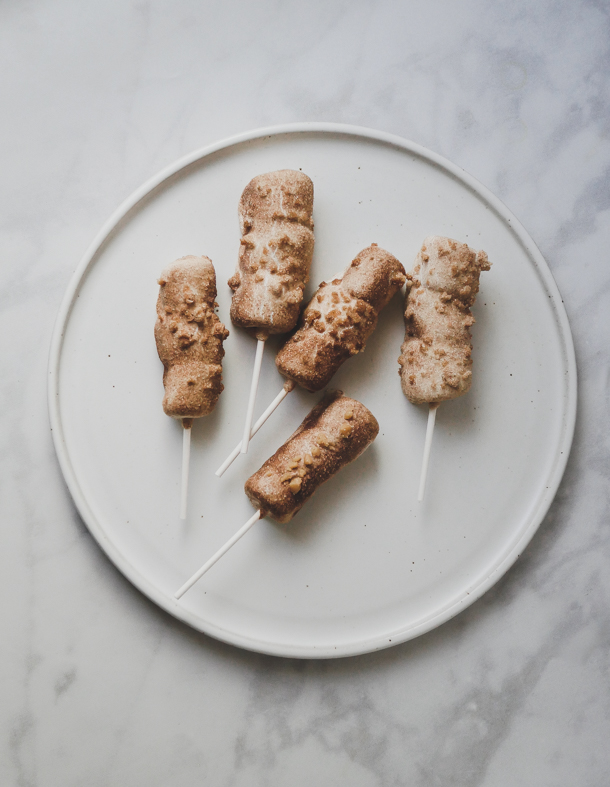
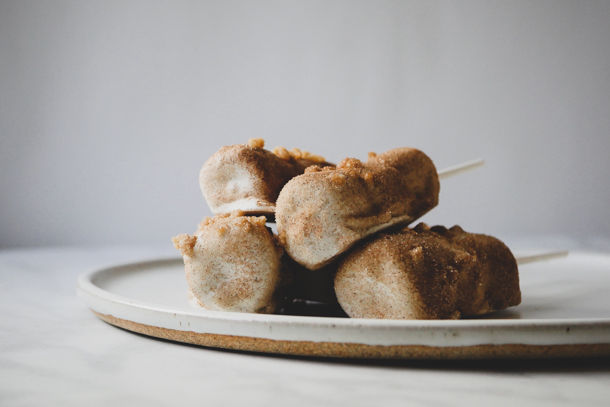
- Take the 3/4″ cutter and press firmly into the center of the cupcake. Twist and lift the cutter to remove the center. Repeat for all the cupcakes. Save the insides for cake pops, or eat them if you wish!
- Fill each center of the cupcake with 6 red and green M&M’s candy. Set aside and repeat with the other cupcakes.
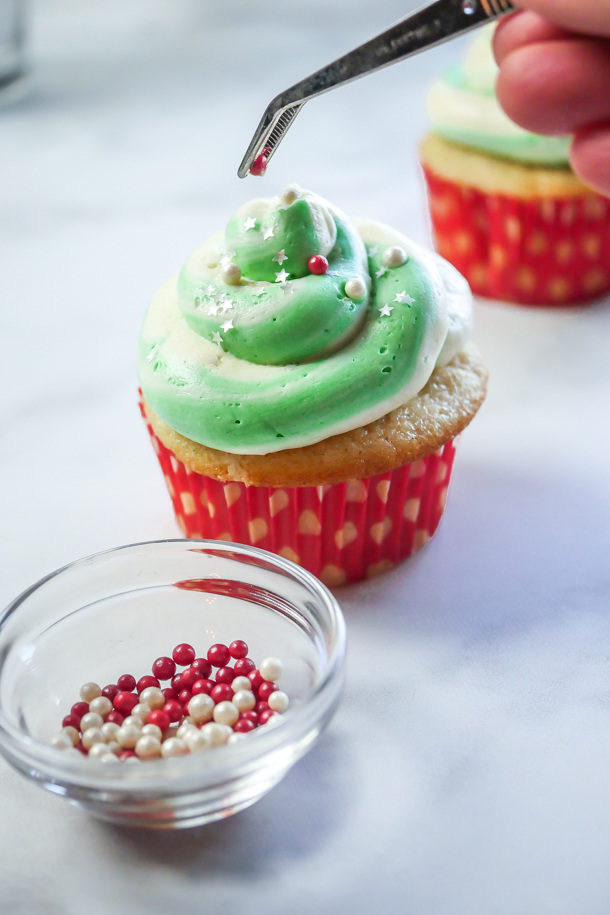
- Next, pipe out a swirl of frosting on each cupcake, and then sprinkle the edible silver stars on top. Place red and white sugar pearls on the frosting.
- Finally, place a peppermint inspired white chocolate (or real peppermint if you choose) on the cupcake. Enjoy!
Notes
- If you cannot find vanilla bean paste, you can substitute vanilla extract 1:1 and scrape in some vanilla bean seeds from half a pod, or leave out the seeds entirely.
- Store cupcakes in an airtight container at room temperature for up to 3 days and in the refrigerator up to 7.
- The cream mixture can be refrigerated up to three days and brought to room temperature before mixing into the butter.
- Ermine frosting can be refrigerated up to 3-4 days in an airtight container. It needs to be whipped again before using. If frosting is too cold when whipped it will appear to break. But don’t worry! Keep whipping for several minutes and it will combine and become smooth again like whipped cream.