Where can I find the original treat?
Whoopie pies, mini cakes, giant cookies, give me a handheld dessert to walk around and snack on at the parks and I’m a happy person. One favorite handheld dessert at EPCOT has a cult-like following, and for good reason, it’s DELICIOUS.
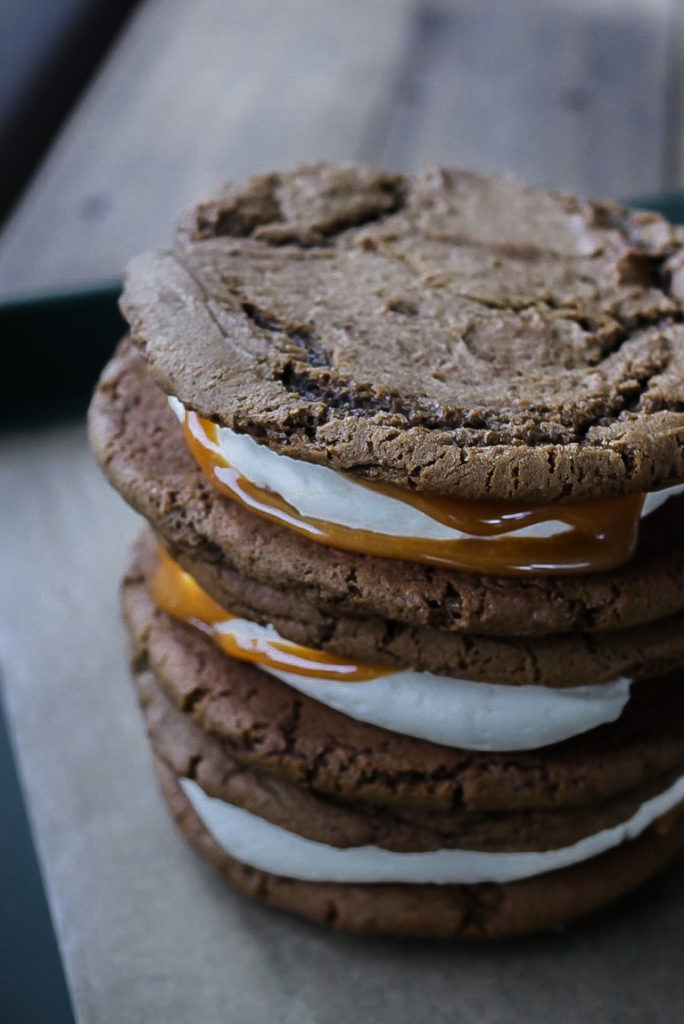
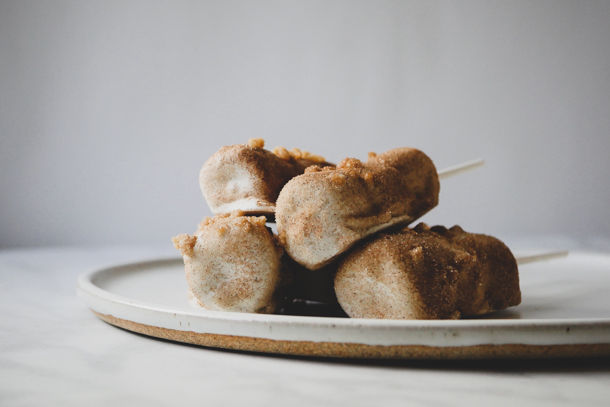
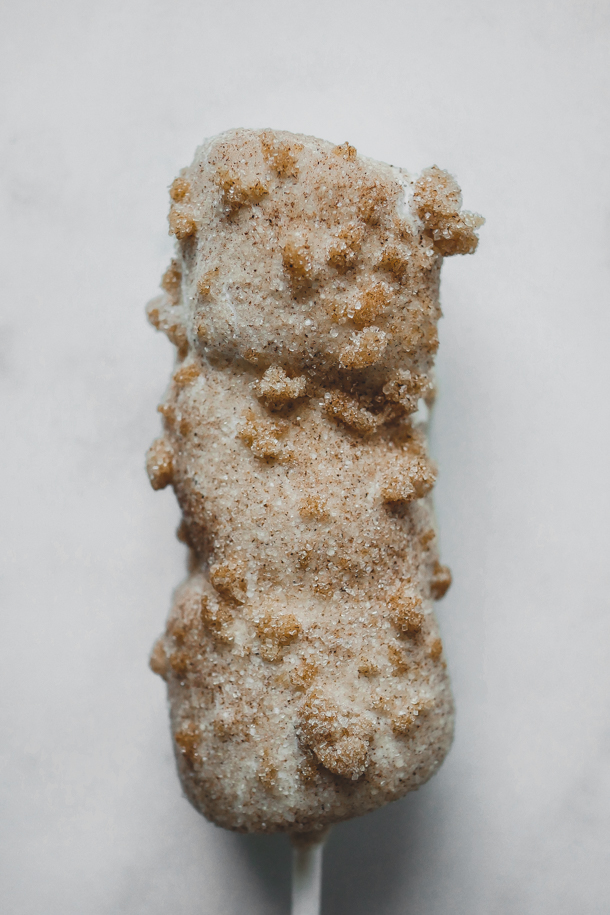
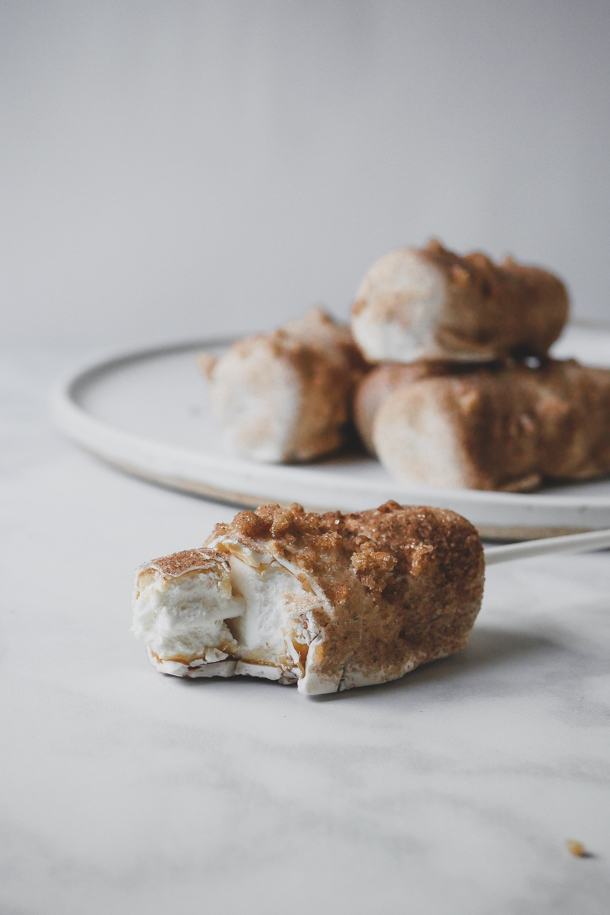
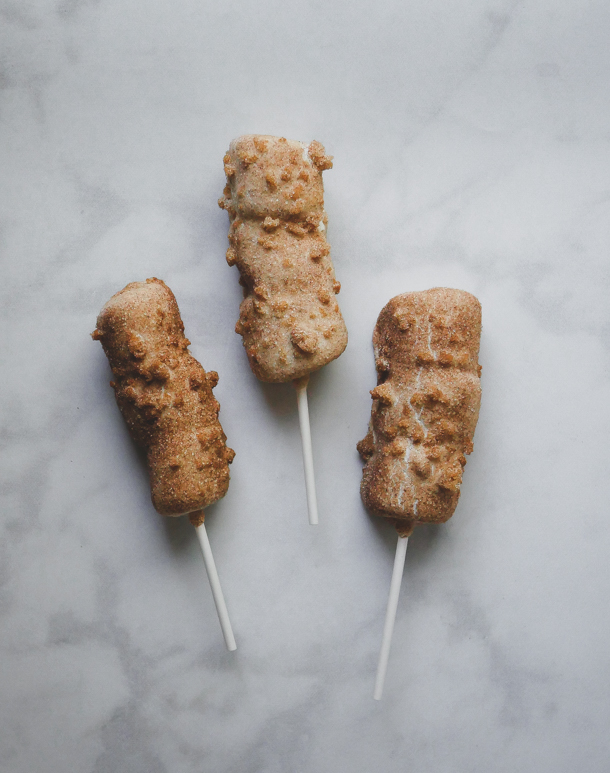
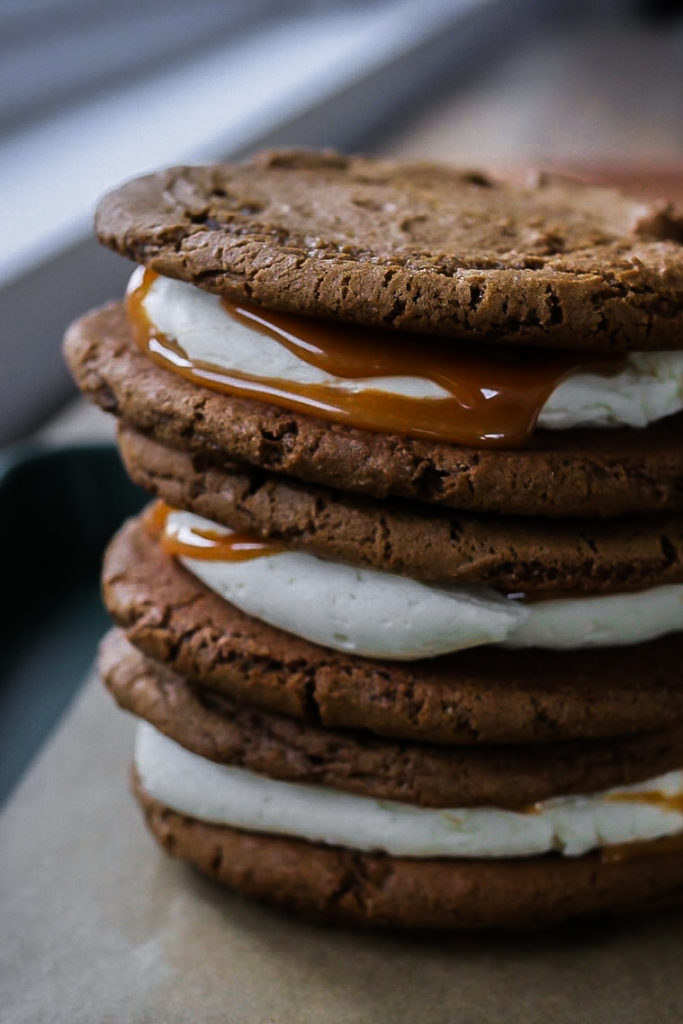
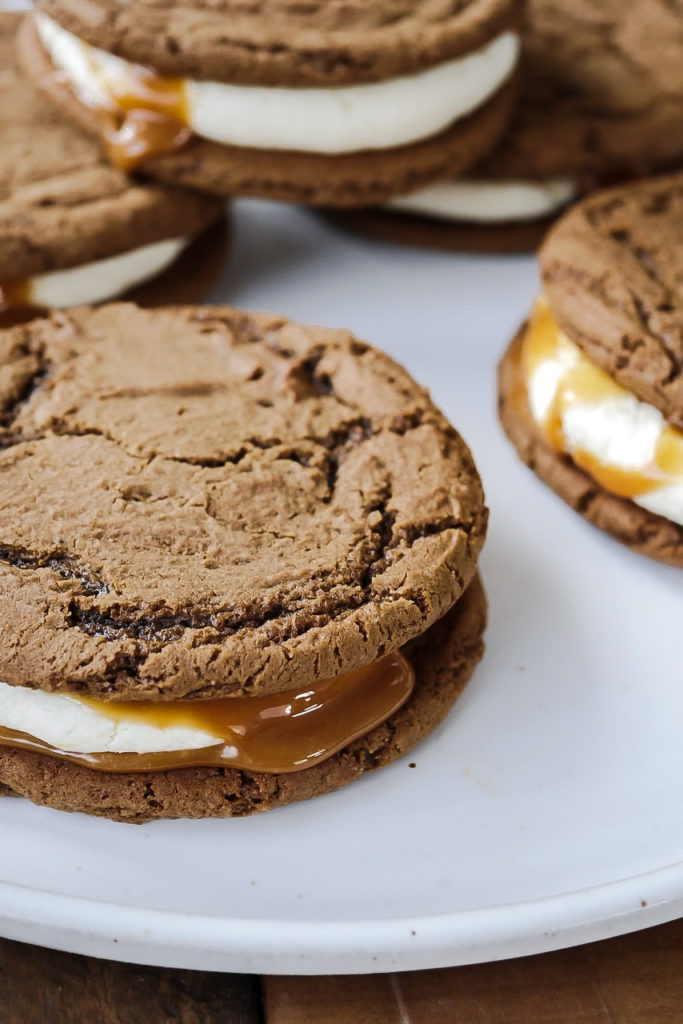
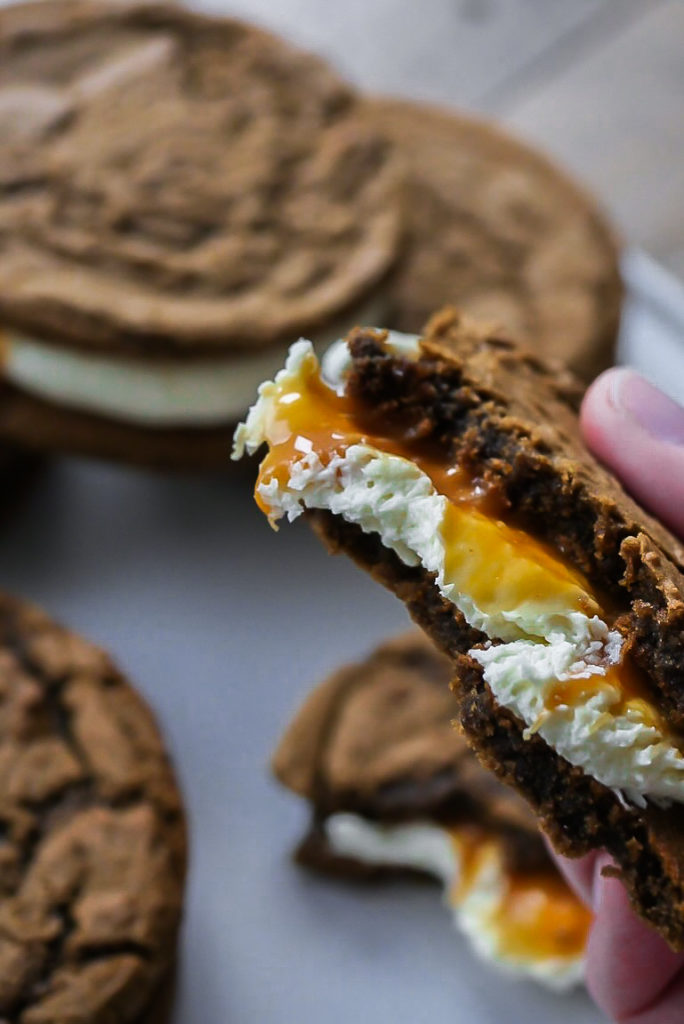
If you’re a caramel fan, then you’ve more than likely made your way over to Karamell-Küche (“caramel kitchen”) in EPCOT and tried one of the many, many amazing caramel-themed treats there. One absolute favorite on the menu is the seasonal Caramel Gingerbread cookie sandwiches. They are a sizeable handful of two oversized gingerbread cookies stuffed with American-style buttercream and oozing with Werther’s caramel. SO. GOOD.
So good in fact I had to make them at my home and share the recipe with you all, because after you’ve run out of your stash and your next trip is months away, this should hold you over.
Although there are three separate parts to this cookie, it comes together rather quickly. To keep it in-theme with the park version, I actually use Werther’s soft caramels and add some salt to them. It cuts down on making the caramel from scratch, although if that’s something you’d like to do, go for it!
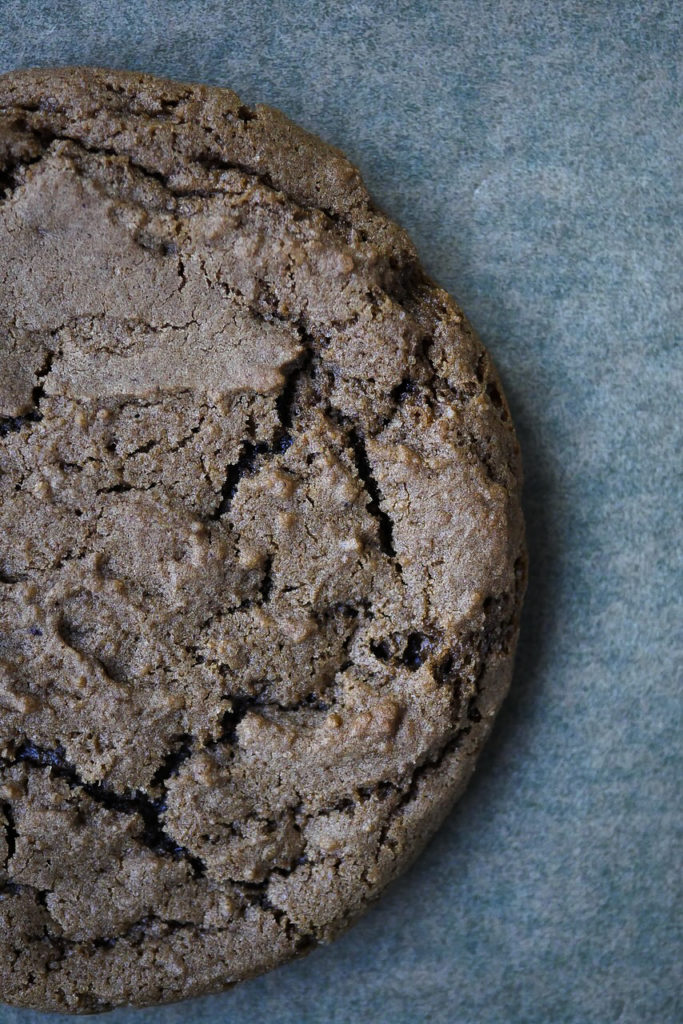
The dough recipe is easy to work with and requires minimal chilling. They do spread, which is why I recommend scooping into balls and baking them without flattening. If you want to make these cookies smaller, reduce the bake time by a few minutes or they’ll get too hard.
And the buttercream is straight-up American style, so nothing fancy here. Just whip up the butter, powdered sugar, vanilla, and cream and you’re done.
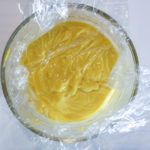
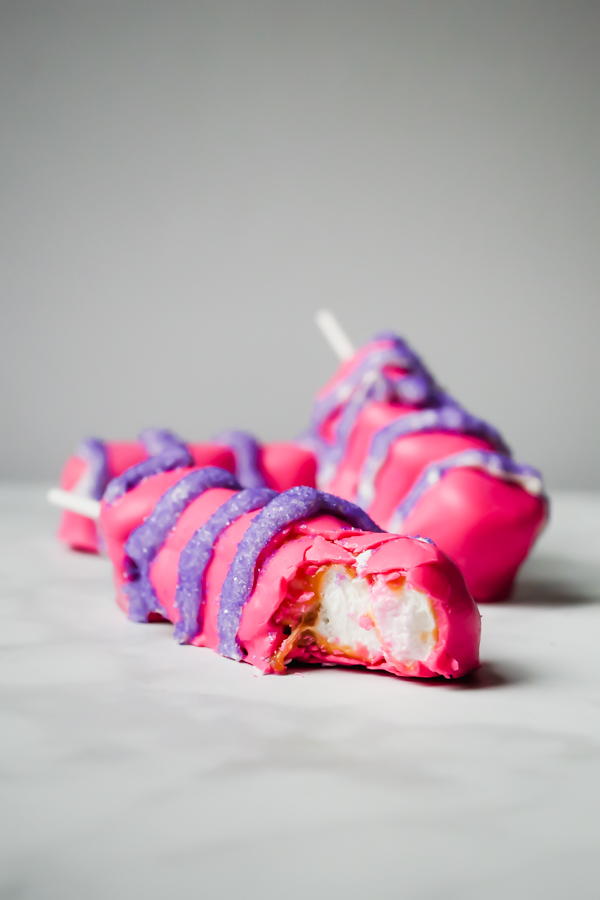
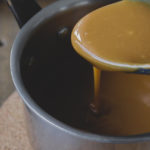
![]() This is super kid-friendly recipe, and most components can be done by even the littlest hands. Older kids can definitely help with the caramel melting by themselves, and since you’re just warming those candies, even younger kids with supervision can do that part. Let’s just remind them not to stick their fingers into the hot pan. And even some of the adults might need that reminder too…
This is super kid-friendly recipe, and most components can be done by even the littlest hands. Older kids can definitely help with the caramel melting by themselves, and since you’re just warming those candies, even younger kids with supervision can do that part. Let’s just remind them not to stick their fingers into the hot pan. And even some of the adults might need that reminder too…
So let’s make our own caramel kitchen today and bake some cookies! And remember to check all the way through the recipe for helpful tips and tricks.
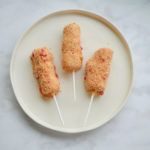
Caramel Gingerbread Cookie Sandwiches
- Yield: 5 cookies 1x
- Category: Dessert
- Cuisine: German
Description
These oversized, beautifully spiced gingerbread cookies sandwich a generous amount of buttercream and salted caramel. Inspired by the Karamell-Küche cookies found at EPCOT in WDW.
Ingredients
For the cookies:
- 1 stick (½ cup) unsalted butter, room temperature
- 1 cup granulated sugar
- 1 large egg
- ¼ cup molasses
- 1 tablespoon water
- 2–¼ cups all-purpose flour
- 2 teaspoons ground ginger
- 1 teaspoon baking soda
- 1 teaspoon ground cinnamon
- ½ teaspoon ground cloves
- pinch of kosher salt
For the buttercream:
- 1 cup (2 sticks) unsalted butter, room temperature
- 4 cups (454 grams) powdered sugar, sifted
- pinch of kosher salt
- 3 tablespoons heavy cream
- 1 tablespoon pure vanilla extract
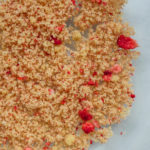
For the salted caramel sauce:
- 6 ounces (about 25 candies) Werther’s soft caramel candies, unwrapped
- 1 tablespoon water
- ½ teaspoon kosher salt
Special Tools:
Instructions
For the cookies:
- In a mixing bowl, cream together the butter and sugar until whipped and fluffy-about 2 minutes, scraping the sides of the bowl half-way through.
- Add in the egg and mix until fully incorporated. Then mix in the molasses and water.
- Next, dump in the flour, ground ginger, baking soda, cinnamon, cloves, and salt. Mix on low until no flour is visible, and then mix for an additional 30 seconds on medium-high until dough reaches the consistency of Play Doh.
- Chill the dough for 15-20 minutes (I keep it in the mixing bowl). While dough chills, preheat oven to 350°f.
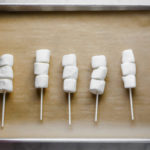
- Line two cookie sheets with parchment. When dough is done chilling, use a 2 ounce disher (blue handled, #16) or ¼ cup measuring cup to scoop out balls of dough placing 5 balls on each cookie sheet. Keep about 2-3” of space between cookies, as these spread out while they bake.
- Bake for 14-15 minutes. Cool on cookie sheets until room temperature. Cookies will still be soft but will firm up as they cool.

For the buttercream frosting:
- While the cookies are baking, make the frosting by first whipping the butter until creamy and lighter in color, about 1 minute. Next add in the powdered sugar, mixing on lowest setting until the powdered sugar has absorbed most of the butter. Stop, scrap down the sides, and then mix on medium high until it starts to whip up and resemble frosting.
- Next, add in vanilla and cream, mixing on low, and then gradually increasing to high. Whip for two minutes until light and fluffy. Set aside.
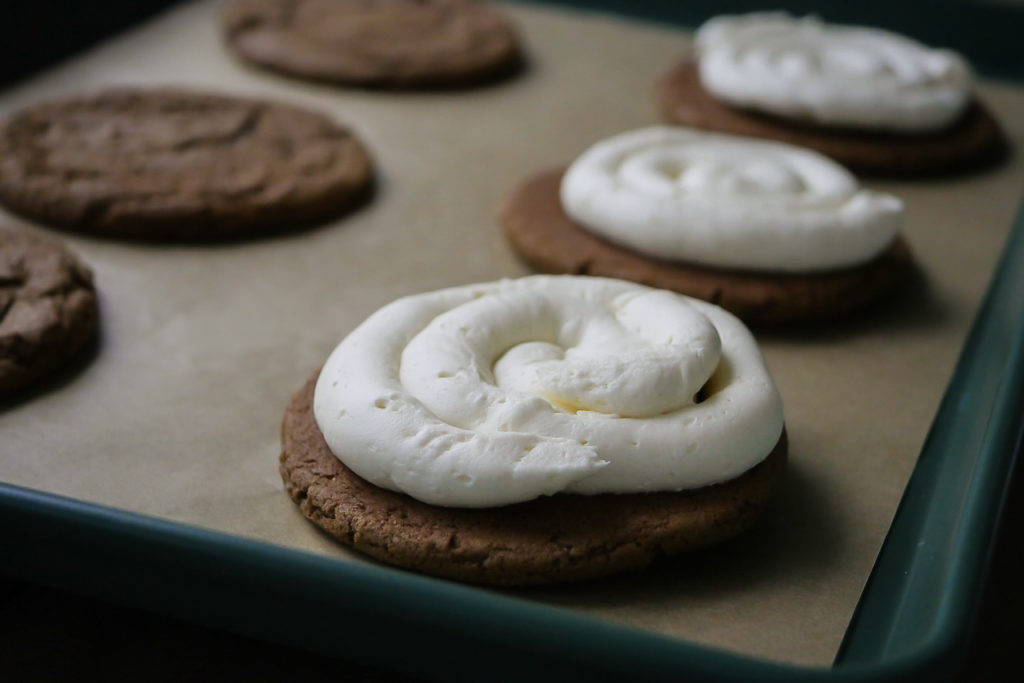
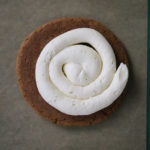
- When cookies are room temperature, move frosting to a piping bag fitting with a round piping tip. Pipe the frosting onto the bottom cookie half in a spiral starting from the center and moving outward. Set aside.
For the salted caramel sauce:
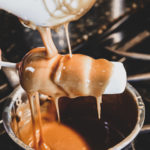
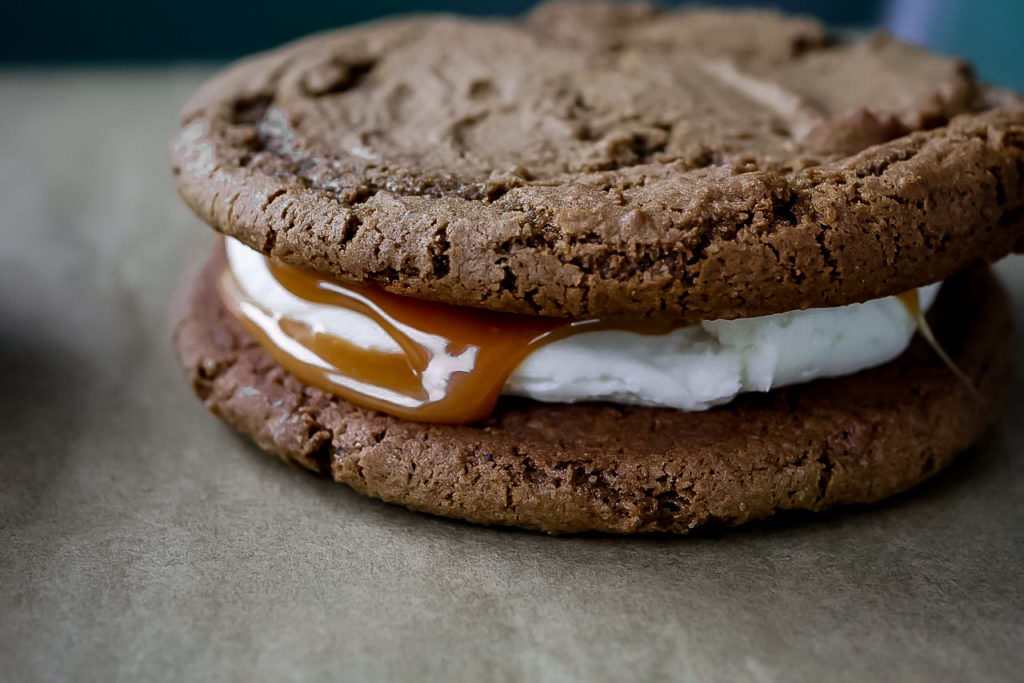
- To make the caramel sauce, combine the unwrapped caramels, water, and salt into a small saucepan over medium-low heat. When the caramels start to soften, mix continuously until smooth. Remove from the heat and let cool for 5 minutes, stirring frequently.
- When the caramel is still pourable, but not super liquidy, drizzle over the buttercream halves (if the caramel is too hot, it will melt the buttercream). Top with the other cookie half and enjoy!
Notes
- Dough can be made in advance and stored in an airtight container in the refrigerator for up to 3 days.
- If you want to make smaller cookies, reduce cooking time by about 5 minutes.
- Cookies can be baked ahead of time and stored in an airtight container on the counter for up to 5 days. They can also be individually wrapped and frozen up to 4 months.
- This frosting will make slightly more than you need. Extra frosting can be stored in an airtight container in the refrigerator for up to a week. Let come to room temp and re-whip if necessary before using.
- Frosting can also be spread onto the cookies instead of piped if you prefer.
- Any unused caramel sauce can be stored in an airtight container in the refrigerator for up to a month. If sauce sticks in the pan, re-warm slightly until soft and then transfer to the container.
- Assembled cookies can be stored tightly wrapped in the refrigerator for up to 3 days.
Nutrition
- Serving Size: 5 Cookies