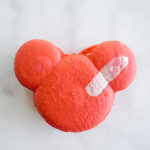
Where can I find the original treat?
- The original treat is located at the Jolly Holiday Bakery Cafe at the Disneyland Resort.
When I started this website back in 2018, I had planned on making some of my favorite evergreen park treats to kick things off. However, that plan quickly unraveled when I attempted to make what I thought would be an easy recipe: the Matterhorn Macaroon.
In retrospect, I was overthinking it. Was it like a cake? Or a cookie? I attempted to try a few recipes on the internet, except… they all failed. Butter? It melted! You cannot get the structure correct with butter. Six tries later I decided to put it to bed for another time. I had other recipes made and photographed, and no one wanted to eat another coconut dessert for some time.
With some space between those frustrating weeks (weeks!!!) years ago now, I approached this again with fresh eyes, and the realization that a trusty, straightforward macaroon recipe would prevail, I bring to you today, the Matterhorn Macaroon.
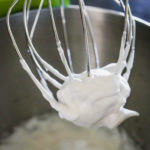
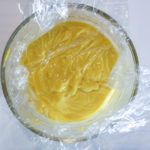
What makes this recipe work is two things, whipped egg whites for structure, and a not-too-wet batter. You will pour out about 3 cups of coconut and a small amount of sweetened condensed milk and you will think the recipe is too dry; IT IS NOT TOO DRY.
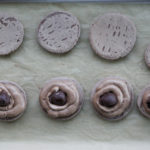
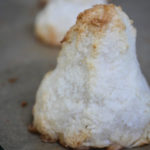
After you work the liquid in, and then fold in the egg whites, you can shape the mixture, and it will change noticeably little once it’s baked. Yes, it will shrink a bit down, but not much. And it definitely will not melt into a puddle of coconut shreds.
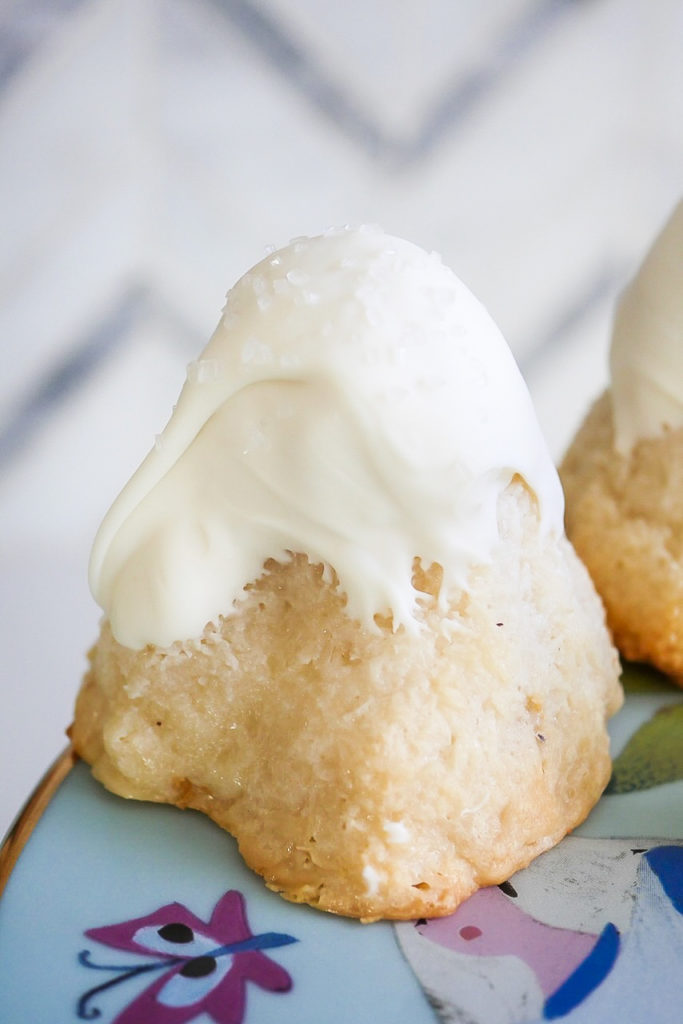
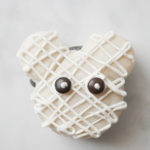
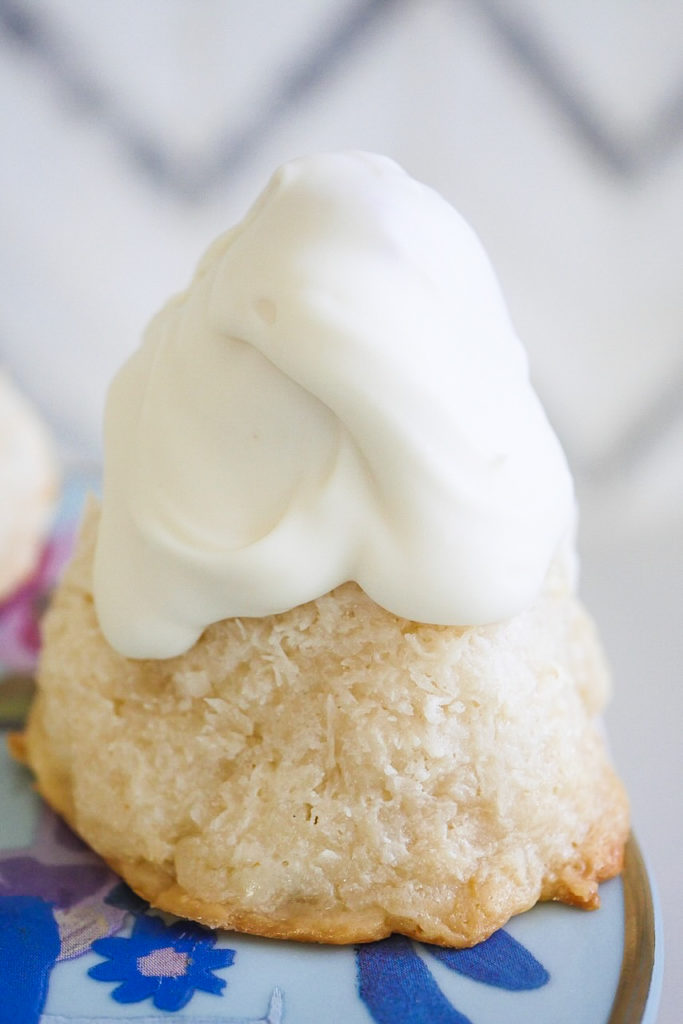
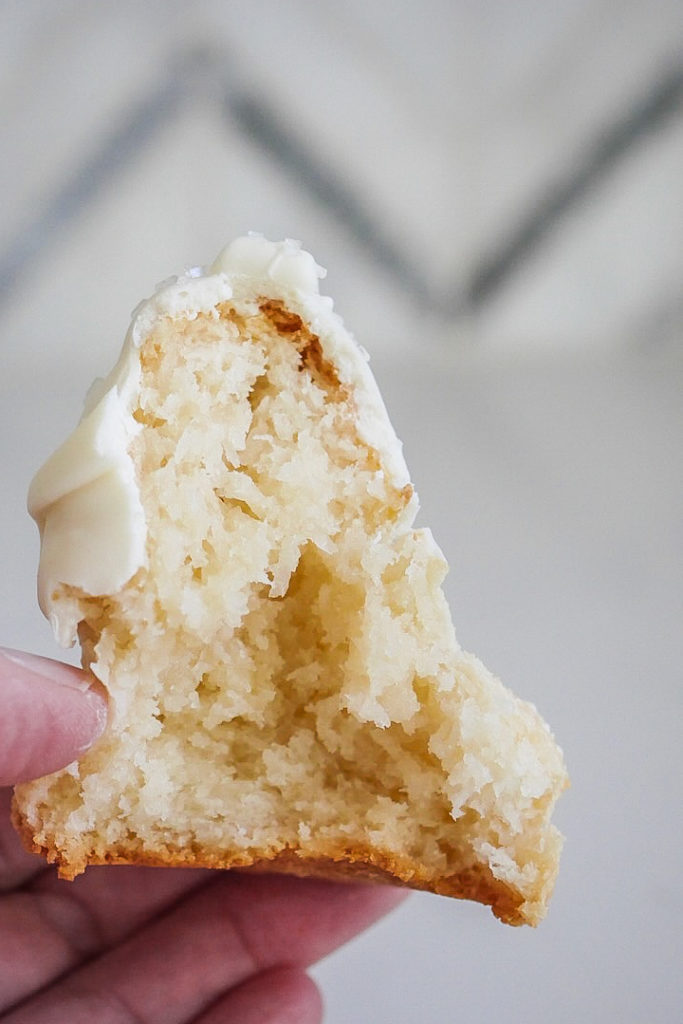
When you take them out of the oven, do not try and touch them! Let them get to room temperature, they shouldn’t even be warm to the touch at this point, because then they will firm up, and you will be able to dip them into the white chocolate without them breaking on you. And once they’ve set up, you’ll get a crisp outside and a chewy, soft interior.
![]() This recipe is very kid friendly! Let small hands mix, whip egg whites, and shape the mixture. With some supervision, younger kids can help melt the chocolate too (white chocolate should never get too hot regardless, as it will burn!).
This recipe is very kid friendly! Let small hands mix, whip egg whites, and shape the mixture. With some supervision, younger kids can help melt the chocolate too (white chocolate should never get too hot regardless, as it will burn!).
I really hope you enjoy making (and eating) these macaroons. And I’m so happy to finally cross this bucket-list recipe off the list.
Print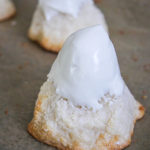
Matterhorn Macaroons
- Prep Time: 5 minutes
- Cooling Time: 1 hour
- Cook Time: 30 minutes
- Total Time: 1 hour 35 minutes
- Yield: 6–8 macaroons 1x
- Category: dessert
- Method: baking
- Cuisine: American
Description
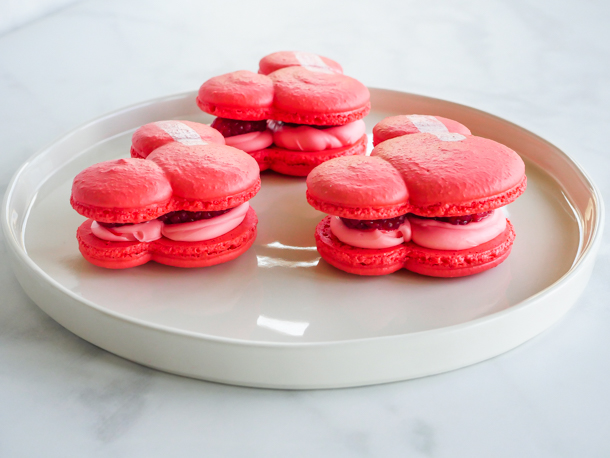
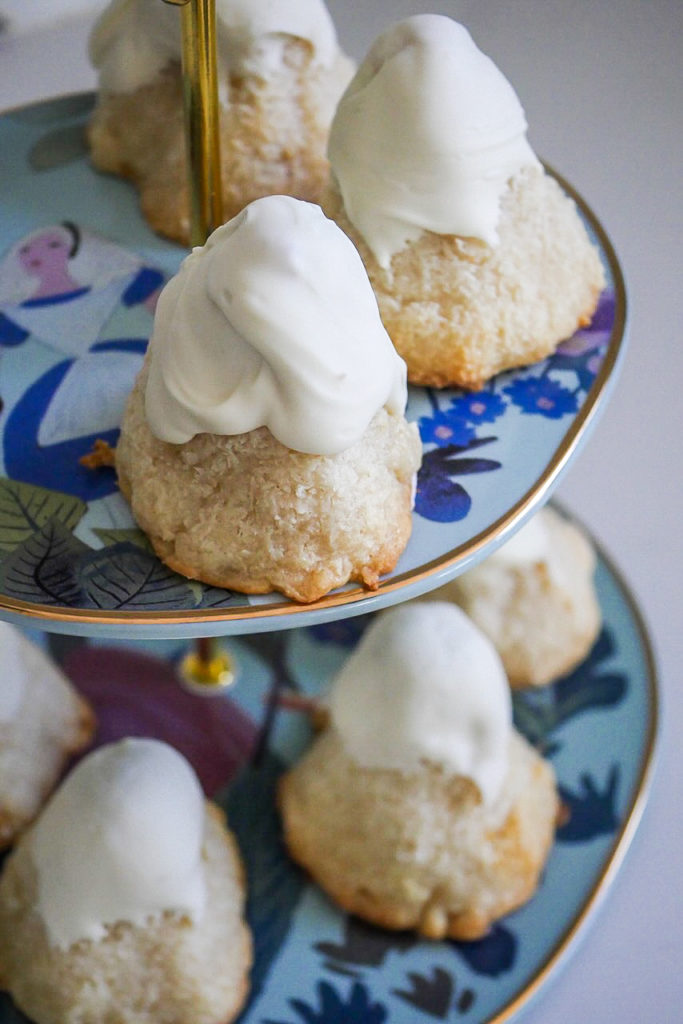
A mountain of crispy, chewy, sweet coconut macaroons await your taste buds with this Disneyland-inspired treat!
Ingredients
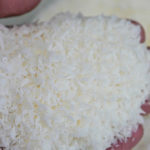
- 3 cups (300g) desiccated coconut (finely shredded), unsweetened
- 1/2 cup (100g) granulated sugar
- 2 tbsp rice flour (brown or white)
- 3/4 cup (250g) sweetened condensed milk
- 2 egg whites, from large eggs
- pinch of salt
- 1/2–3/4 cup white chocolate
Instructions
- In a mixing bowl, combine the coconut, sugar, and rice flour. Whisk to combine, and then pour the sweetened condensed milk over the top. Mix to combine.
- In a clean mixing bowl, pour in the egg white and the pinch of salt. Whip until stiff peaks are reached.
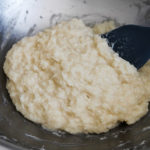
- Gently fold in the whipped egg whites into the coconut mixture. Refrigerate for 30 minutes.
- Preheat the oven to 300°f. Line a sheet pan with parchment and set aside.
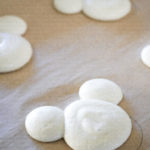
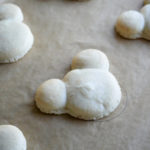
- After your mixture has chilled, evenly scoop out 6-8 portions of the mixture. Form each scoop into your mountain, using your fingers to make indentations. The mixture will settle slightly as it bakes, so make the mountain a bit on the skinny side. Flatten the bottoms to stand on the sheet pan.
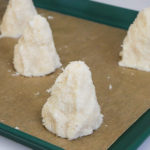
- Bake for 28-30 minutes, until top and bottom edges are golden.
- Remove the tray from the oven and allow the macaroons to cool on the pan.
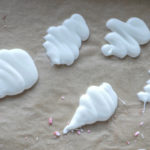
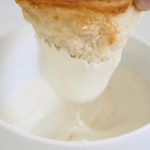
- Once the macaroons are cool, melt the white chocolate in the microwave in a heat proof bowl, like glass, in 15-20 second bursts, stirring in between.
- When the chocolate is melted and smooth, dip the top 1/3 of the macaroon into the chocolate, rolling the macaroon around to coat evenly. Set aside on a piece of parchment and repeat with all the macaroons. Allow at least an hour for chocolate to fully set.
- Macaroons will keep at room temperature in an airtight container for up to one week. Store in the freezer (coated or uncoated with chocolate) for up to 3 months.
Notes
- If your mixture feels very wet, sprinkle in more shredded coconut a tablespoon at a time.
- Brown rice flour makes this treat gluten free. However, if rice flour is unavailable, you can sub in coconut flour or cake flour.
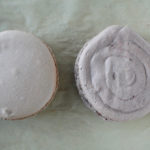
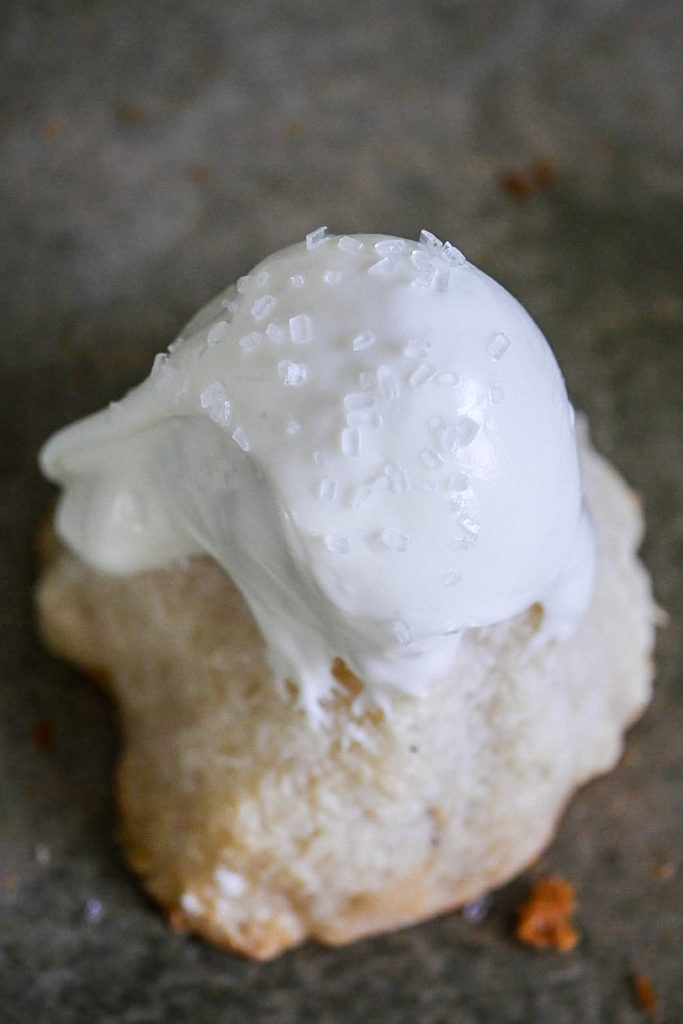
- The presentation of the Matterhorn Macaroon is not consistent. Sometimes there has been a powdery-like top to the white chocolate. I’ve also had it with sugar crystals on top. Feel free to decorate yours however you’d like!
- Recipe can be halved if desired.
- Macaroons can be frozen in a freezer safe container for up to 3 months. Defrost overnight in the refrigerator to enjoy the next day.