Where can I find the original treat?
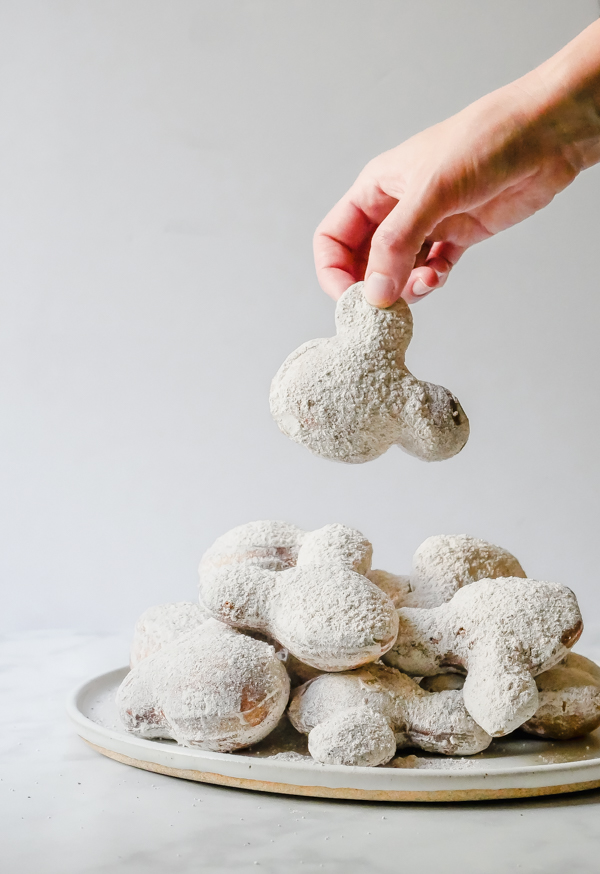
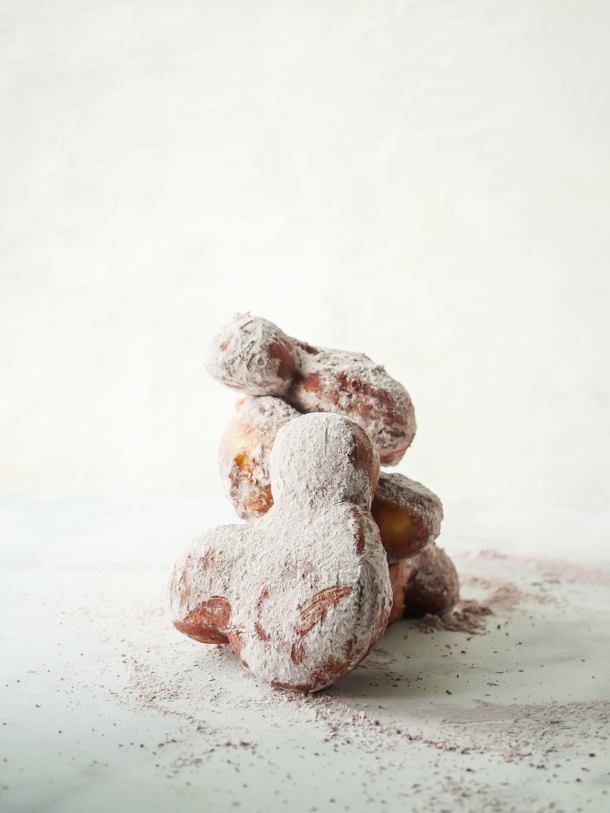
- Classic Mickey beignets can be found at the Mint Julep Bar in Disneyland Park.
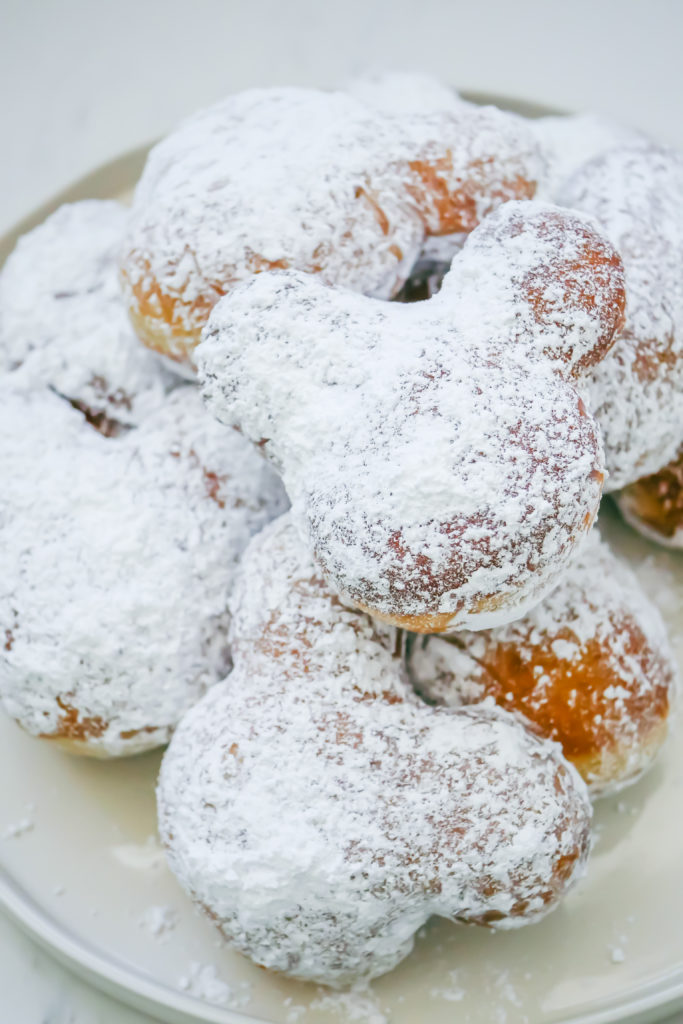
I get it. You love seasonal beignet recipes but sometimes just a classic beignet is what you crave. I got you! Now grab some powdered sugar and read on.
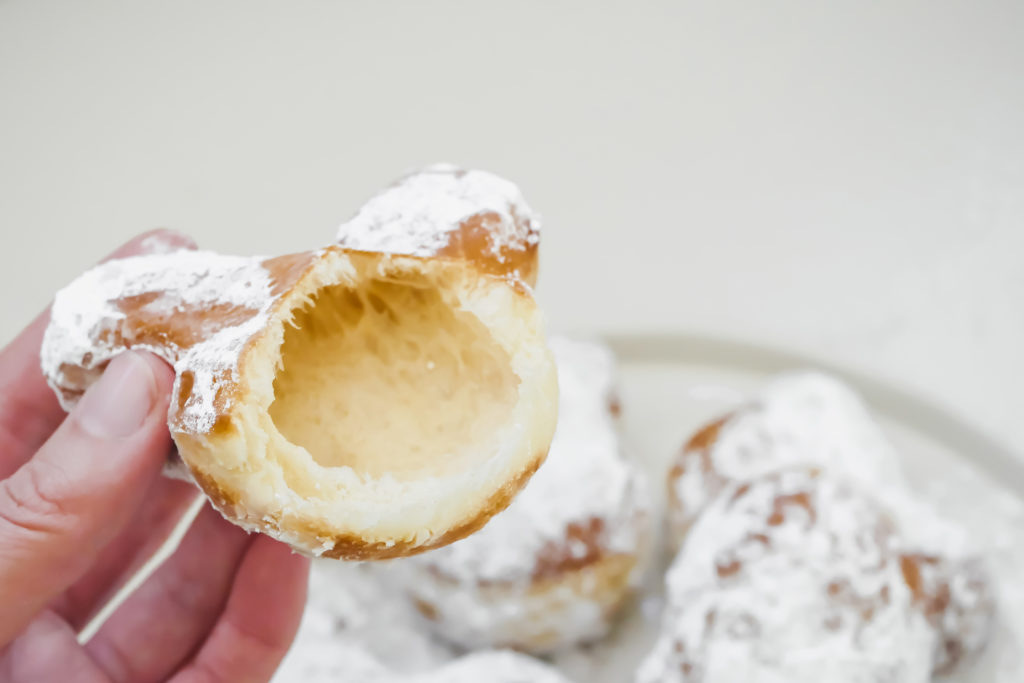
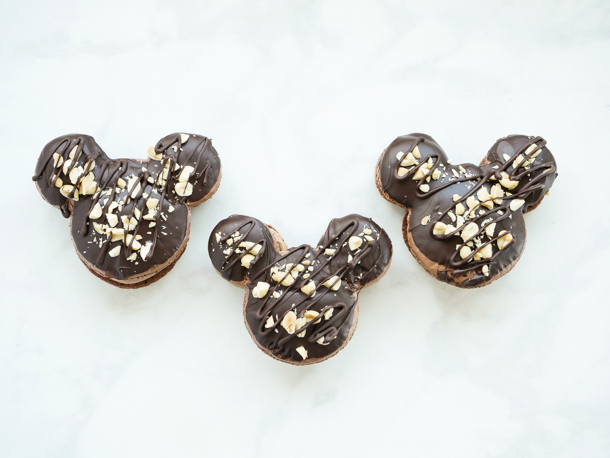
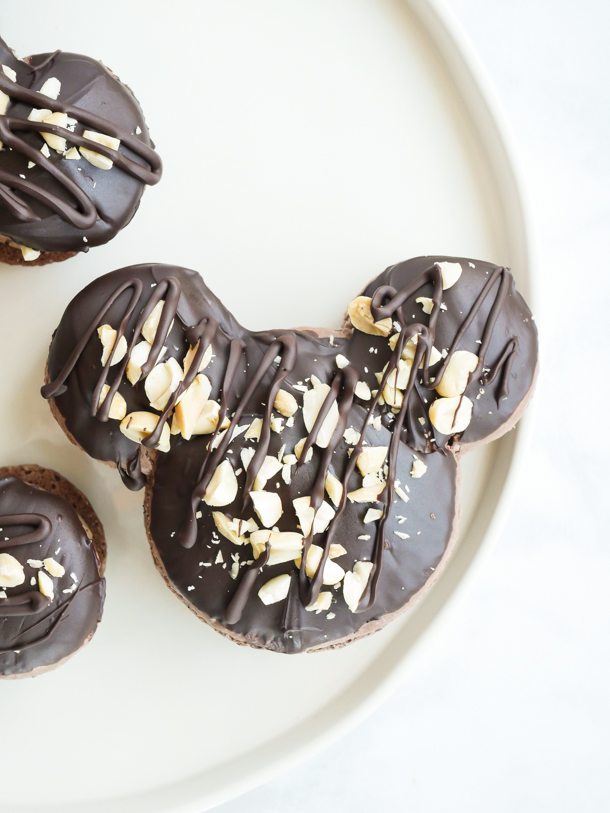
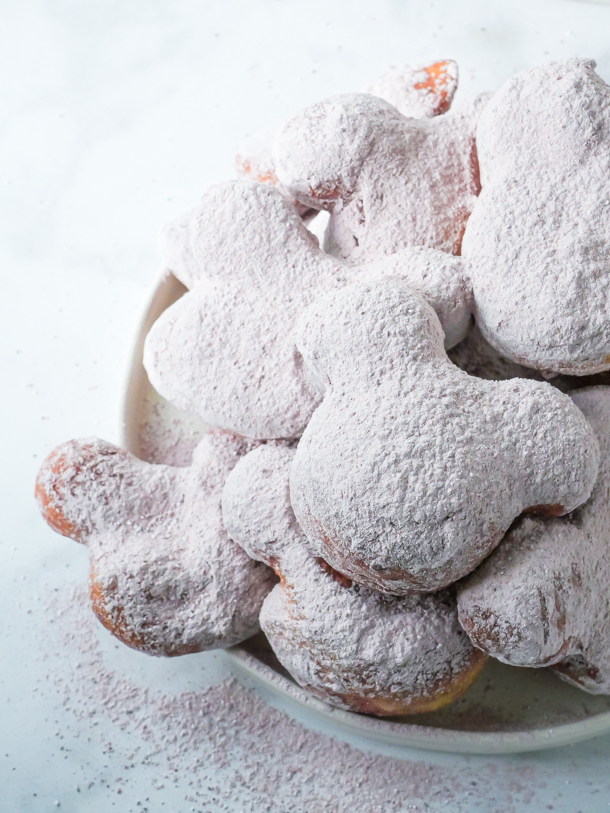
There is nothing like a bag of warm, pillow-y beignets absolutely drenched in powdered sugar that you can snack on while admiring the castle views. But now you can recreate the experience at home too! And today I’ll show you how. Don’t panic looking at the steps; these are made from scratch and that takes a little time. But this dough is easy and I promise you’ll be a beignet pro in no time.
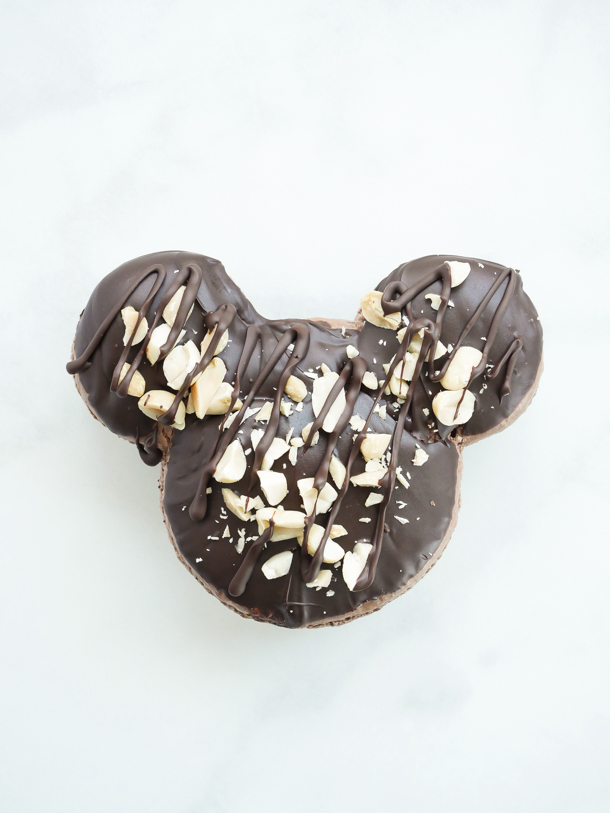
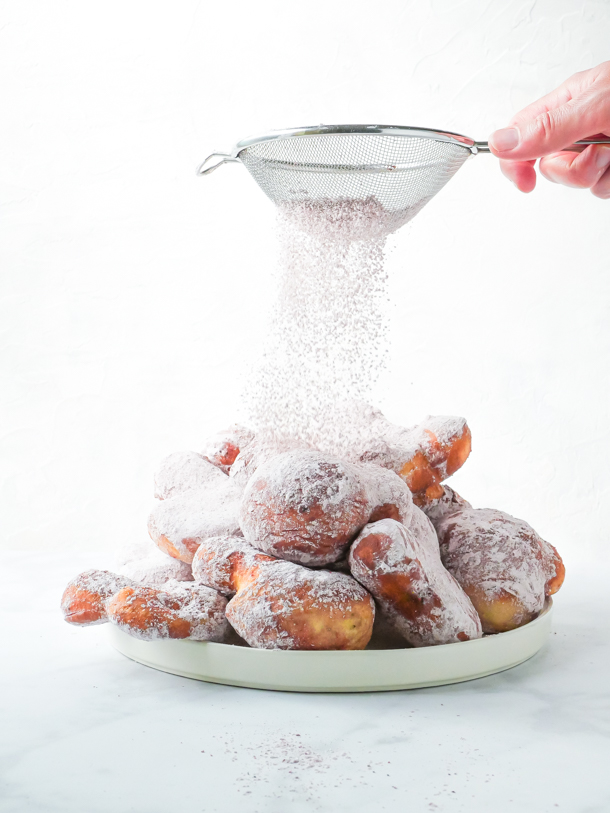
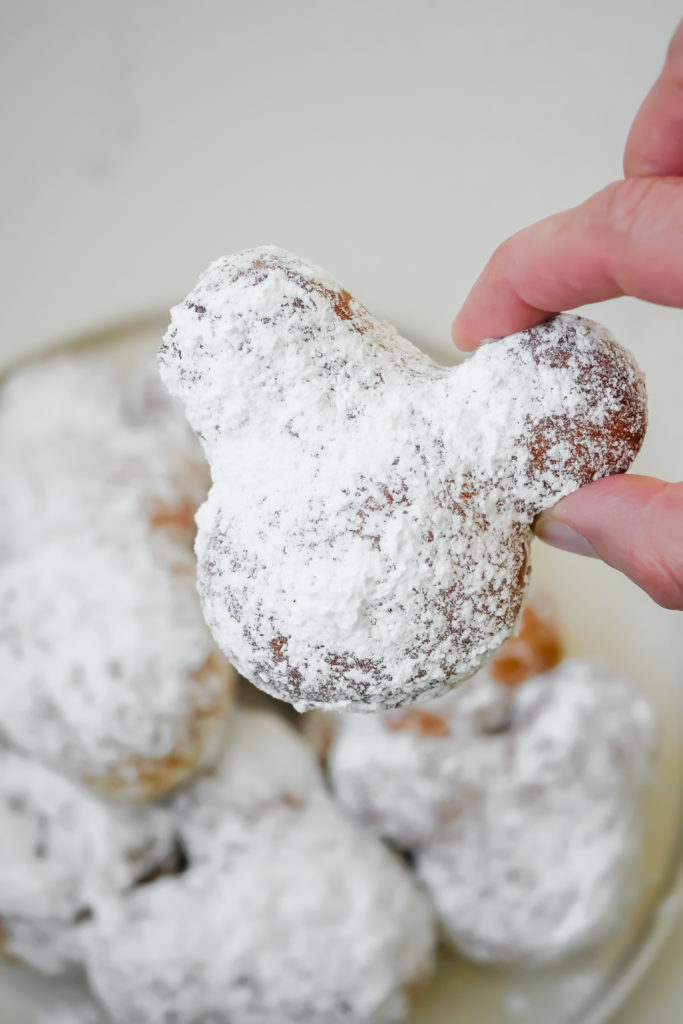
![]() If you’ve got a few young helpers in the kitchen, save the fun part for them: tossing the beignets in powdered sugar! Older kids can help mix, knead, roll, and shape as well. However, only let experienced bakers handle the frying; that heat is no joke! I might speak from experience…
If you’ve got a few young helpers in the kitchen, save the fun part for them: tossing the beignets in powdered sugar! Older kids can help mix, knead, roll, and shape as well. However, only let experienced bakers handle the frying; that heat is no joke! I might speak from experience…
While some of the equipment is optional (No stand mixer? No problem! Get those muscles working by hand mixing.), a digital thermometer and a deep pot for frying are very helpful here. And if you have any questions, shoot us an email, or leave a comment below. And make sure to check after the recipe for a helpful list of tips and tricks. Beignet happiness is just a few hours away…

Classic Mickey Shaped Beignets
- Prep Time: 10
- Rest Time: 2 hours
- Cook Time: 10
- Total Time: 2 hours 20 minutes
- Yield: 15–18 Mickey beignets 1x
- Category: Snack
- Cuisine: American
Description
Classic Mickey shaped beignets are simple but delicious. A Disneyland-inspired treat.
Ingredients
- 1/2 teaspoon dry yeast
- 1/4 cup warm water (110º)
- 1/4 cup (50 g) sugar
- 2 tablespoons vegetable shortening (I used refined coconut oil)
- 1/2 teaspoon salt
- 1/2 cup heavy cream, or alternative milk
- 1 egg
- 4 cups all-purpose flour
- 1/2 cup boiling water
- Vegetable oil for frying, like avocado
- 1 cup powdered sugar
Specialty Tools:
Instructions
- Sprinkle yeast and a pinch of sugar over warm water in a small bowl, gently stirring to mix. Let stand for 5 minutes.

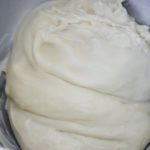
- Combine sugar, shortening, salt, heavy cream, egg, flour and boiling water in a large bowl. Mix until everything is just combined and then stir in yeast mixture. With the dough hook attachment of an electric mixer on medium-low speed (see notes below for mixing by hand), mix the dough just until combined and smooth. About 5-7 minutes. Let dough rest for 30 minutes in the bowl.
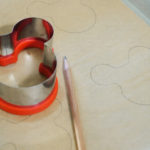
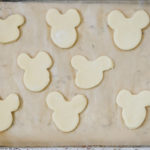
- Lightly flour your surface and roll to 1/4-inch thickness. Using the Mickey Mouse cutter, cut dough pieces, twisting slightly, and carefully removing dough from around cutter before releasing. You may have to combine dough and roll out again to cut more shapes out. Cover with a towel and let dough rise until doubled in size in a warm, draft-free area, about 1-1/2 to 2 hours.
- While dough is rising, put the powdered sugar in a large bowl. Set aside.
- Pour enough oil into a deep-sided, heavy bottomed pot until it reaches 2 inches up sides; heat oil over medium heat to 370°F. You may have to adjust the burner on your stove to keep the temperature at 370°F, especially after removing a batch.
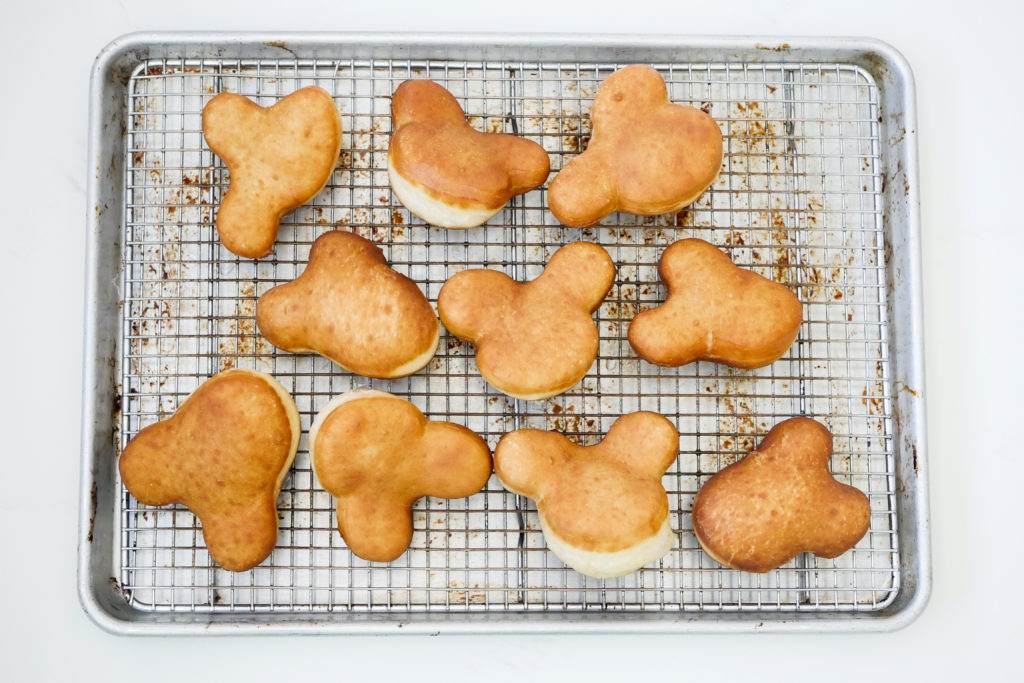
- Add 2-3 beignets to oil; fry until golden brown on both sides, about a minute each, turning once.

- Remove from hot oil with a slotted spoon and place on a baking sheet lined with paper towels.
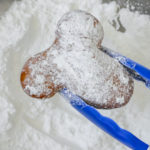
- Let rest at least five minutes, and then toss in the powdered sugar. You can sift extra sugar over all the beignets before serving.
- These are best fresh, but can be stored overnight in an air tight container on the counter for up to one day.
Notes
- If your powdered sugar is especially dry and lumpy, sift it first before you toss the beignets.
- Bread flour can be substituted 1:1 for all purpose flour here.
- If you are in a higher altitude, your dough may need less time to rise for the second proof.
- Dough may have to be recombined and rolled a second time if you have a lot of scraps.
- Wait for oil to come back to temperature before adding next batch of beignets to the pot.
- No dough hook attachment? Knead dough until smooth and shiny, about 5-8 minutes and then proceed with the recipe.
- Want to make these at night for the next morning? After cutting Mickey Mouse shapes out. Transfer to a baking sheet and let rest, covered with a towel, in the refrigerator overnight. Let come to room temperature before frying in the morning. Dough shapes can also be frozen and then left in refrigerator overnight and fried off.
- Strain your oil after it reaches room temperature. It can be used again!