Hello everyone and welcome back to Magical Treats at Home! It’s been almost a year since we’ve been able to bring you some theme park inspired treats, and well, you’ll still need to sit tight for a new one but we’ll squeeze one in before year-end. Promise! Until then, THANK YOU for visiting, and THANK YOU for making these treats!
Now let’s look check out some Thanksgiving Day (or week!) treats to make!
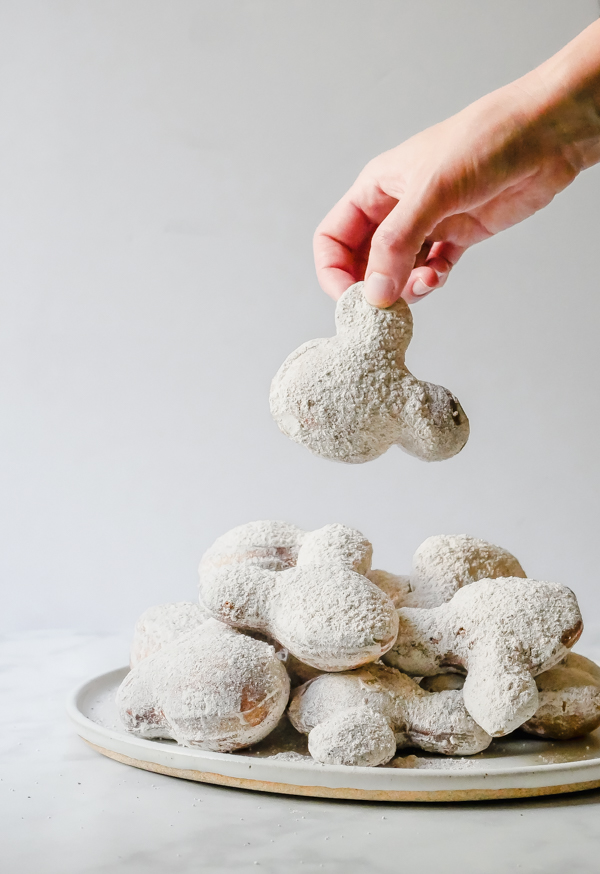
Mickey Mouse Pumpkin Spice Beignets
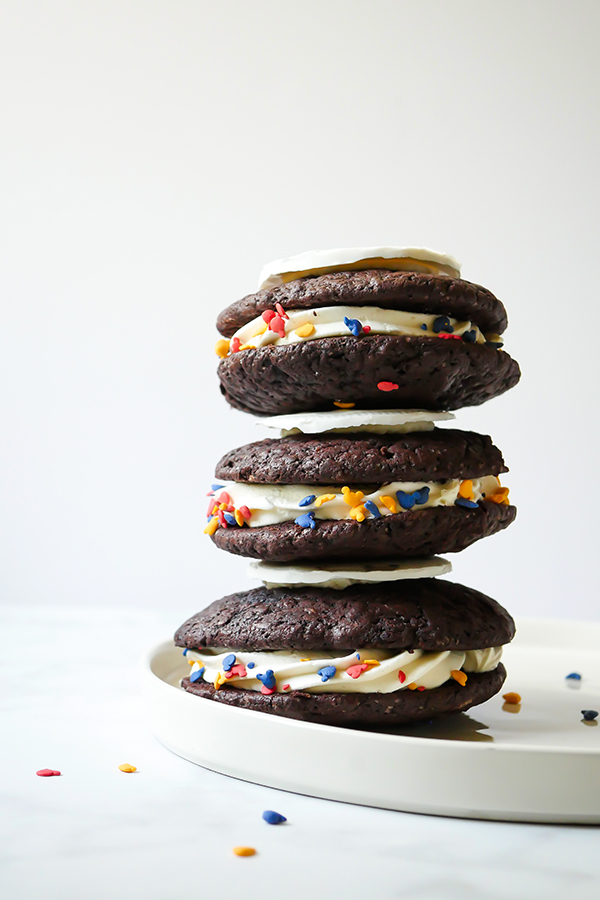
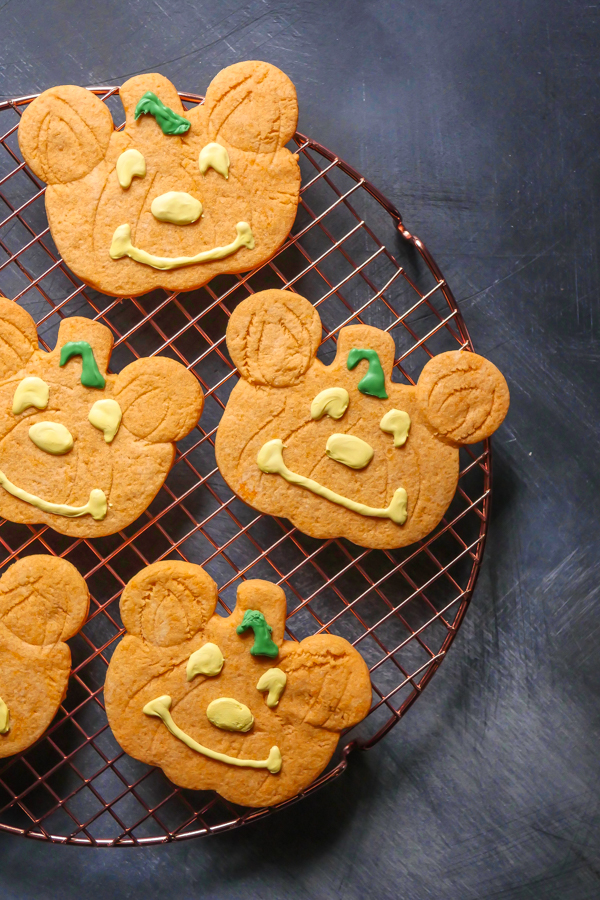
Mickey Mouse Celebration Whoopie Pies