Where can I find the original treat?
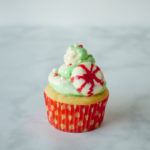
- This holiday treat is located in Critter Country.
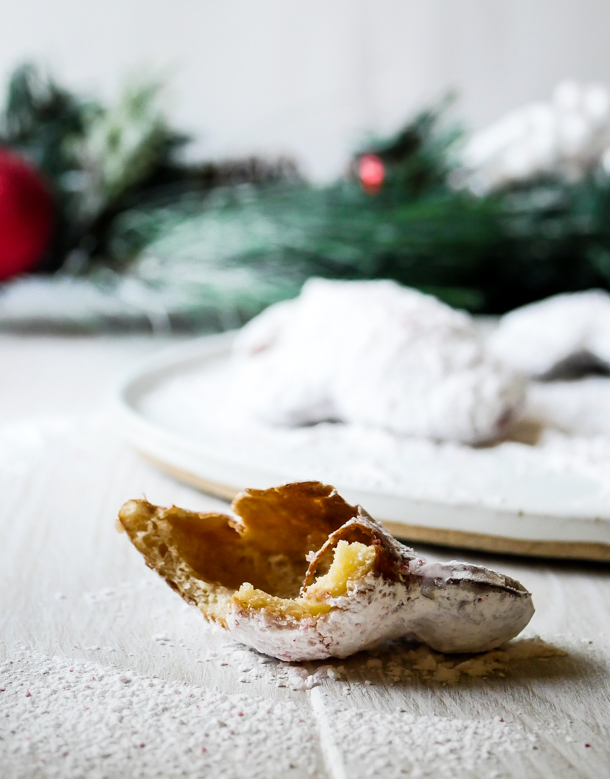
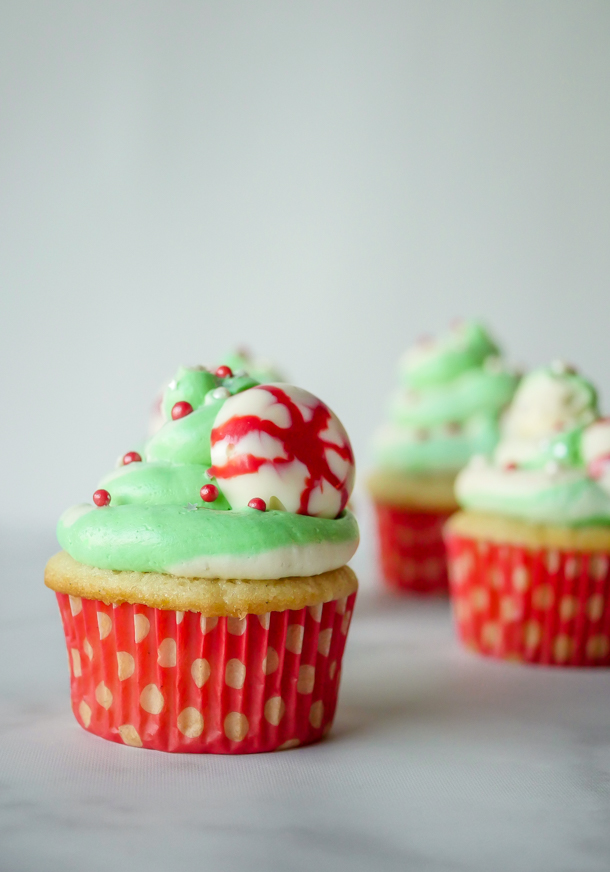
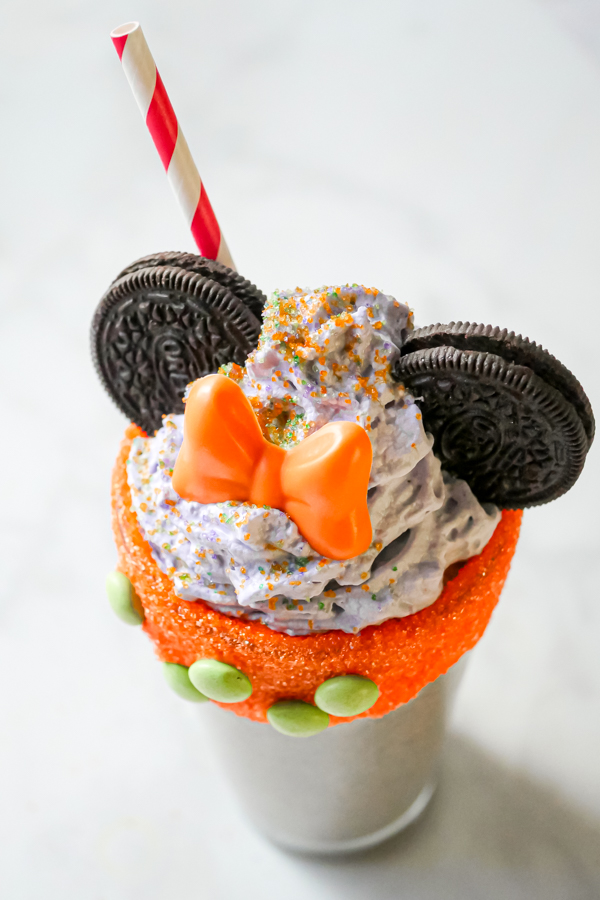
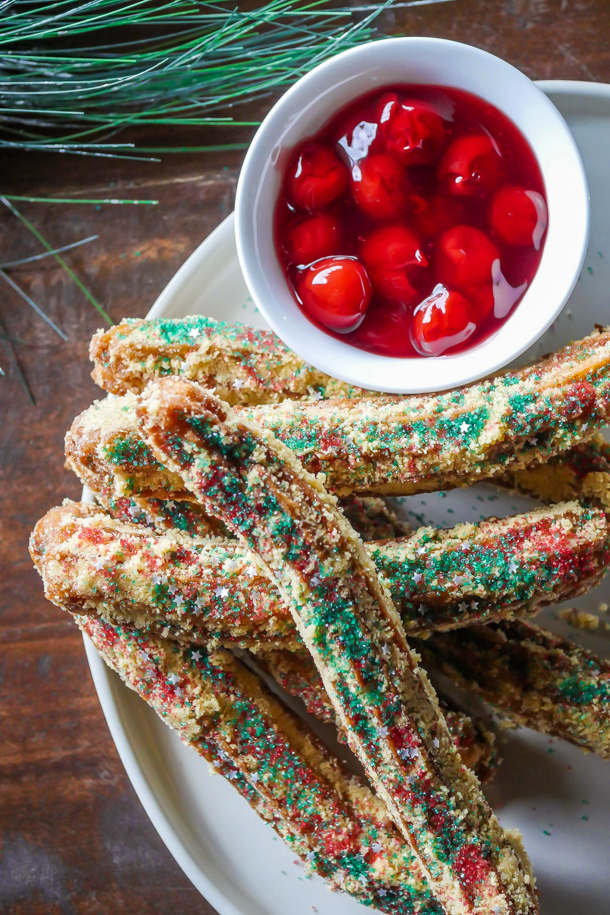
I haven’t counted, but I would bet there are more holiday churros out there than candy apples or rice crispy treats this year. There are just SO many to choose from, and narrowing down which I was going to choose came down to two things: flavor and nostalgia. And that churro was the Christmas Tree Churro.
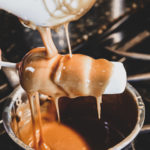
Here’s the weird thing about this particular churro, it was made differently from the posted photo, and I’ve seen it look different even from other people’s photos of it. So, I have to approach this recipe with a caveat: it might be different from what you had, but one thing everyone had in common was that it came with the cherry dipping sauce.
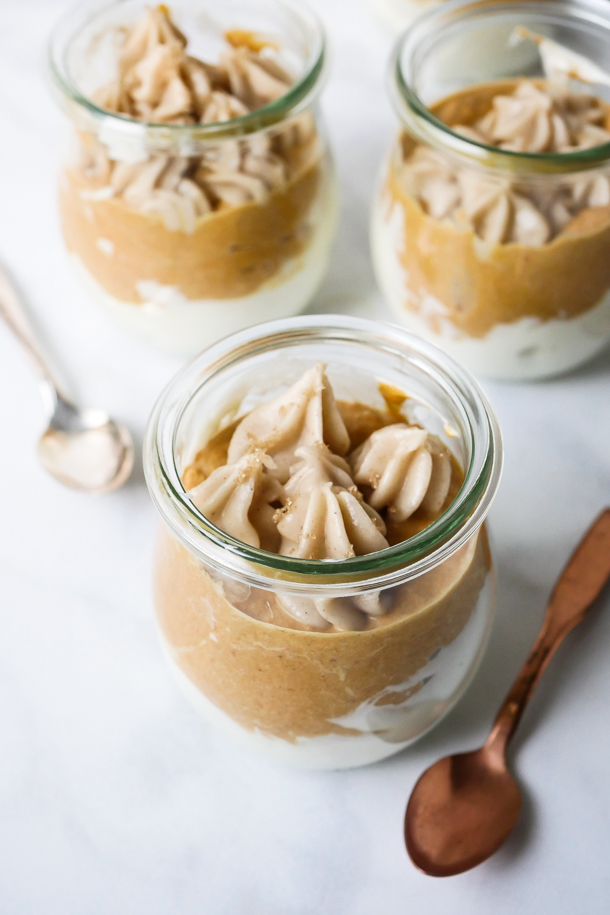
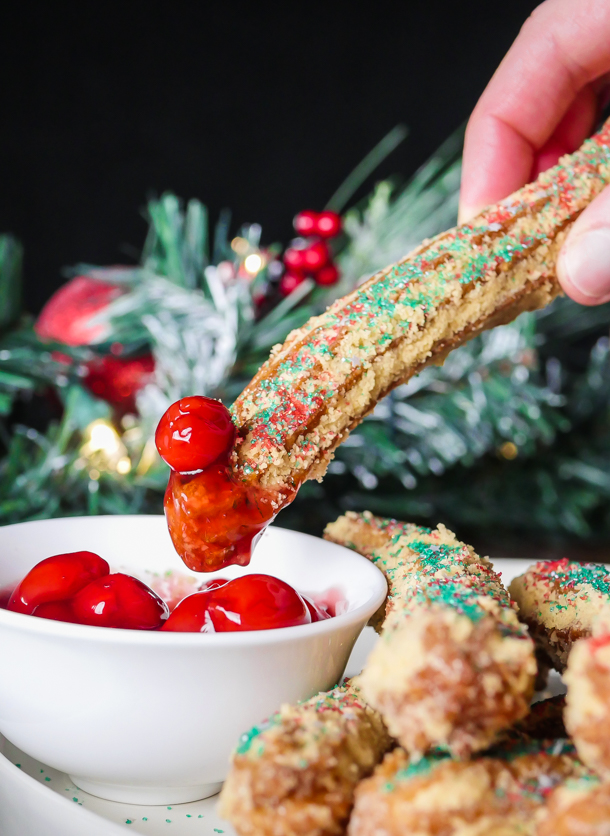
Now, it’s this cherry dipping sauce, with a very jelly-like consistency reminiscent of a doughnut or pie filling, that filled me with nostalgia. When I was younger, my Grandmother would make mini cheesecakes topped with jarred cherry jelly for every occasion. I’m talking birthdays, holidays, baby showers, pretty much any gathering we attended in the ’80’s and ’90’s always included a tray of these treats. And I loved them. Really, really loved them. I could probably eat 10 of these if no one was looking. I think I can pinpoint to these treats starting my obsession with cheesecake that still is going strong decades later.
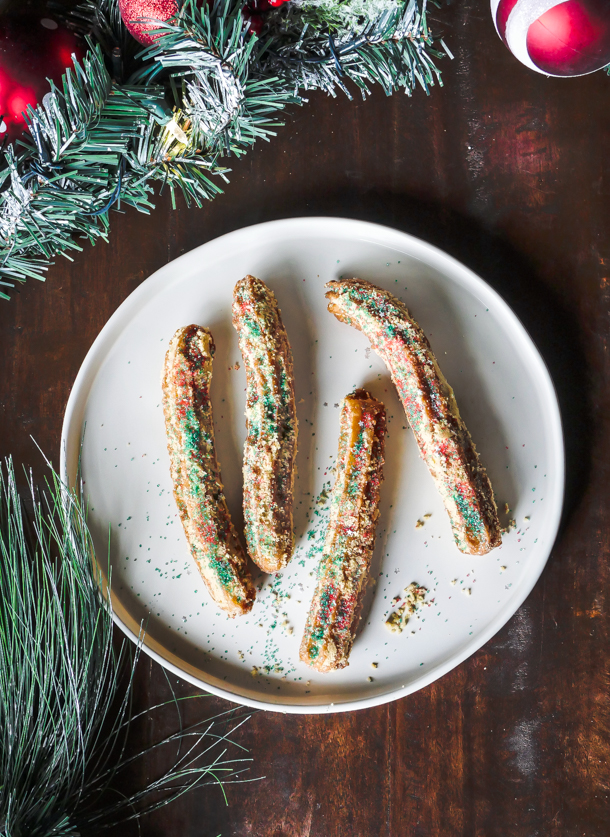
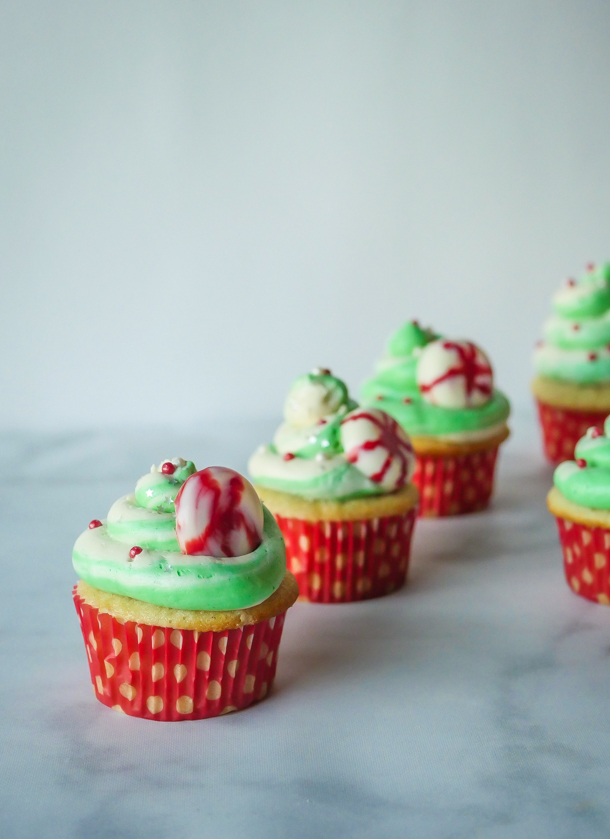
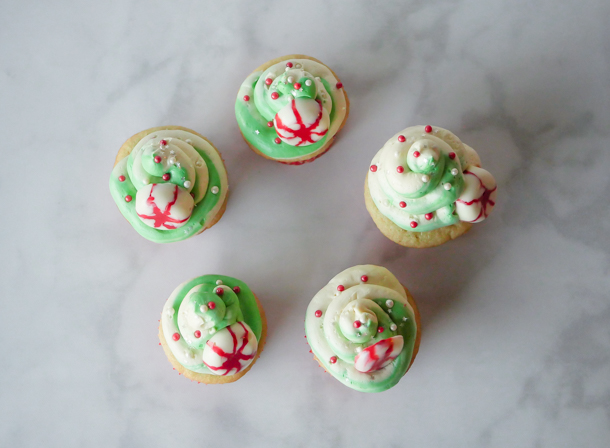
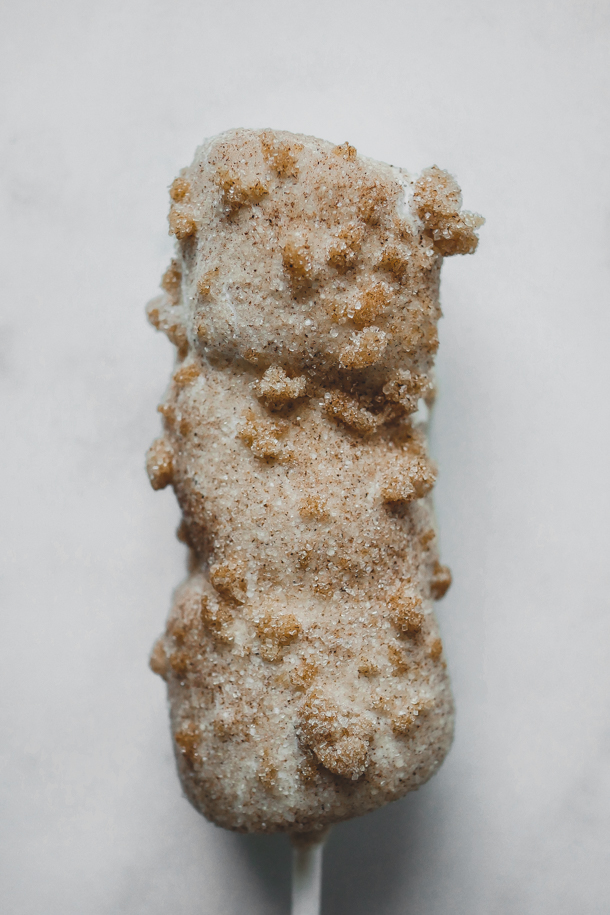
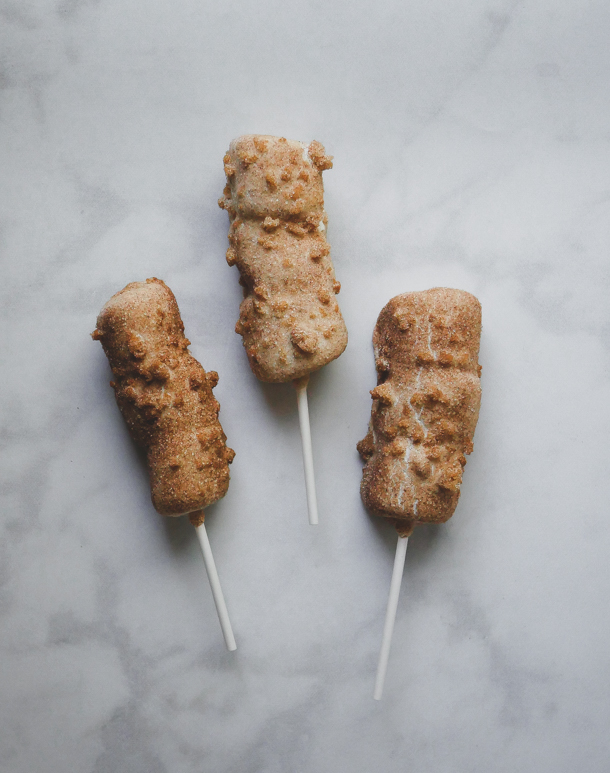
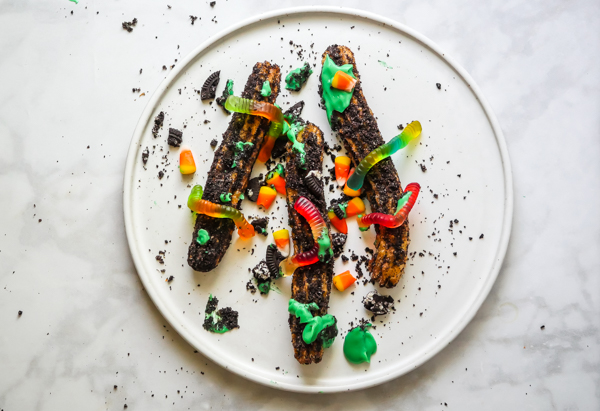
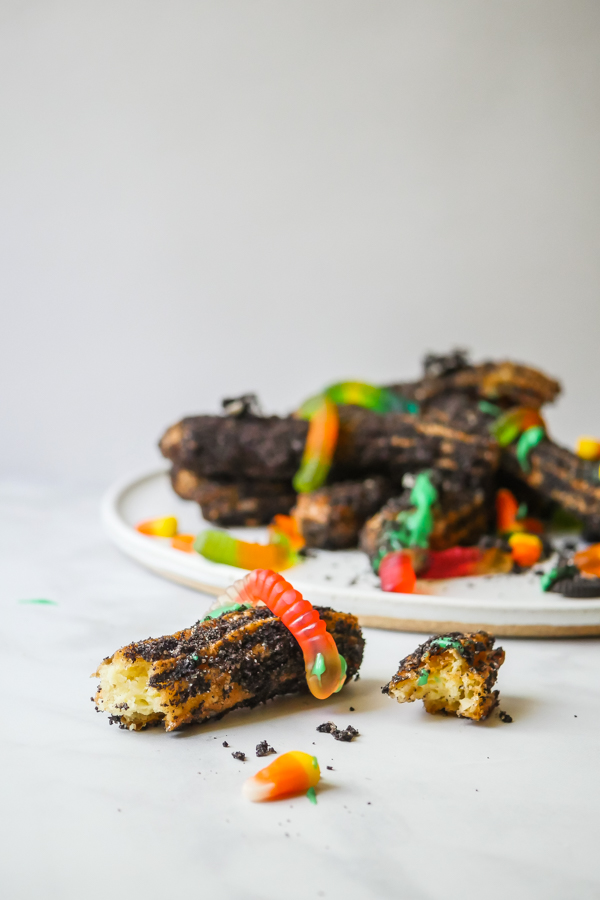
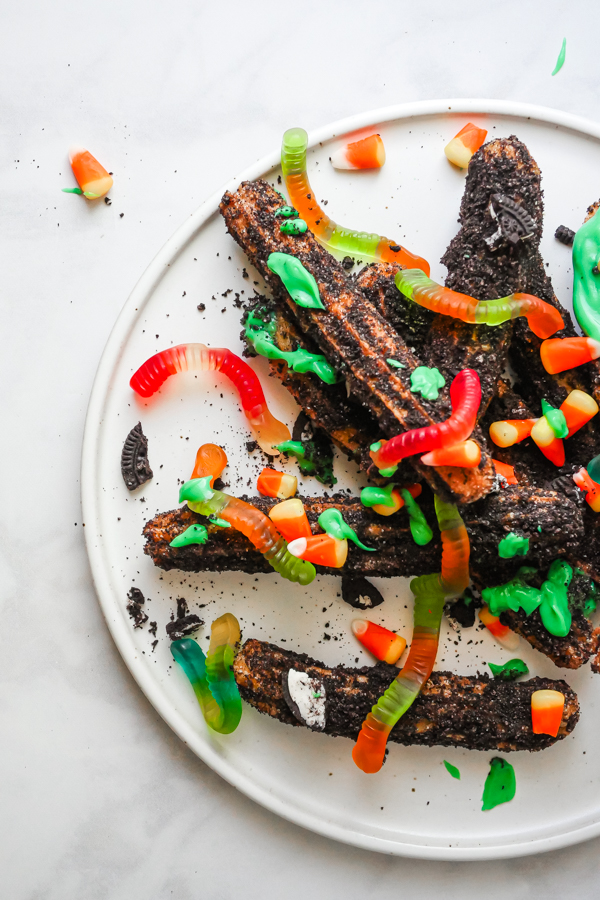
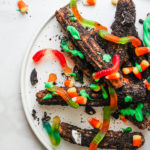
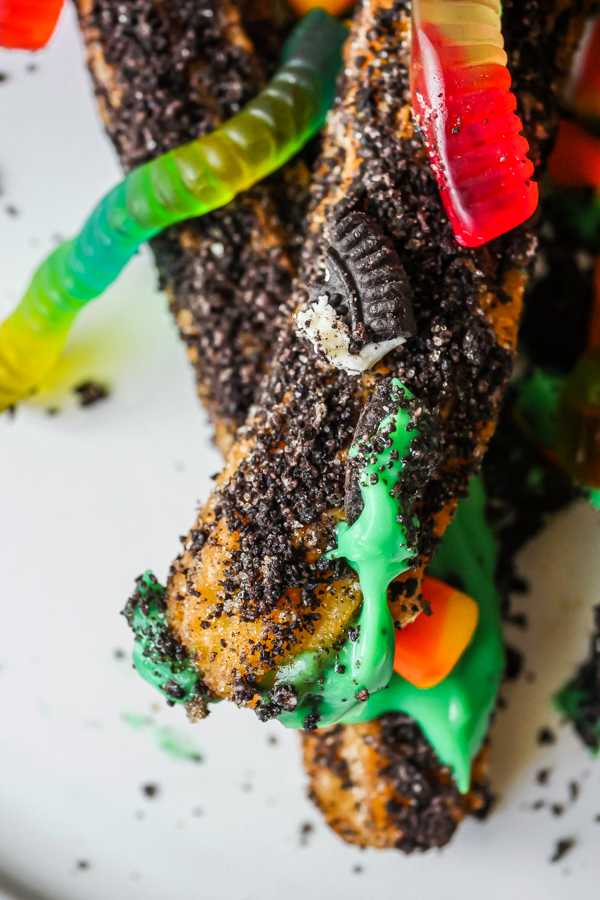
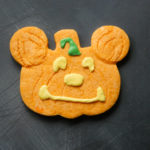
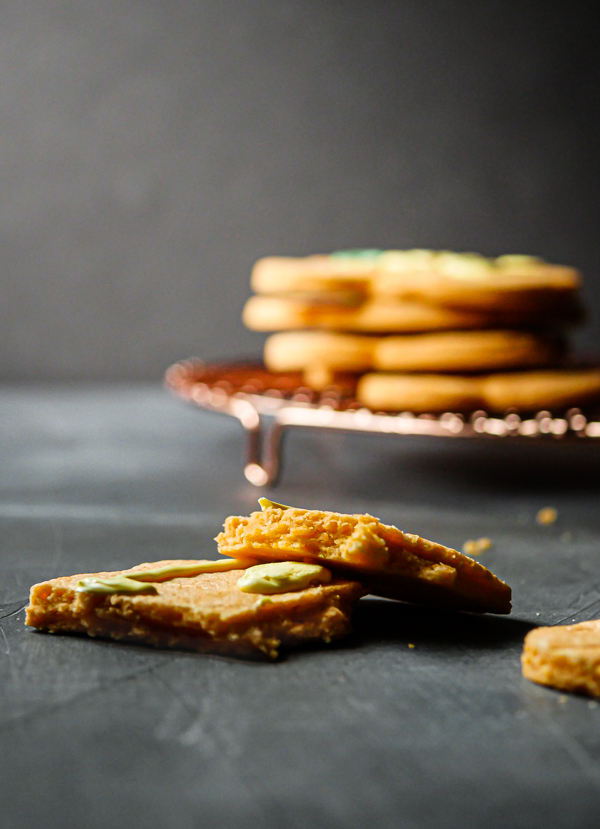
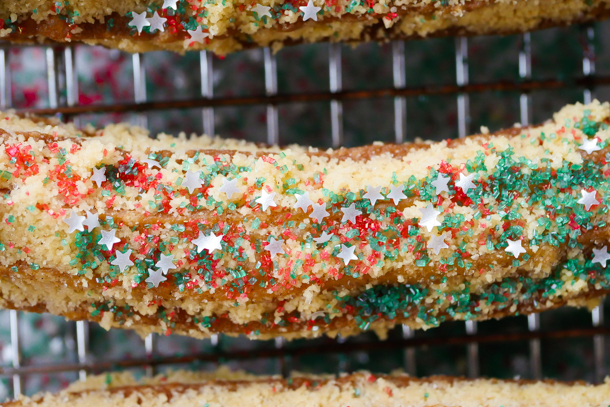
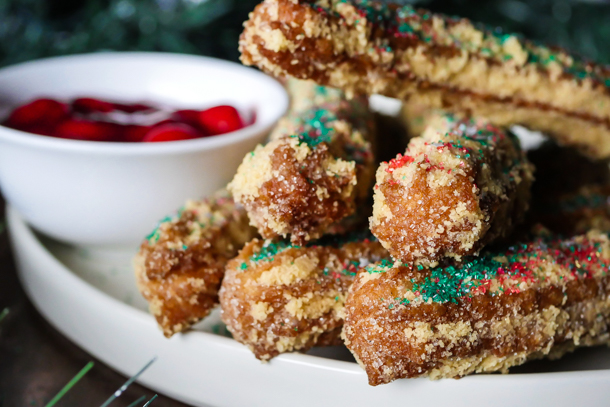
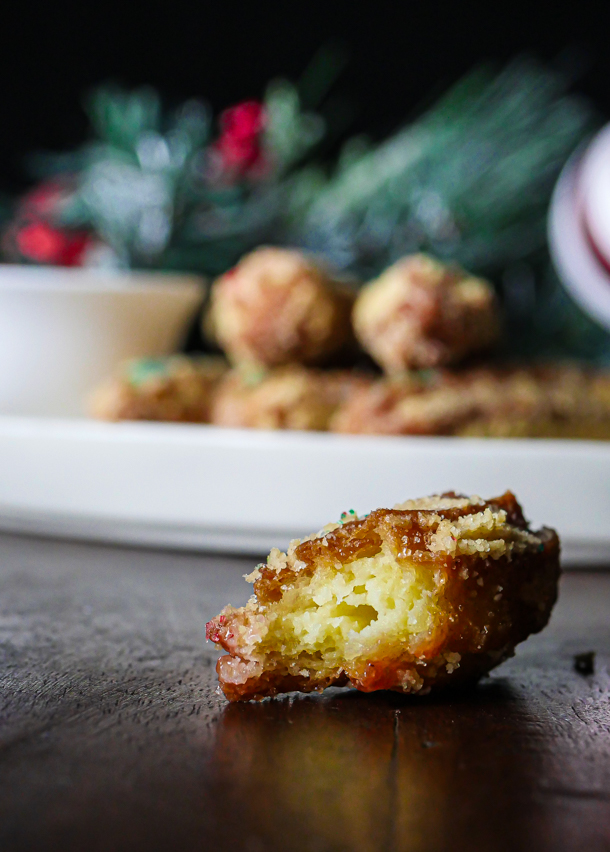
Anyways, these churros are the classic churro rolled in cookie crumbles and sprinkled with green (and apparently sometimes red) sanding sugar. The side comes with it (as opposed to costing extra), and altogether make for a classic looking holiday treat. I really love the buttery flavor the cookies impart here (similar to those Banana Pudding Churros from earlier in the year), and the tart cherry flavor cuts the sweetness back a bit, so combined it’s well balanced.
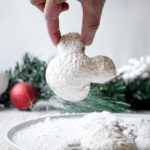
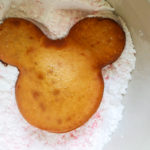
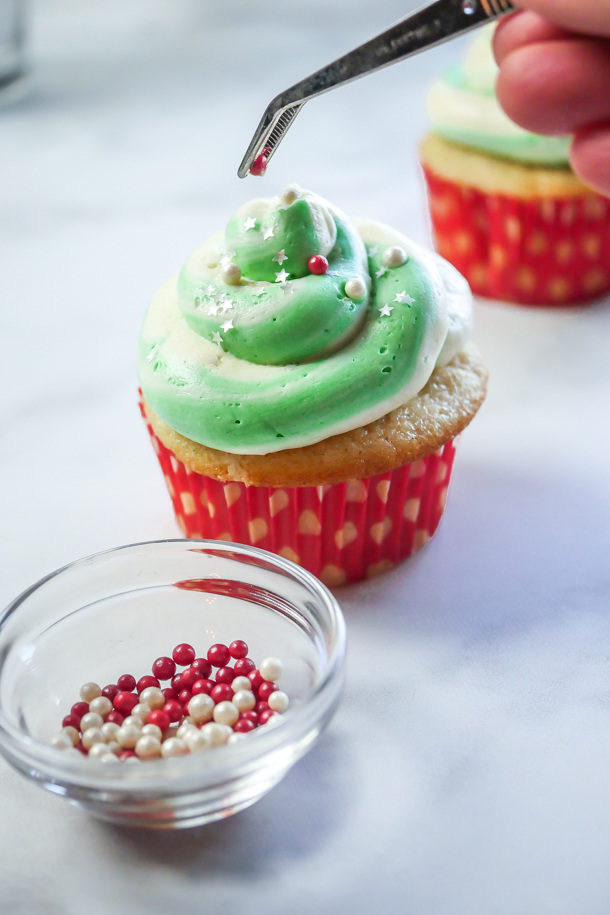
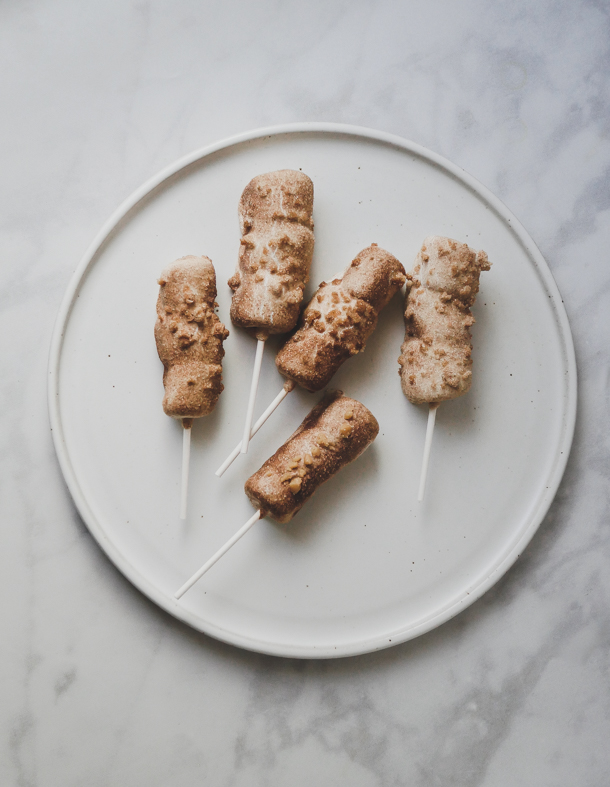
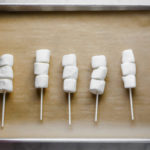
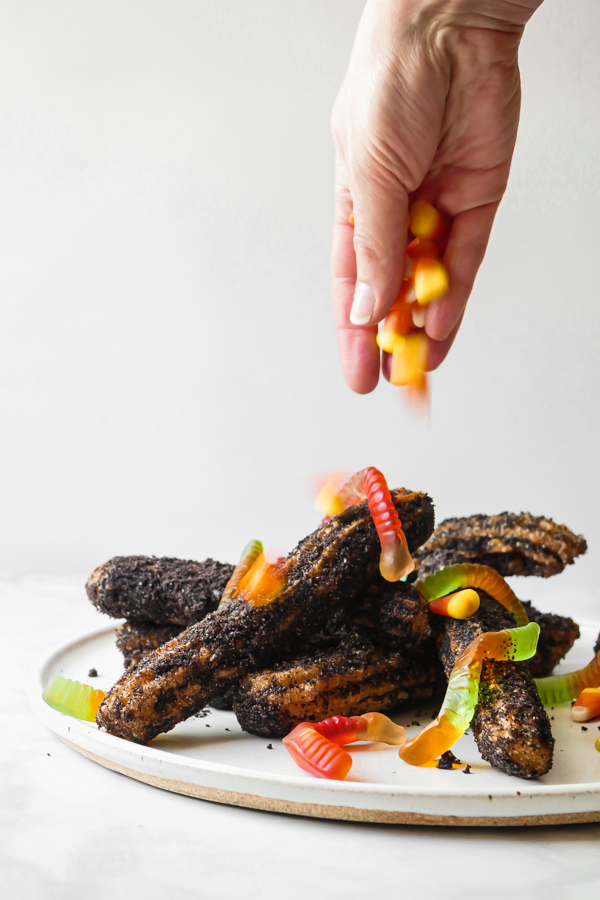
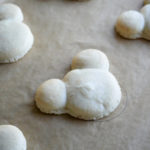
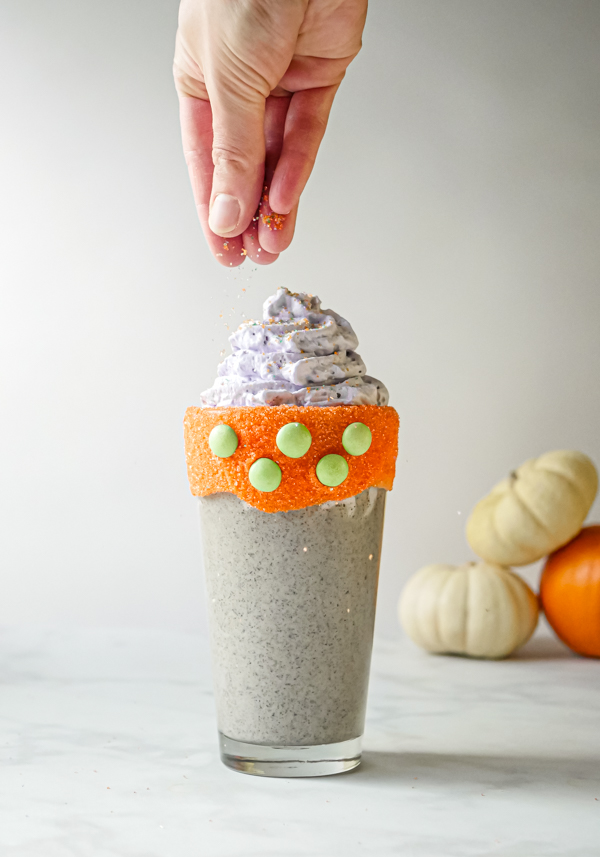
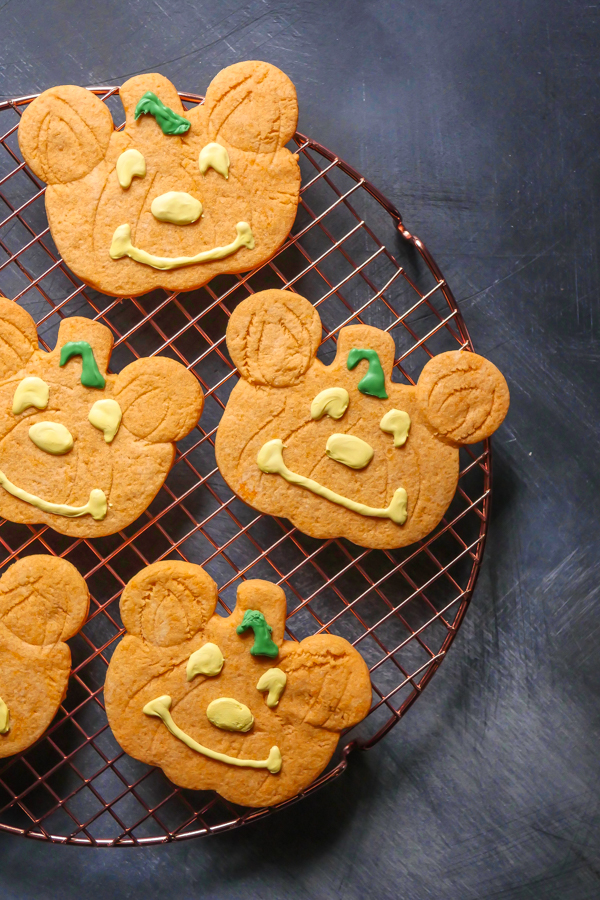
![]() After these are fried up, kids can lend a hand to help decorate. Rolling in cookies (even crushing the cookies), and sprinkling toppings are all kid friendly here.
After these are fried up, kids can lend a hand to help decorate. Rolling in cookies (even crushing the cookies), and sprinkling toppings are all kid friendly here.
So, find some holiday music, heat up the oil, and start frying these tasty holiday treats! Enjoy!
Christmas Tree Churro
- Yield: 10–16 churros (depending on tip size) 1x
Description
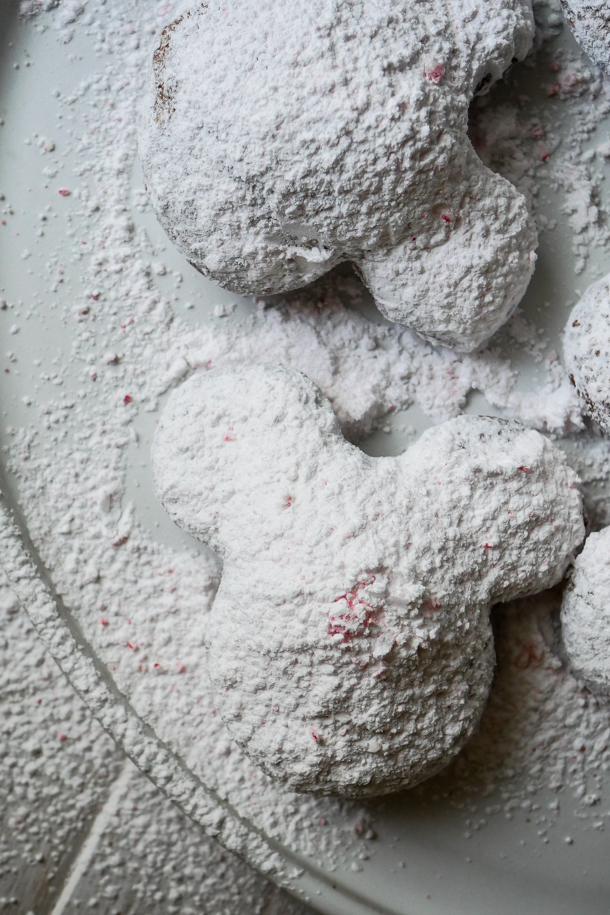
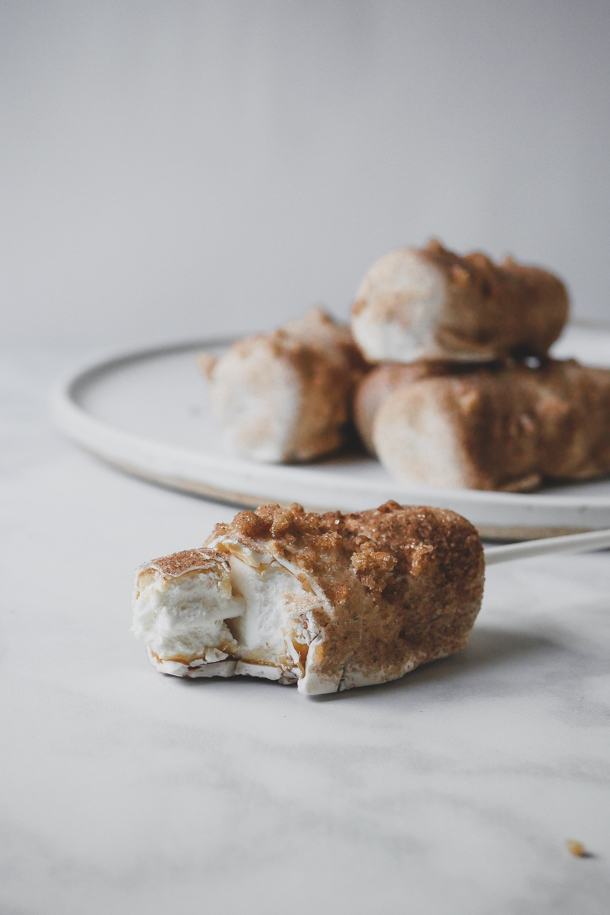
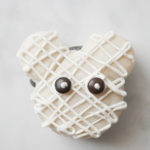
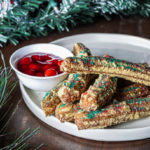
This Christmas tree inspired holiday churro is decked out in red and green sanding sugar, edible stars, and rolled in buttery cookie pieces. A Disneyland-inspired treat.
Ingredients
- 1 cup water
- 1/2 cup butter
- 1 tablespoon granulated sugar
- big pinch of salt
- 1 cup all purpose flour
- 2 eggs
- vegetable oil for frying
- 1/2 cup granulated sugar
- 1 teaspoon cinnamon
- 1 package of Walker’s shortbread cookies (about 9 fingers), crushed
one size-thumbnail wp-image-628″ src=”https://www.magicaltreatsathome.com/wp-content/uploads/2019/12/christmas-tree-churro-sm-4-150×150.jpg” alt=”Christmas Tree Churros // magicaltreatsathome.com” width=”150″ height=”150″ srcset=”https://www.magicaltreatsathome.com/wp-content/uploads/2019/12/christmas-tree-churro-sm-4-150×150.jpg 150w, https://www.magicaltreatsathome.com/wp-content/uploads/2019/12/christmas-tree-churro-sm-4-320×321.jpg 320w” sizes=”(max-width: 150px) 100vw, 150px” />
- 2 tablespoons green sanding sugar
- 2 tablespoons red sanding sugar
- edible stars
- cherry jam or pie filling
Specialty Tools
Instructions
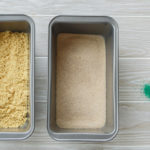
- First, line two half sized sheet pans with parchment, set aside. Mix together 1/2 cup of granulated sugar and cinnamon in a long shallow bowl or loaf pan, set aside.
- Next, crush cookies in a ziplock bag with a rolling pin until finely ground. Alternatively, you can pulse in a food processor until a sand-like consistency forms. Set aside in a large, shallow bowl.
- In a medium sized saucepan over medium-high heat, combine water, butter, sugar and salt. Bring to a boil, or until butter has melted.
- Turn burner to low and pour in all the flour at once. Stir until there are no visible flour lumps and dough has begun to stick together in a ball and pulled away from the sides of the pan.
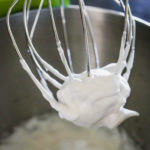
- Remove pan from heat and let sit 5 minutes. Then stir in each egg until incorporated. Dough will appear to break or become lumpy. Continue to stir until it forms a smooth, sticky dough.
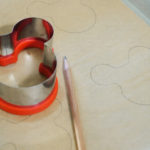
- Fill a pastry bag fitted with a Wilton 1 M open star tip (for thinner churros) or with a Ateco 847 closed star tip (for thicker churros, shown in this post) half full with batter (see notes below on filling pastry bags).
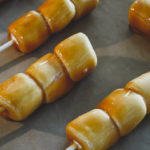
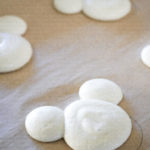
- If not frying immediately, pipe 6-8″ long dough onto the sheet pan. Refrigerate dough at least 30 minutes and up to two days. Batter will stiffen the more it sits, so let the dough come to room temperature before frying.
- If frying immediately, fill a dutch oven or deep frying pan with vegetable oil at least 2″ up the side of the pan (I found a 1/2 gallon of avocado oil worked for me in my large dutch oven. See note below about reusing oil.). Heat oil to 340-350°f, using a candy thermometer to keep the temperature constant. You may need to adjust heat up or down during cooking a few degrees.
- Place (if piped earlier) or pipe churros 2-3 at a time into the cooking oil for 6 minutes, turning after 3 minutes with a spatula or spider. Wait until oil comes back to temperature before adding next batch. Thicker churros may need an additional 30 seconds to one minute to fully cook through.
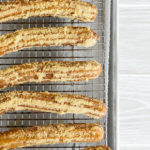
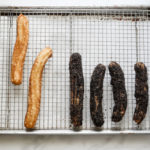
- Using a spider or large spatula, remove churros from oil and drain on a cooling rack over parchment or on a paper towel. Wait at least a minute and then toss the churro in the cinnamon sugar, tapping off any excess. Then roll churro in the cookie crumbs, lightly pressing to adhere. Set churro aside. Repeat with all the churros.
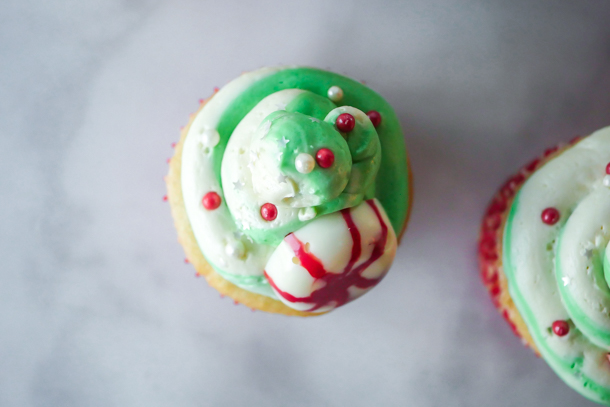
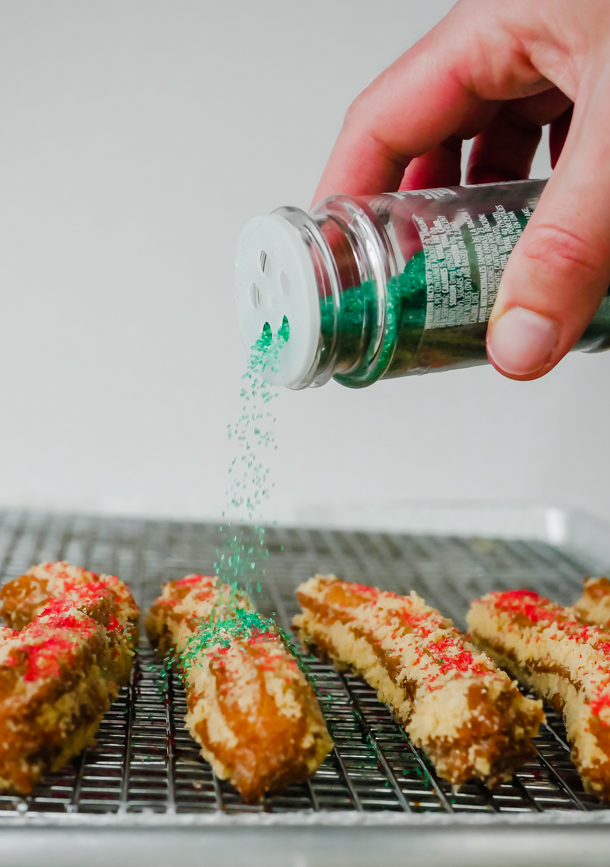
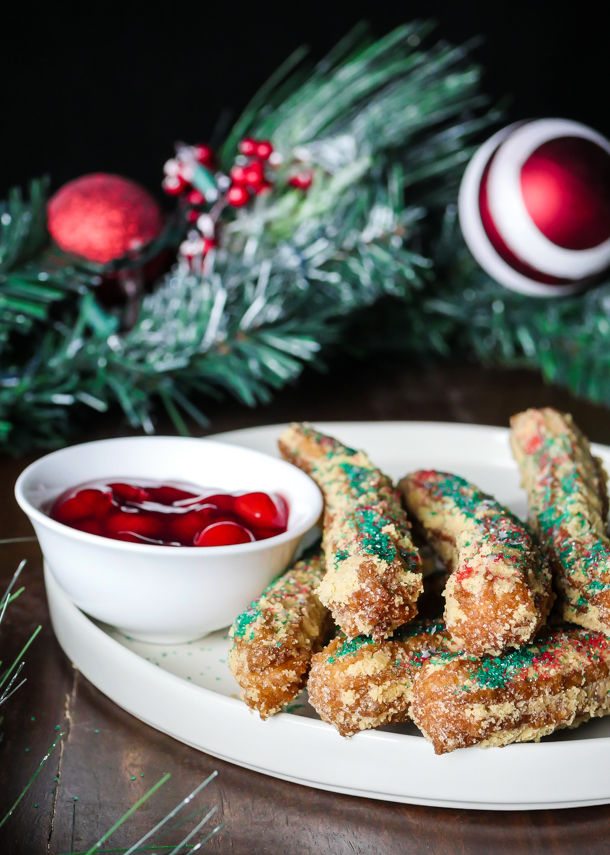
- Next, sprinkle churros with red and green sanding sugar, and edible stars.
- Finally, serve churros with a small dipping bowl of the cherry filling.
Notes
- Do not overfill your pastry bag! Fill in two to three batches. If there is too much dough, it will seep out the top and will be hard to pipe.
- Slowly pipe out dough all of a consistent size, smaller spots on the churro can cause them to become more fragile while handling and can break in the oil or while coating in sugar.
- Churro dough can be piped out onto parchment and covered in the fridge up to 48 hours.
- If you want to make you churros immediately after making dough without the chilling time, once oil has reached temp, starting about one inch above the oil, pipe a small line of dough down into oil and either snip end with scissors, or break the dough off the pastry tip on the side of your pan. Follow directions above for frying.
- Thicker churros will require a longer cooking time to fully cook through the center. Test one churro first to adjust your cooking time.
- Cooking oil can be fine strained and stored again for another use. I strain back into the bottle it came from. Well strained oil can be stored in a cool, dry place and used up to several times.
- Churros curling? That could be one of a few reasons. One is that it will naturally shrink and change shape as the dough hits the oil and puffs up. I found that the stiffer dough from sitting in the fridge resulted in straighter churros while fresher dough tending to curl more. Also, if you’re using a circular pot like a dutch oven, churros may rest against the inside edge of the pan while cooking causing them to take on the curved shape of the pan. To prevent this, nudge your churro with the spider or spatula immediately after placing in oil when it pops back up to the surface. Continue to nudge gently back and forth for about 20-40 seconds or until the dough has gotten stiff in the oil.