Where can I find the original treat?
- This holiday treat can be found at Screen Door General Store at Disney’s BoardWalk Inn (Florida), and Marceline’s in Downtown Disney (California).
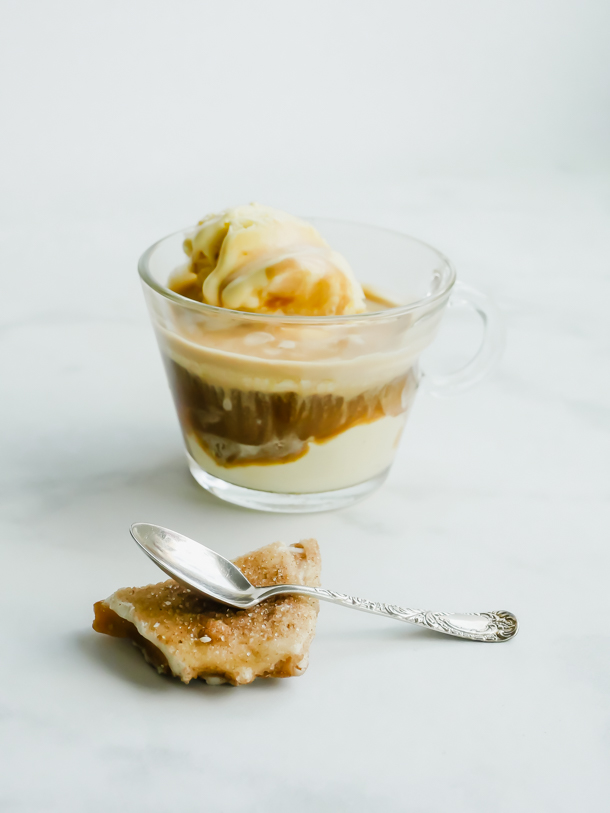
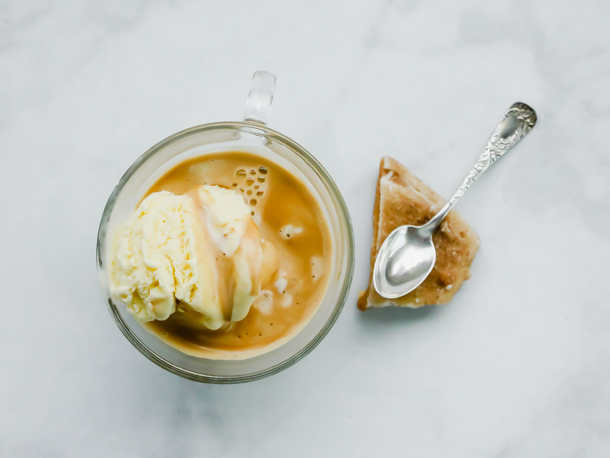
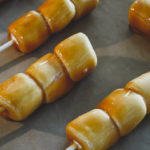
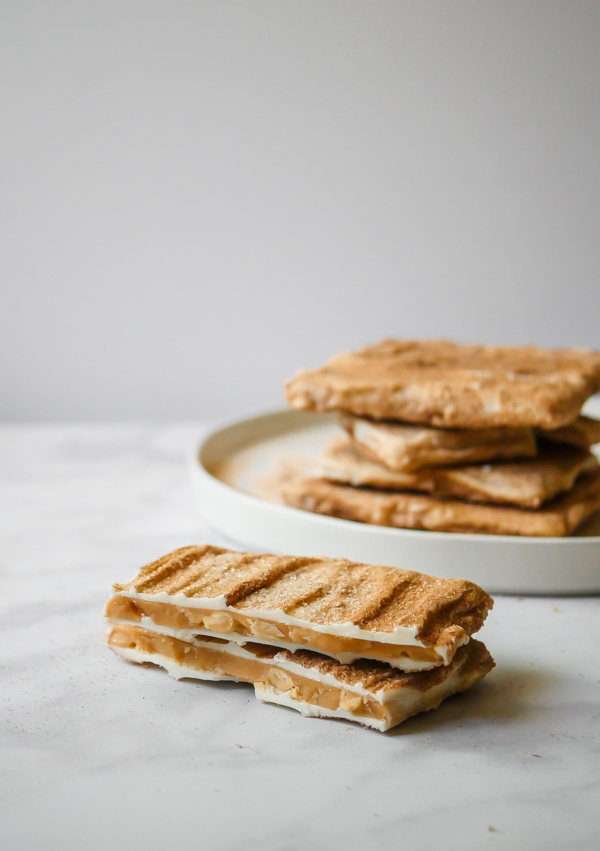
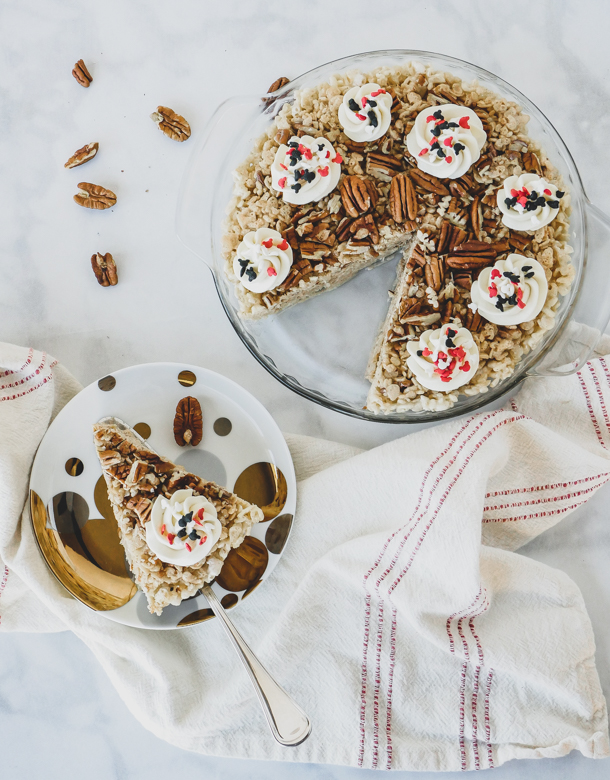
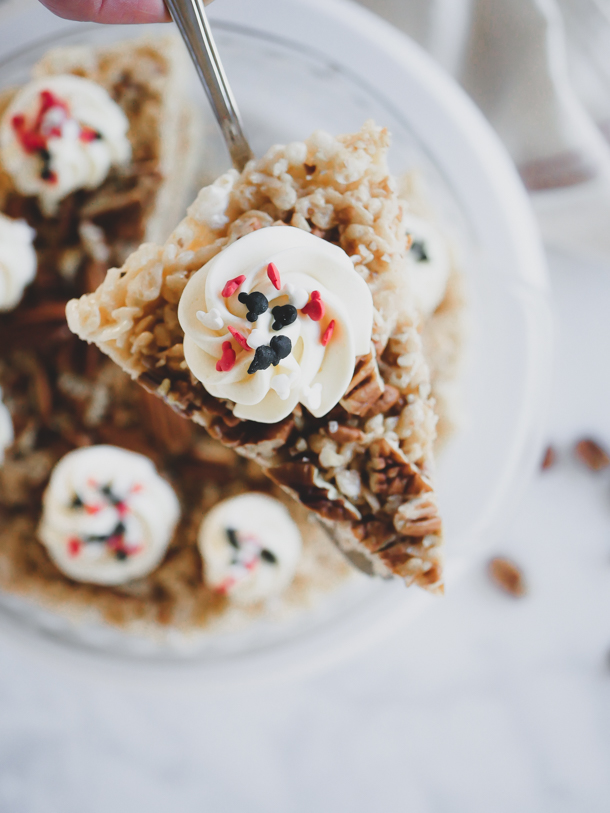
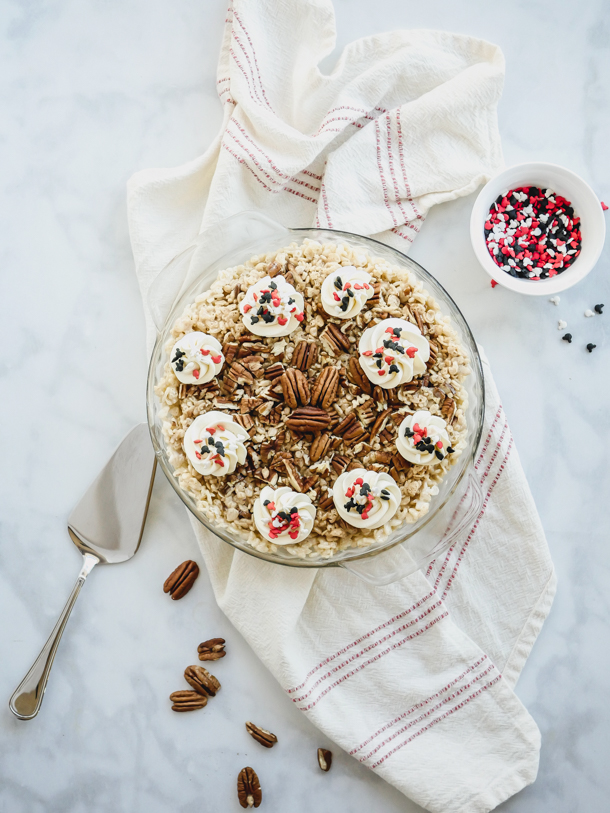
Thanksgiving is tomorrow here in the US; a Thanksgiving that will not run its usual course. And so today on the site we have a pie, but not really a pie, that you could serve at your nontraditional Thanksgiving feast. TLDR: it’s a pecan pie rice crispy treat. YES a whole 9” pie.
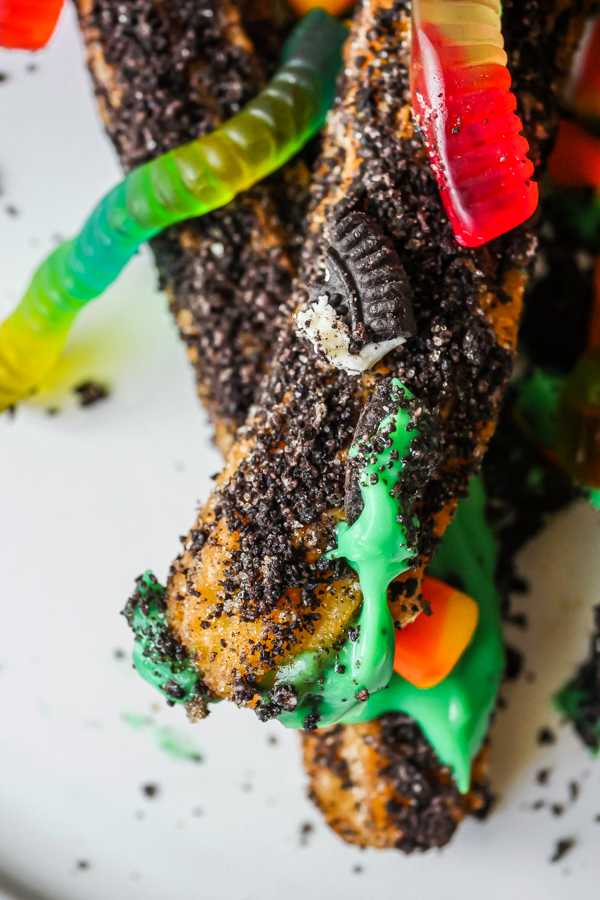
Disney is known for whimsical treats, but sometimes they’re a bit on the silly side too. Like the crispy treat pies this year. I love the idea behind them, and I think the treat makers must have had a lot of fun making them. And I know we all loved eating them as the flavor combinations came through and it definitely was a unique, and 2020 way, to eating pie this year.
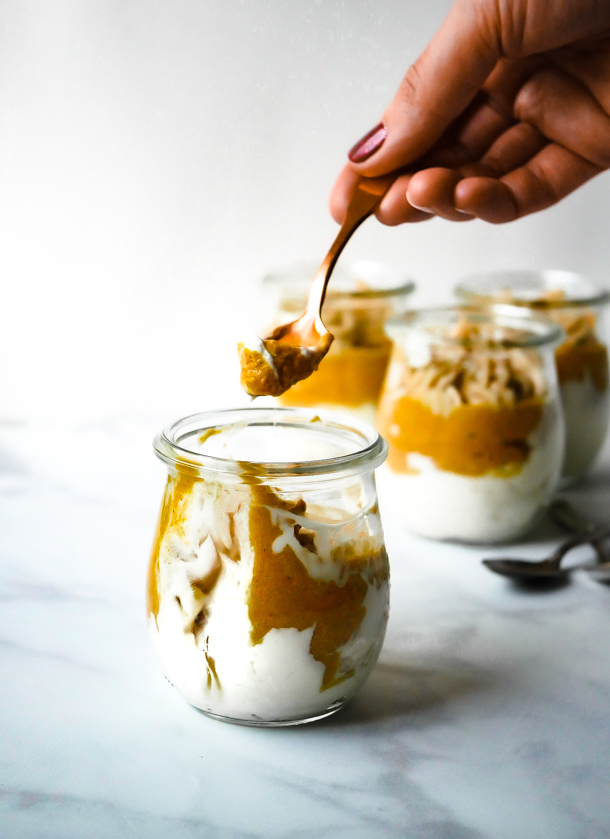
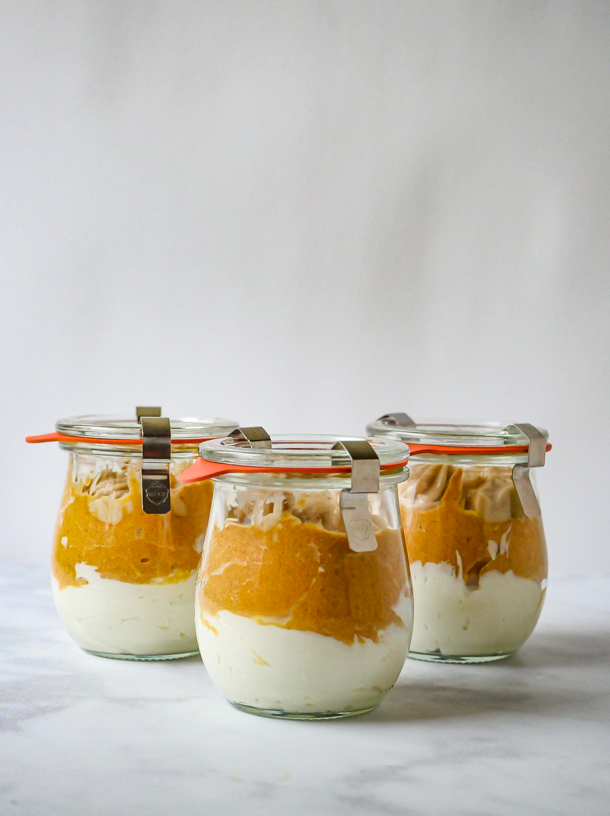
I’m presenting the recipe formed inside a 9” pie plate, but those that have seen the whole “pie” at the resorts (it was made available both in Florida and California), might have noticed its domed shape from the mold it was made in. I figure, if you’re going to serve this at your Thanksgiving dinner this year, it should arrive at the table in a proper pie plate.
Since we’re dealing with hot sugar here, I would not recommend the younger kids come help with the bases here. However, making and piping the frosting “cream” and decorating with sprinkles is a great way to get them involved in a holiday dessert.
Now that we’ve thrown out all the conventional ideas of a traditional dinner this year, I do hope you make this pie. If you’re at home celebrating with just one or two of you, this also freezes really well. Just cut it into slices and freeze up to 3 months for best flavor.
Happy Thanksgiving everyone!
Print
Pecan Pie Crispy Treat
- Yield: 1 9″ Pecan Pie Crispy Treat 1x
Description
Pecan pie and crispy treat lovers unite with this full sized maple scented Pecan Pie Crispy Treat. A Disney-inspired holiday treat.
Ingredients
For the “crust”:
- 2 cups crisped rice cereal
- 20 full size marshmallows
- 1–1/2 tbsp butter
For the “filling”
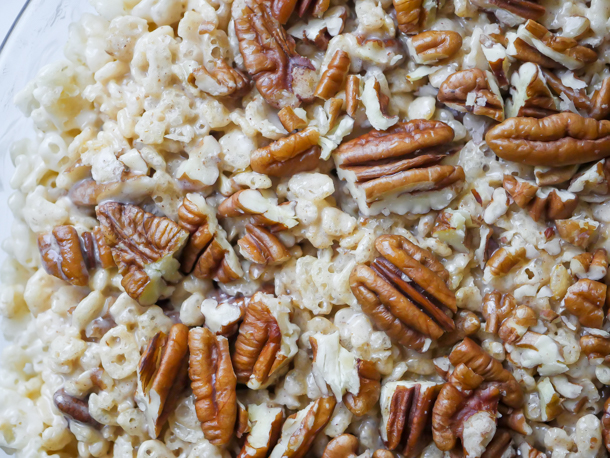
- 3 cups crisped rice cereal
- 30 full size marshmallows
- 2 tablespoons butter
- 1/4 cup maple syrup
- 1/2 tsp cinnamon
- 1 cup chopped pecans toasted, 3 tbsp reserved
- Pinch salt
For the frosting:
- 2 sticks unsalted butter
- pinch of salt
- 1/2 pound powdered sugar
- 1 teaspoon milk
- 2 teaspoons vanilla
- Mickey Mouse sprinkles
Specialty Items:
- 9″ glass pie pan
- piping bag
- closed star pastry tip (Ateco #844 used here)
Instructions
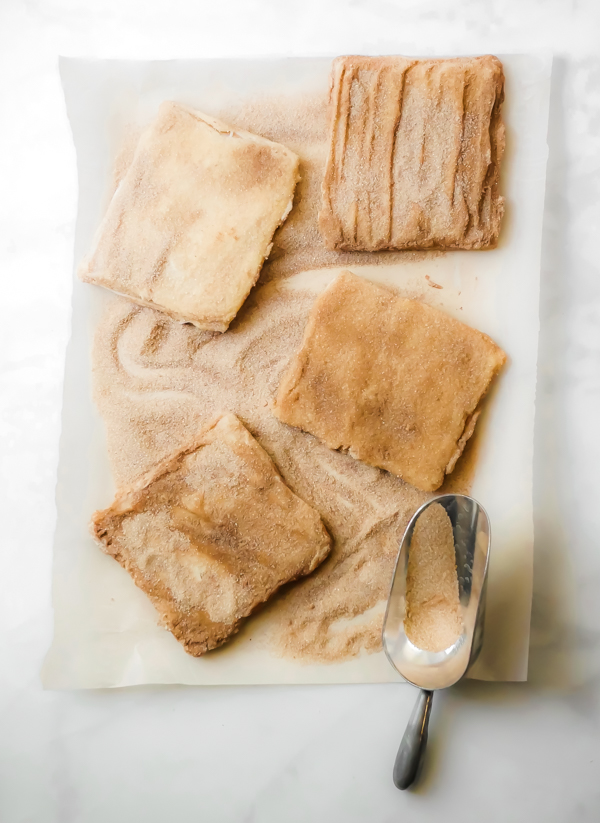
For the “crust”:
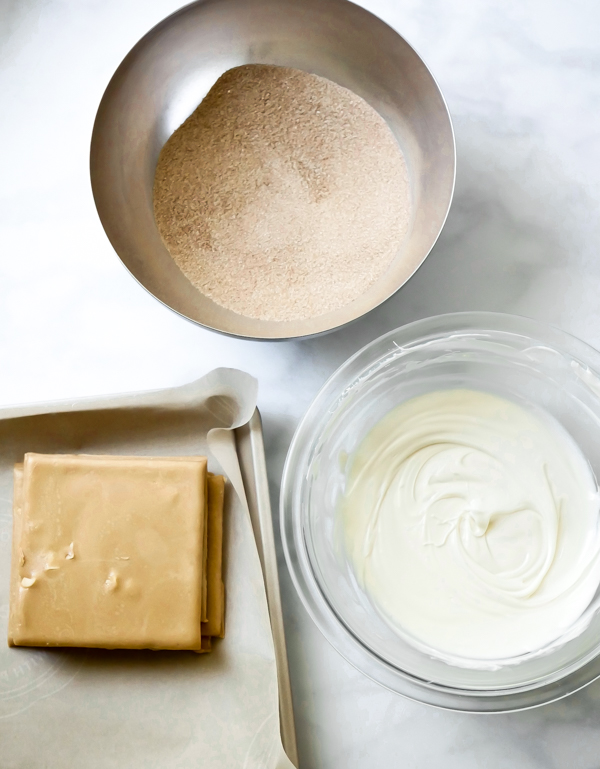
- Before beginning, butter/grease your pie pan. Set aside.
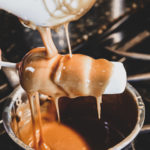
- Combine the butter and marshmallows in a medium sauce pan over medium-low heat. Stir constantly until marshmallows have melted and mixture is smooth.
- Immediately dump in the crisped rice cereal and quickly mix to combine.
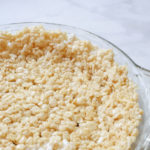
- Pour into the prepared pan and gently press mixture into place with a rubber spatula (or damp fingers, which is my favorite method). Create a thin layer around the pan, pushing up the sides to make the “crust”. Set aside.
For the “filling”:
- Combine the butter, maple syrup, cinnamon, and marshmallows in a medium sauce pan over medium-low heat. Stir constantly until marshmallows have melted and mixture is smooth.
- Mix in the pecans at this stage, and then pour in the crisped rice cereal and quickly mix to combine.
- Pour on top of the “crust” layer, pushing firmly to fuse the layers.
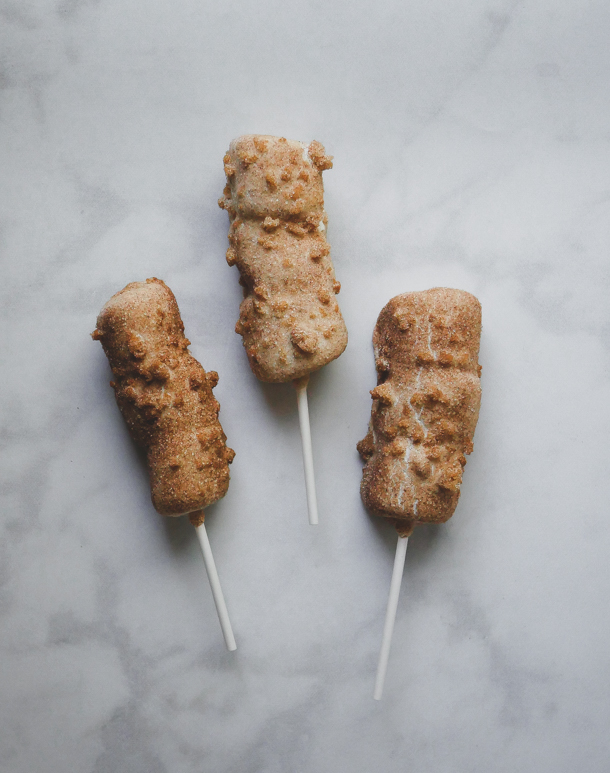
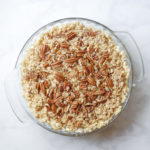
- Spread the remained chopped pecans over the top, lightly pressing in. Cool to room temperature.
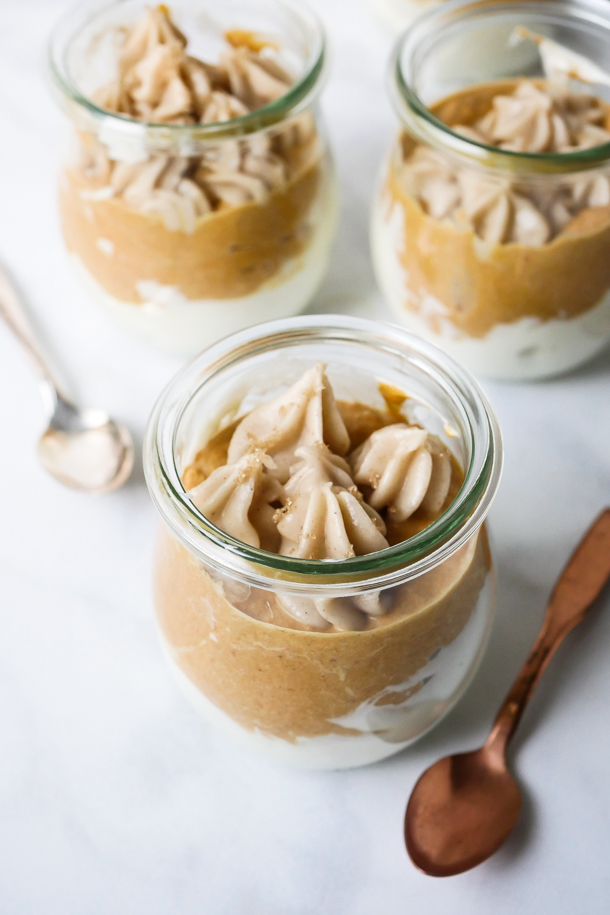
For the frosting and decoration:
- Whip the butter and salt until light and creamy in either a stand mixer, or with a handheld mixer.
- Pour in the powdered sugar (sift if yours is lumpy), and mix until incorporated.
- Add in the milk and vanilla extract and mix at high until creamy and smooth and desired texture is reached.
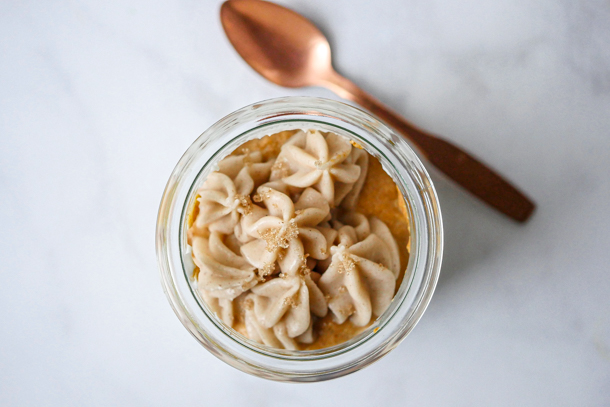
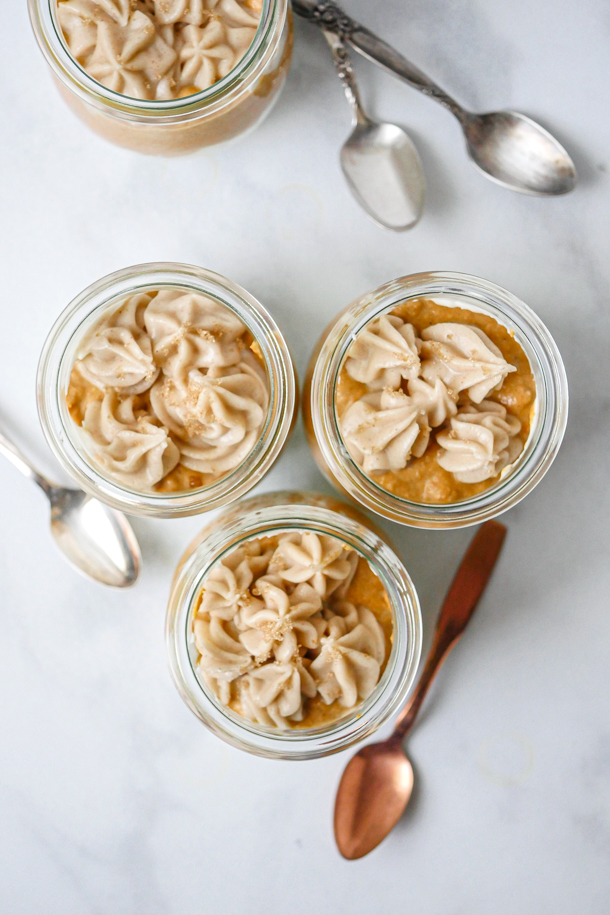
- Transfer to a piping bag fitted with an closed star tip and pipe 8 small swirls on top of the cooled pie. Refrigerated at least 4 hours to set or overnight.
To serve:
- Straight from the refrigerator, use a sharp knife to slice individual pieces.
- Let individual pieces come to room temp before serving.
Notes
- Pecans can be toasted in a dry frying pan over medium-high heat for 5 minutes. Stir constantly to prevent browning and remove from the pan when done toasting.
- Use a smaller pan than you think you’ll need for melting the marshmallows. As the marshmallows melt into the butter, if there’s too much space in the pan, they will start to dry out and form strings. Keeping the marshmallows closer together in the pan will ensure they melt more evenly, creating a better mixture to add the cereal into.
- When mixing cereal into the melted marshmallows, keep the mixture on the flame so that marshmallows stay liquid. Removing to mix in can seize up the liquid before the cereal is fully mixed.
- The addition the the maple syrup will make the “filling” softer and refrigeration is needed to cut out sliced cleanly.
- Leftover frosting can be stored in an air tight container in the refrigerator up to one week, or frozen up to 3 months for best flavor. Defrost in the refrigerator overnight and re-whip to use again.