Where can I find the original treat?
- This treat can be found in Pooh Corner in Critter Country in Disneyland.
Fun fact, my nursery, 30…*cough* almost 40 years ago was Winnie the Pooh themed. My baby blanket was the Hundred Acre Woods and just this past year my mother sent it to me across the country, in perfect condition. So, it’s probably no wonder that Pooh is a favorite of mine. And I thought it high time to show a little love to that chubby little cubby all stuffed with fluff with these Hunny Pot Crispy Treats inspired by those found in Disneyland.
There’s starting to be quite a number of these variations on the site and that’s because Disneyland just does the cutest job on these. I also love these because they’re not super hard to make.
Right now the outside world is looking mighty different for many, if not most, of us. And while we’re all stuck indoors, many of us with one or more kids, now also stuck indoors with us, finding some projects like this to work on together can hopefully provide a bright spot in the day.
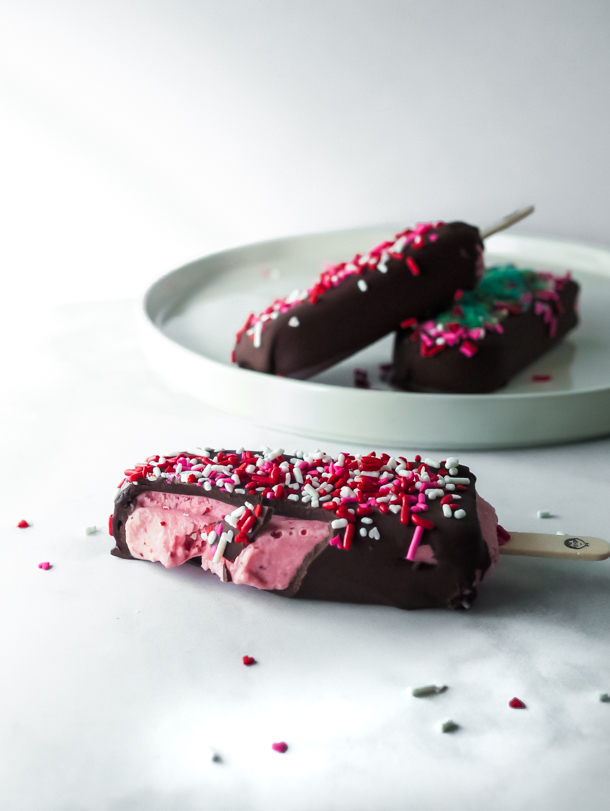
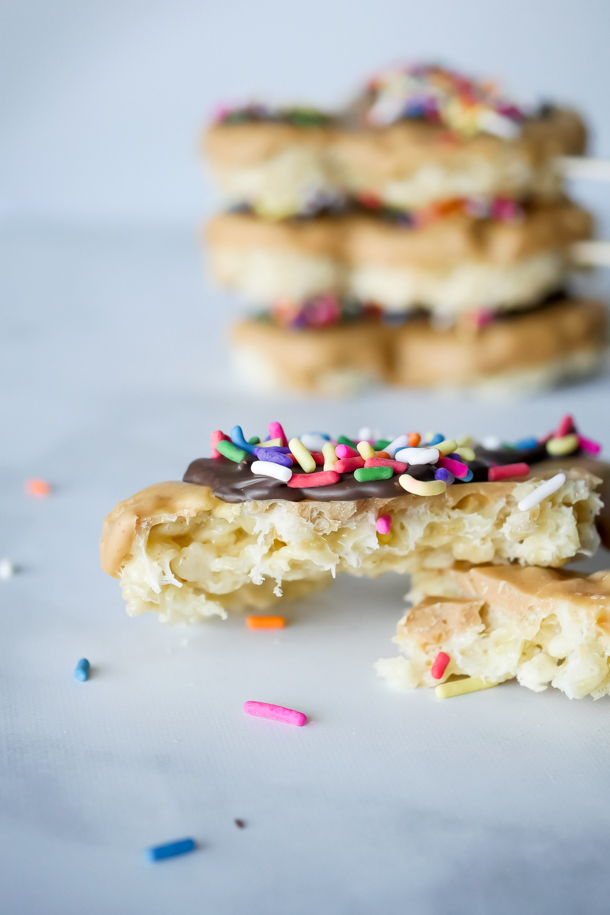
Also, let’s be real, crispy treats are great plain on their own too. So if you need a quick snack to whip up with very few ingredients, this works. But if you do want to try your hand at decorating these, please do! You don’t need to be an artist and if your kids start distracting you while decorating and you suddenly forgot what you were doing and mess up the words *ahem*, it’s still OK.
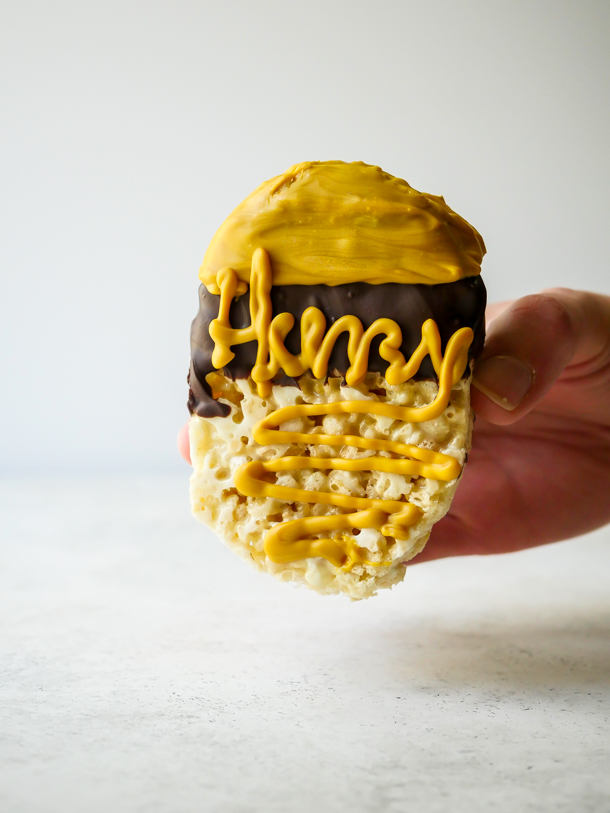
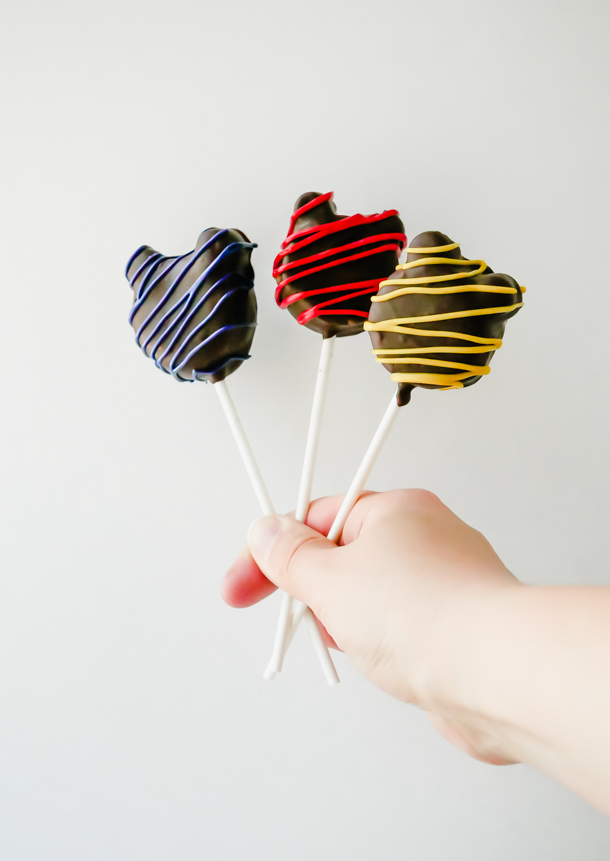
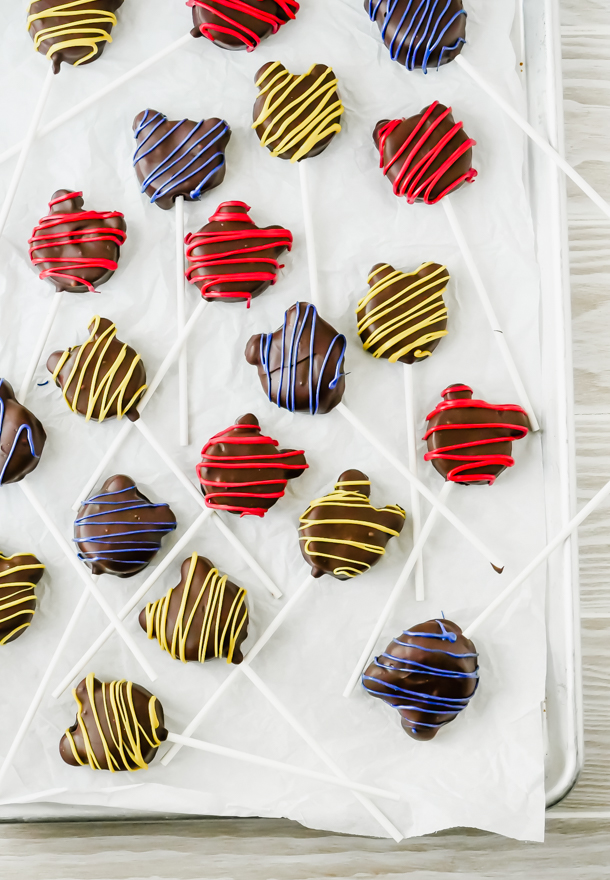
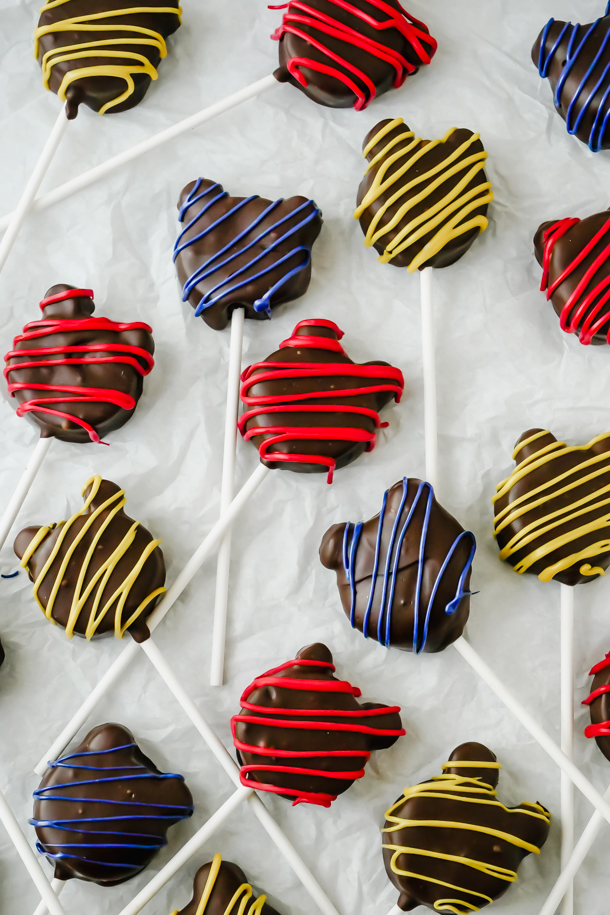
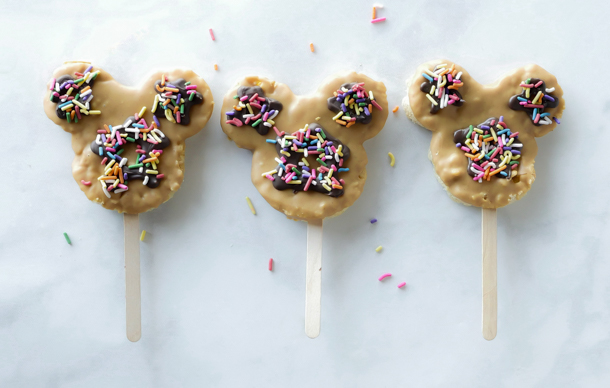
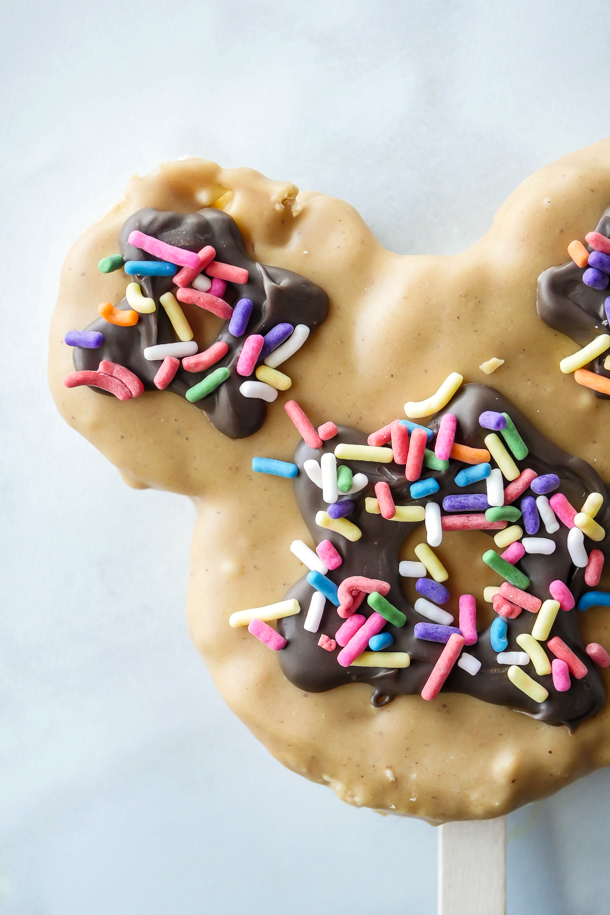
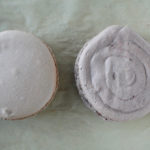
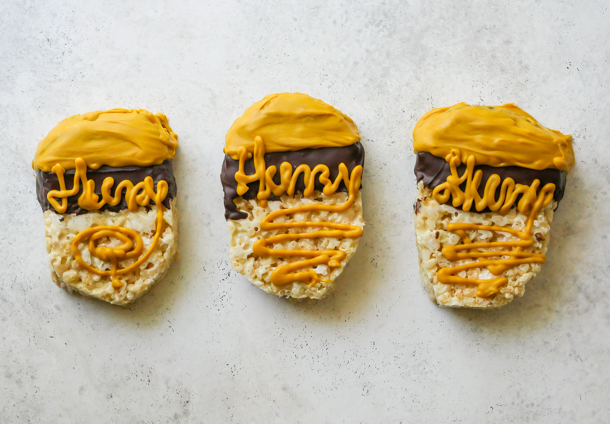
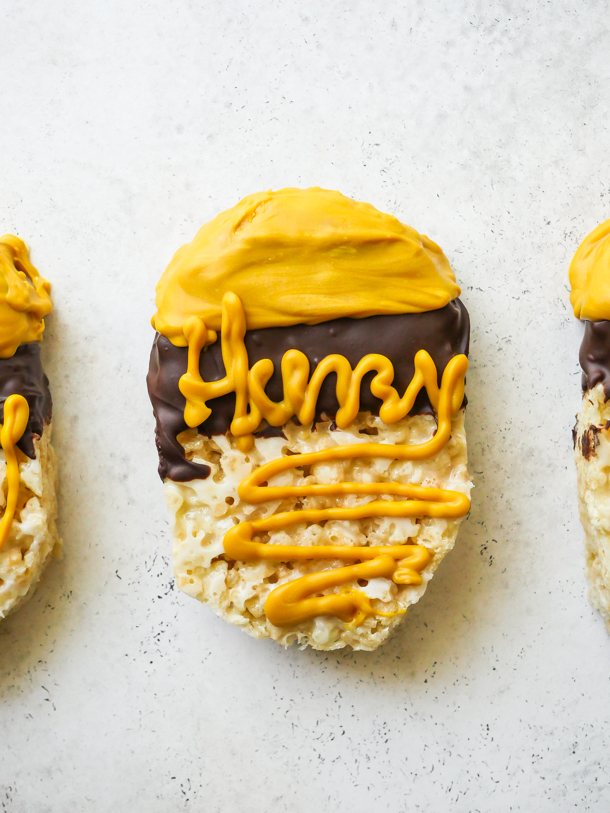
The decoration on here is a simple combo of semisweet chocolate chips and yellow candy melts. The golden hue to the “honey” and lettering is achieved through adding a little of the melted semisweet chocolate to the yellow candy melts. I use a plastic piping bag to color in the honey and letters, but you can also do this by hand, or if you have it around, use a squeeze bottle for a bit more precision (I’ve seen the candy makers at Disneyland do this but they’re working with volume and have a lot of candy melts in that bottle to work with. Just putting a little bit in will cool them off quickly and you’ll need to keep a warm water bath nearby to prevent this.).
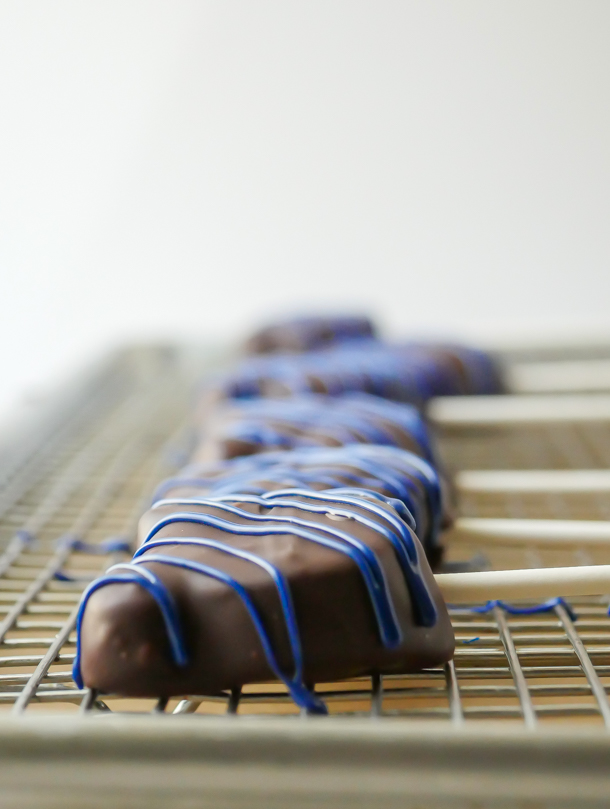
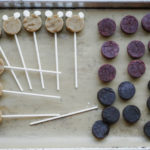
If you make these treats in a loaf pan, shaping them is also quite easy. Divide the rectangle into three equal-ish parts, and then shape with a sharp knife. You basically need to round the corners off and these cut through without much give. Just be careful that you’re not leaving them out too long from the fridge to cut and then dip, or they’ll soften up too much.
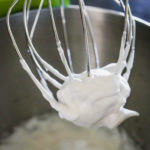
Sounds pretty sweet, huh? Ok, let’s melt some marshmallows!
Print
Winnie the Pooh’s Hunny Pot Crispy Treats
- Yield: 3 Hunny Pot Crispy Treats 1x
Description
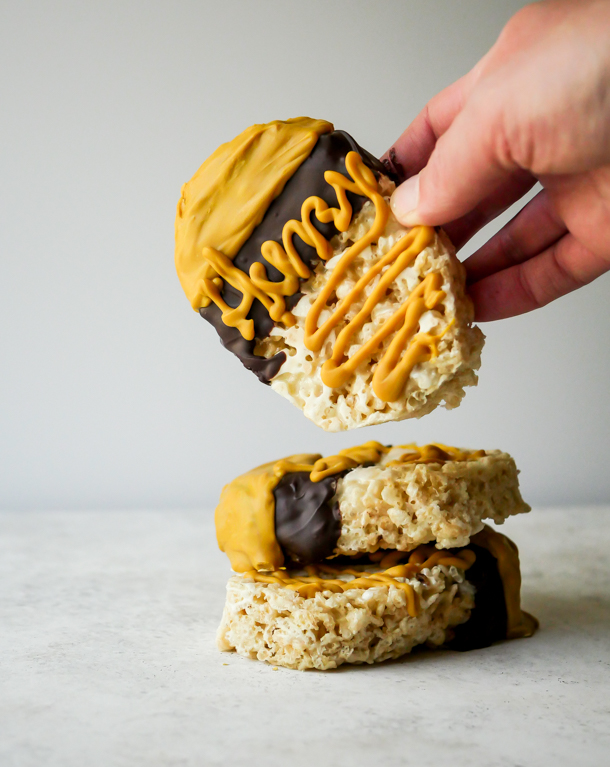
A favorite at Pooh Corner! This chewy, crispy, sweet Hunny Pot Crispy Treat is a snap to make and decorate. A Disneyland-inspired treat.
Ingredients
For the crispy treat:
- 2 tablespoons butter, unsalted
- 2–1/2 cups mini marshmallows or 25 regular sized marshmallows
- 2-1/2 cups crisped rice cereal
For the decoration:
- 1/2 cup semisweet chocolate chips, 1 tbsp reserved
- 1/2 cup yellow candy melts
Specialty Tools (Optional):
Instructions
For the crispy treat:
- Before beginning, line a loaf pan with parchment.
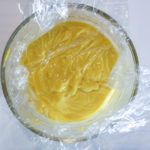
- Combine the butter and marshmallows in a medium sauce pan over medium-low heat. Stir constantly until marshmallows have melted and mixture is smooth.
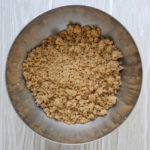
- Immediately dump in the crisped rice cereal and mix to combine.
- Pour into the prepared pan and gently press mixture into place with a rubber spatula (or damp fingers). Set aside for at least an hour in the refrigerator so that the mixture can firm up enough to cut shapes.
- Once firm, use parchment to lift out crispy treats and cut into 3 roughly equal sized rectangles.
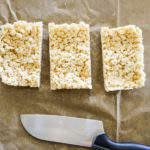
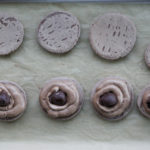
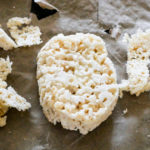
- Using a sharp knife, round off the corners so that the treat resembles a honey pot.
For the decorating:
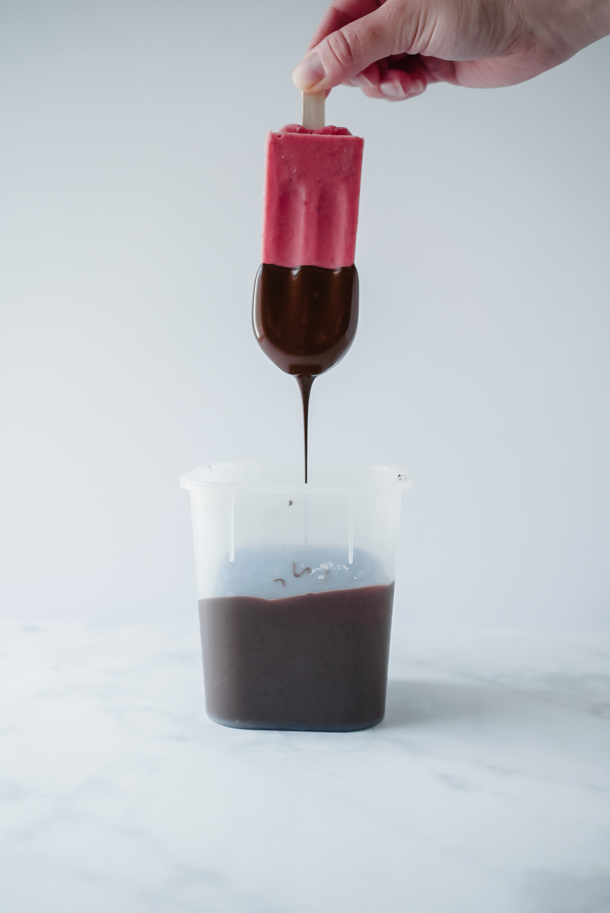
- First, melt the semisweet chocolate in the microwave inside a microwave safe bowl, like glass, for 30 seconds. Stir and microwave again for an additional 30 seconds. Keep stirring and microwaving in short bursts of 15-20 seconds until melted and smooth. Use can alternatively use a double boiler for melting.
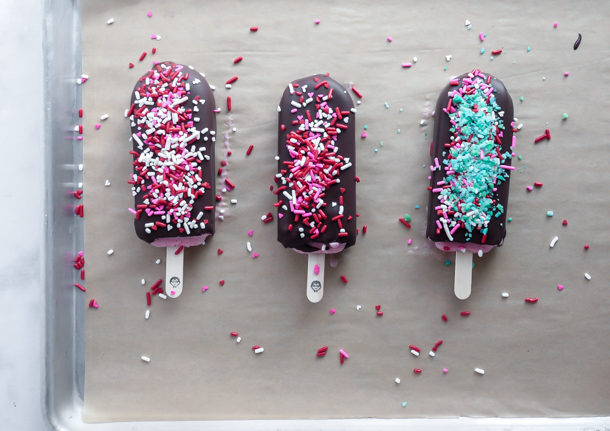
- Dip the top half of the treat into the melted chocolate, letting any excess drip off back into the bowl. Repeat for other treats. Refrigerate for 15 minutes so that the chocolate can firm up before the second dip.
- Next, melt the yellow candy melts with the reserved chocolate (or use a tablespoon of already melted chocolate mixed in with the yellow if you have leftovers) in the microwave inside a microwave safe bowl, like glass, for 30 seconds. Stir and microwave again for an additional 30 seconds. Keep stirring and microwaving in short bursts of 15-20 seconds until melted and smooth. You can alternatively use a double boiler for melting or melt everything in a piping bag, kneading together to mix colors between microwaving.
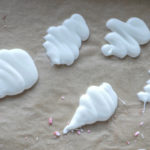
- Transfer the melted candy melts and chocolate to a squeeze bottle or a piping bag with a small portion of the tip cut off. Fill in the top of the treat to resemble honey, and write “Hunny” on the pot. Repeat until all treats are decorated.
- Let the treats firm up, at least 30 minutes in the refrigerator before serving. Enjoy!
Notes
- Use a smaller pan than you think you’ll need for this. As the marshmallows melt into the butter, if there’s too much space in the pan they will start to dry out and form strings. Keeping the marshmallows closer together in the pan will ensure they melt more evenly, creating a better mixture to add the cereal into.
- When mixing crisped rice cereal into the melted marshmallows, keep the mixture on the flame so that marshmallows stay liquid. Removing to mix in can seize up the liquid before the cereal is fully mixed.
- You can sub in light candy melts for the semisweet chocolates.
- If crisped rice cereal is unavailable right now, use any kind of puffed grain, or cereal. Cocoa Pebbles would work here too!
- Treats can be kept in an air-tight container for up to 3 days.