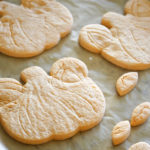
Where can I find the original treat?
- This treat can be found throughout the Disneyland resort.
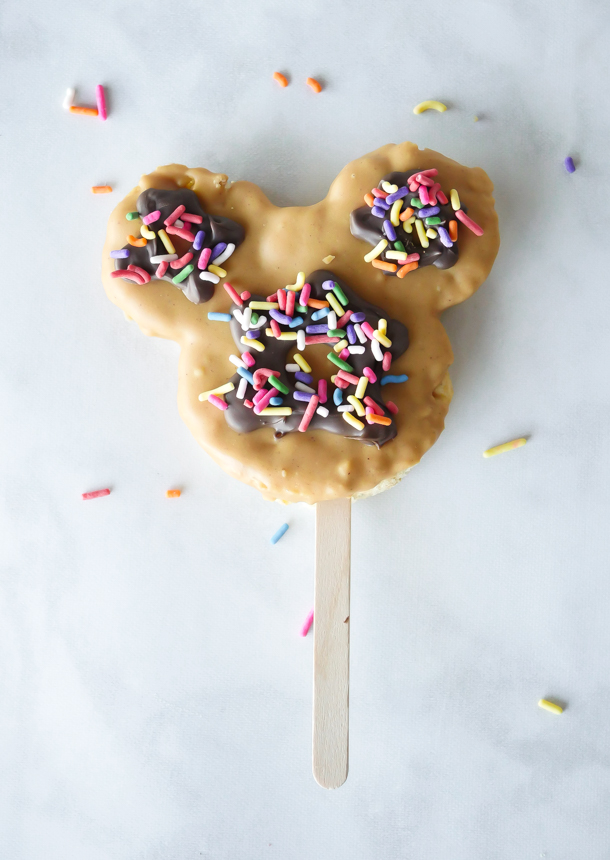
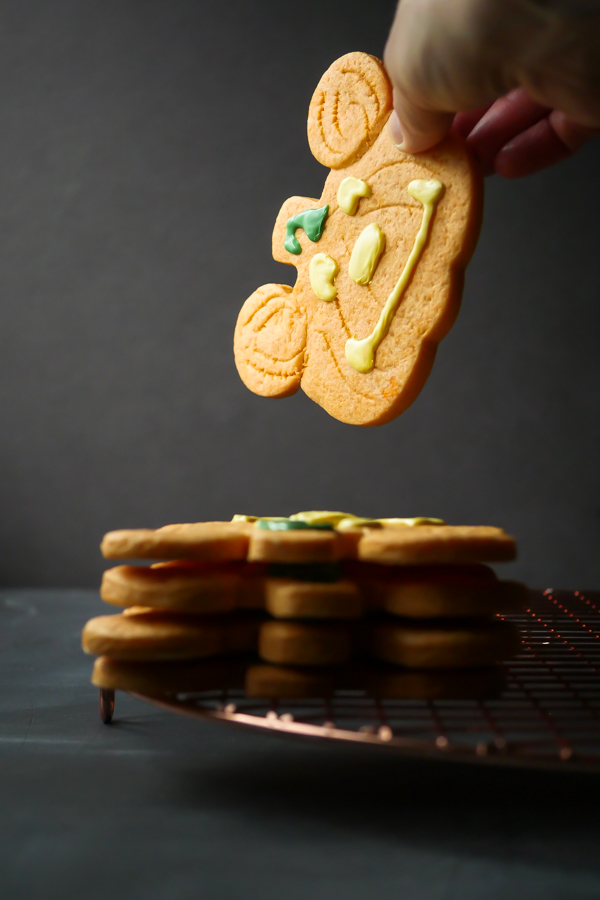
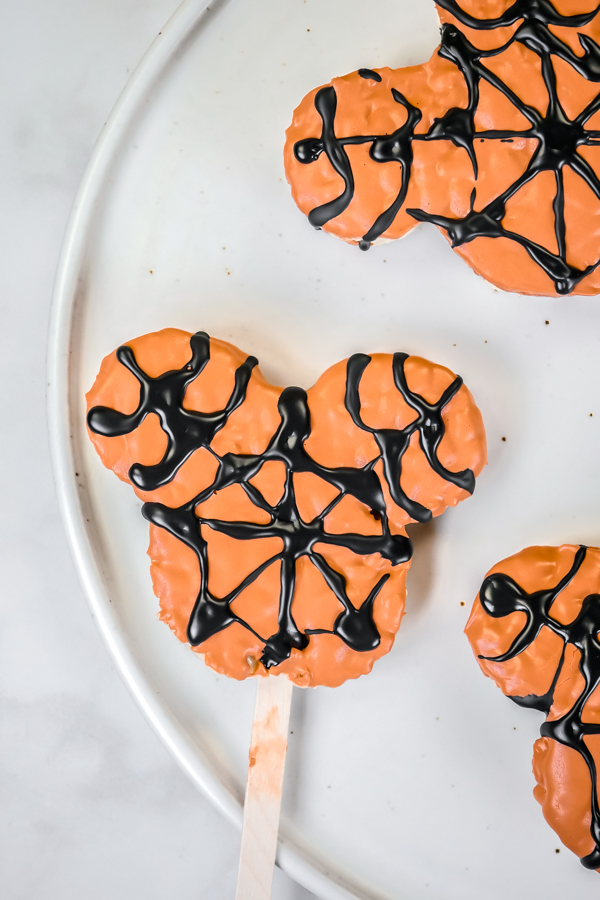
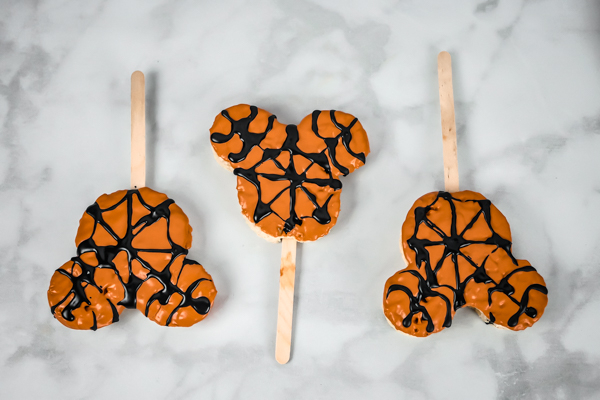
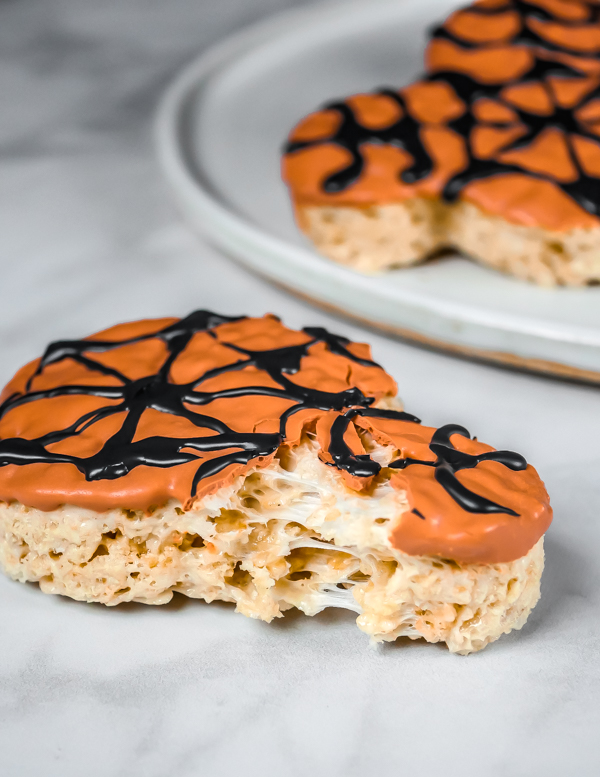
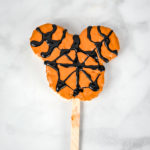
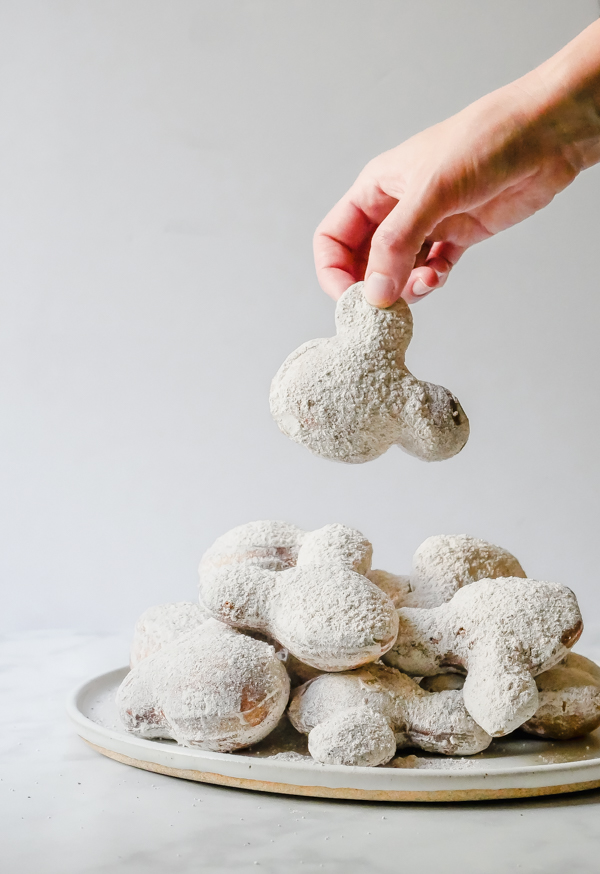
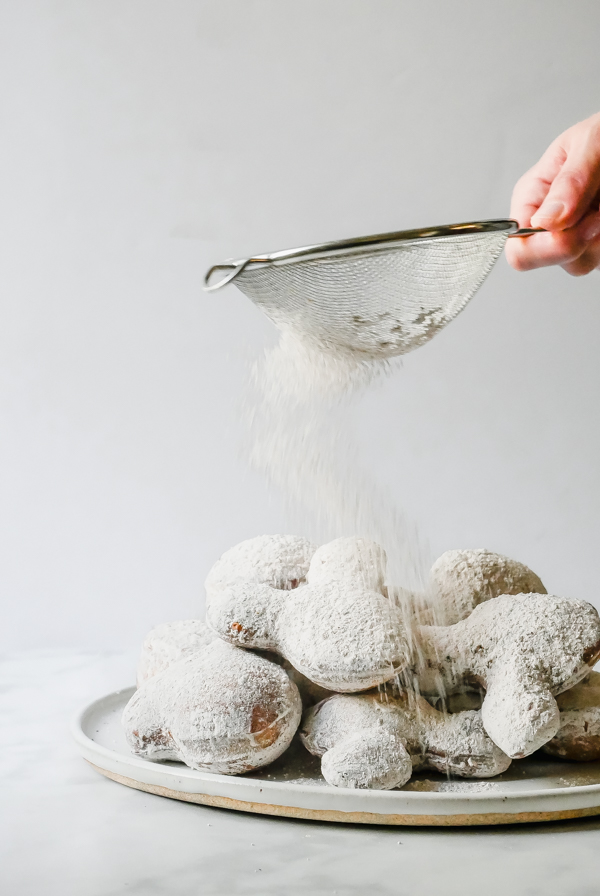
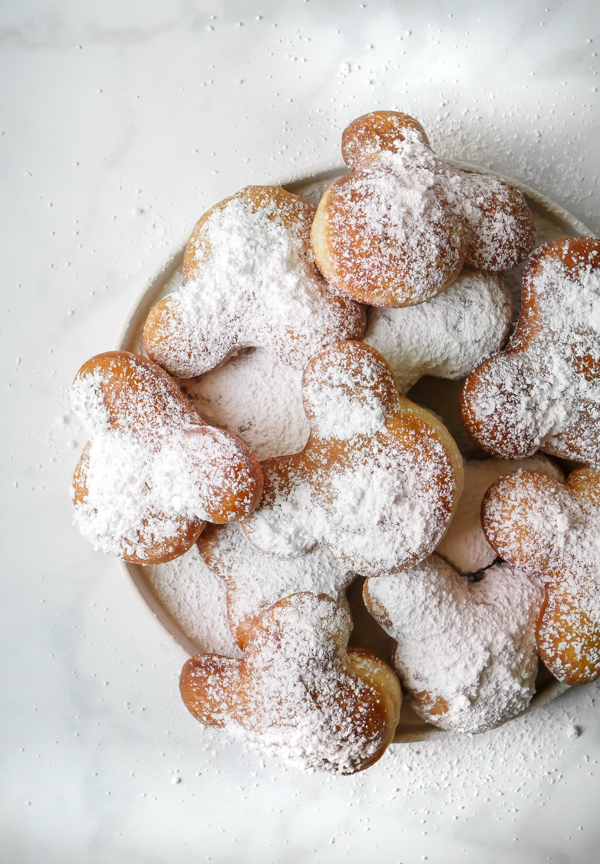
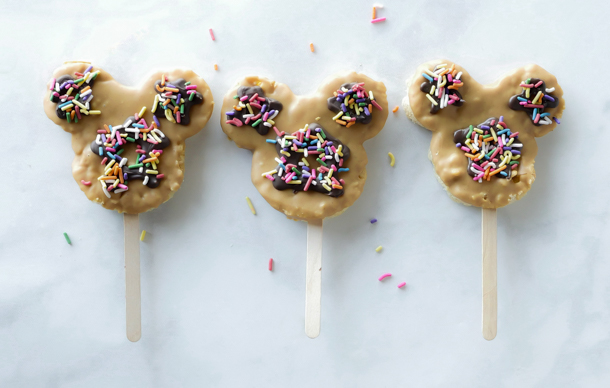
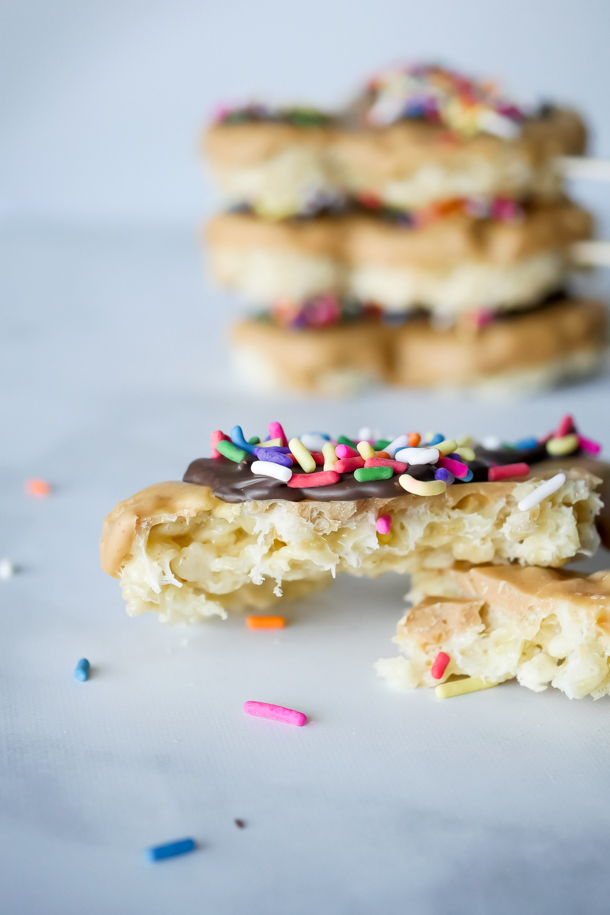
Are your eyes deceiving you? Is that the iconic Mickey Cookie… on a rice krispie treat?! Disney sure knows what they’re doing with the treats. Combining two of my favs from the parks, and then covering them in peanut butter and chocolate? YES please! And besides being so tasty, our latest recipe is so easy to make too.

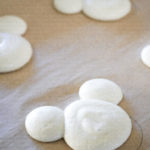
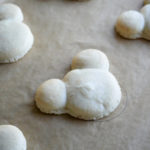
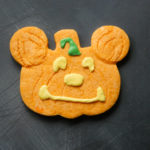
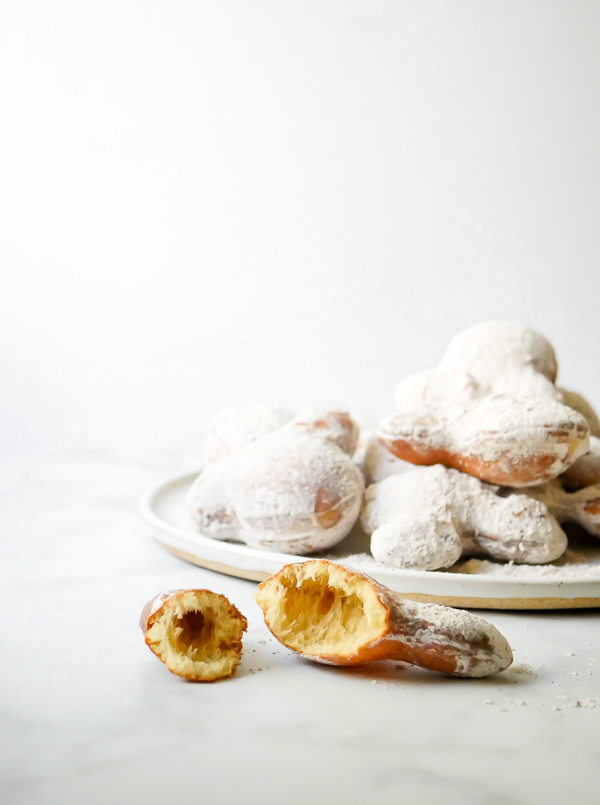
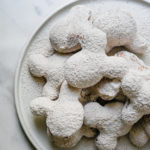
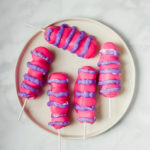
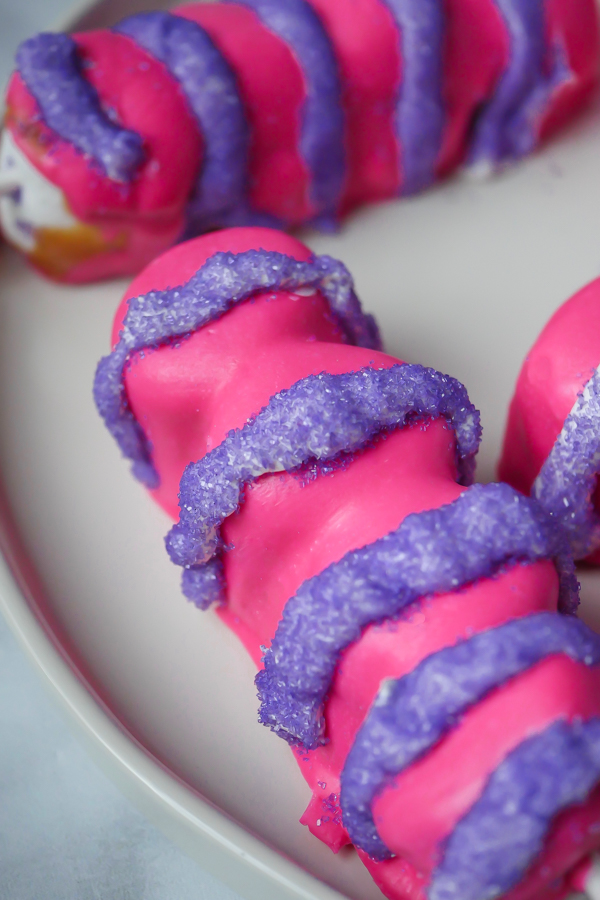
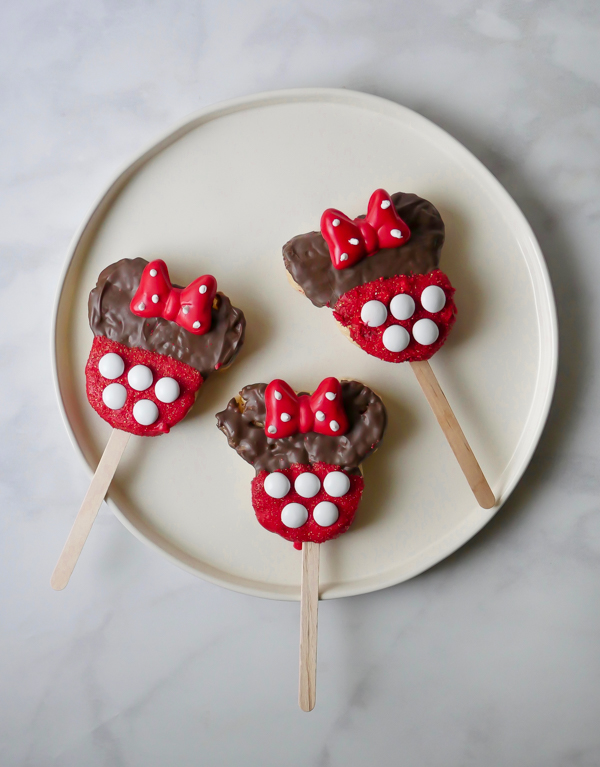
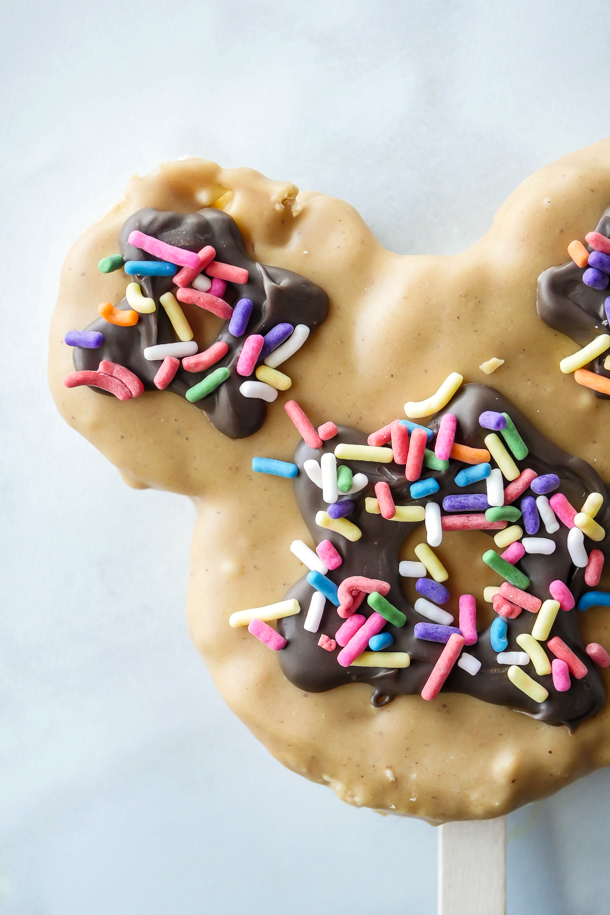
With most all of the holiday treats cleared out of the cases now, most of us treat lovers have been anxiously awaiting what’s next. Well, it seems every day something new is slowly trickling in. This crispy rice treat is the standard treat pop, with a thin layer of peanut butter coating on the front to represent the Mickey Mouse cookie, and chocolate icing and sprinkles (instead of the nonpareils like the cookies) for decoration.
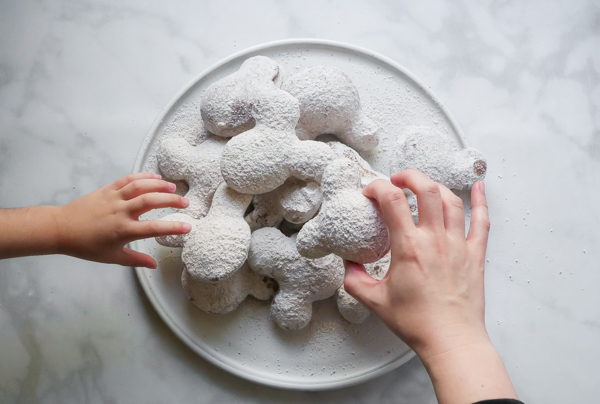
![]() Kids can help a lot here too! From dipping the rice krispie treats to adding sprinkles. All levels of experience can participate.
Kids can help a lot here too! From dipping the rice krispie treats to adding sprinkles. All levels of experience can participate.
BONUS: if you really love peanut butter and you want to make this even more peanut butter-y, go ahead and add in about a 1/2 cup of peanut butter chips (you’ll have extra left over from the bag) when you mix in the crisped rice cereal.
So, if you’re a peanut butter chocolate lover, I really think you’ll love this recipe. There’s a great balance so that one ingredient doesn’t necessarily overpower the others (sometimes peanut butter can do that). And they just come together so quickly and easily, that you can double or triple this if you’re in need of a class treat or something for a pot luck (please take photos and send them to me if you bring these to a pot luck). And remember, lots of helpful tips below the recipe, so please read it all the way through before starting.
Print
Peanut Butter Mickey Mouse Rice Krispie Treat Pops
- Yield: 3–4 Peanut Butter Mickey Mouse Rice Krispie Treats 1x
Description
Crispy, chewy Mickey Mouse Rice Krispie Treats are dipped in peanut butter sauce and topped with chocolate icing and sprinkles just like the iconic Mickey Mouse cookie. A Disneyland-inspired treat.
Ingredients
For the rice krispie treat:
- 2 tablespoons butter, unsalted
- 157 g (2 cups) mini marshmallows or 20 regular sized marshmallows
- 2 cups crisped rice cereal
For the topping:
- 3/4 cup peanut butter chips
- 1/2 teaspoon refined coconut oil
- 1–1/2 ounces semisweet chocolate
- sprinkles
Tools:
Instructions
For the rice krispie treat:
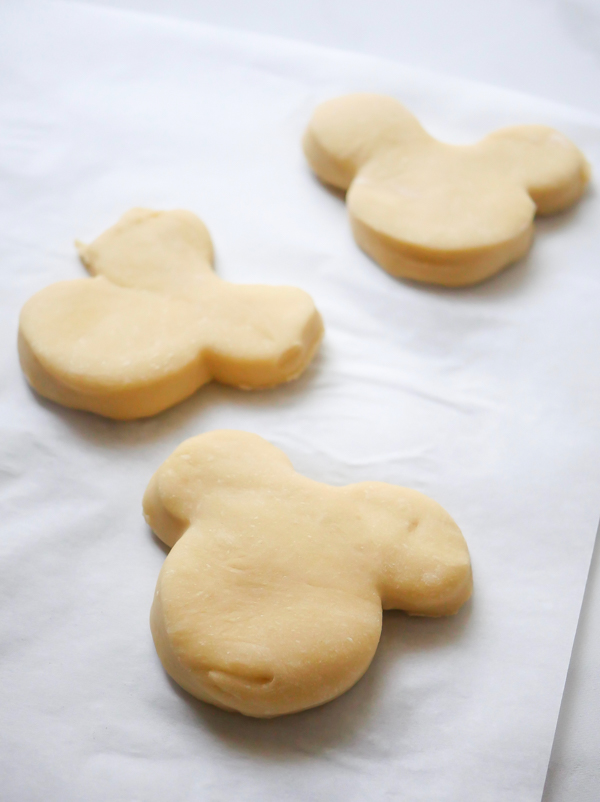
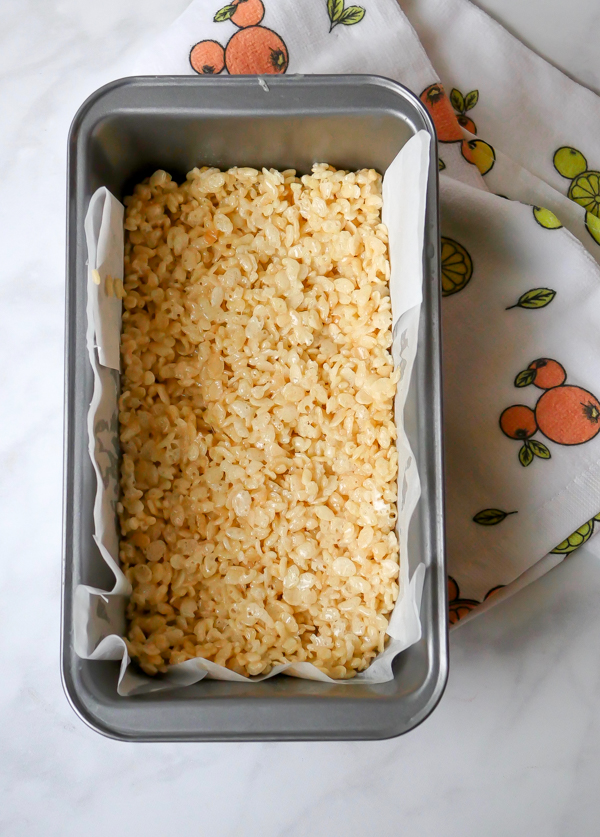
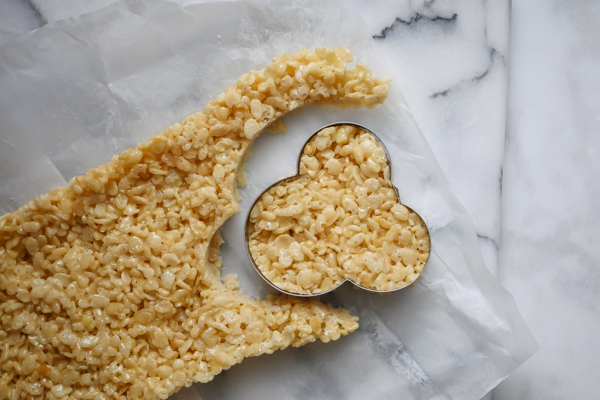
- Before beginning, line a 8×8″ baking pan with parchment for thinner treats (you should yield 4 with the cutter listed above), or a loaf pan for thicker treats (you’ll yield 3 using cutter above).
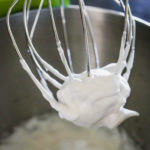
- Combine the butter and marshmallows in a medium sauce pan over medium-low heat. Stir constantly until marshmallows have melted and mixture is smooth.
- Immediately dump in the crisped rice cereal and mix to combine.
- Pour into the prepared pan and gently press mixture into place with a rubber spatula (or damp fingers). Set aside for at least an hour in the refrigerator so that the mixture can firm up enough to cut shapes.
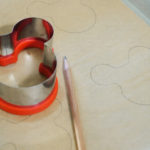
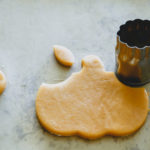
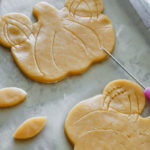
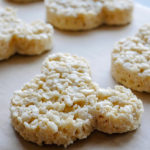
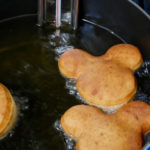
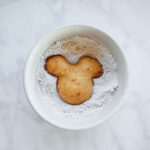
- Once firm, use parchment to lift out cereal and marshmallow mix. Use a Mickey Mouse shaped cutter to cut out shapes and set aside.
For the decorations:
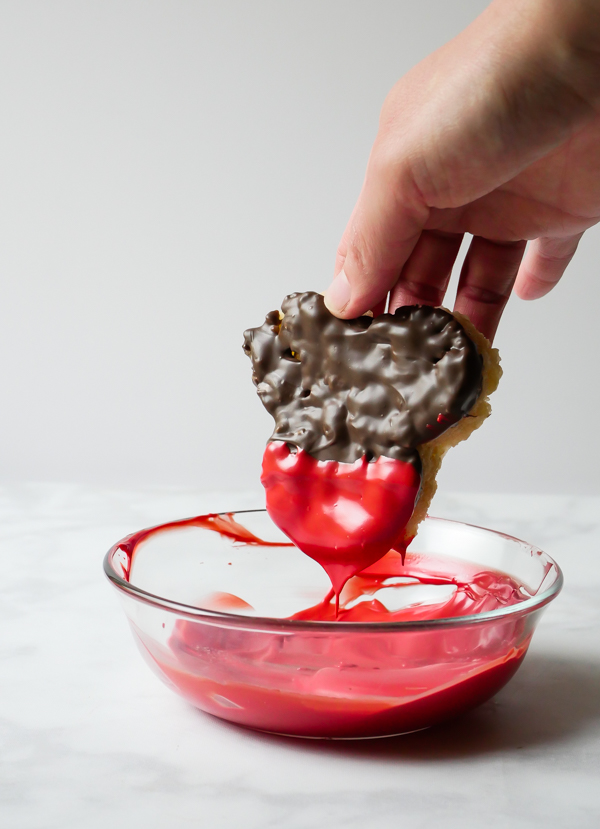
- In a small saucepan over medium-low heat, combine the peanut butter chips and the coconut oil.
- Continually stir until smooth and no lumps remain.
- Remove from heat and pour into a shallow, flat bottomed, heat-proof bowl.
- Dip the smooth side of each treat into the sauce, setting aside on a parchment lined sheet pan until all are coated. Refrigerate through the next step to harden.
- Then, melt semisweet chocolate in a microwave safe bowl, like glass, for 30 seconds. Stir and microwave again for an additional 30 seconds. Keep stirring and microwaving in short bursts of 15-20 seconds until melted and smooth. Use can alternatively use a double boiler for melting. You can also melt directly in a heavy duty, heat safe, piping bag using the same microwave method (I find this easiest when I will be piping without a tip on the bag).
- Remove the treats from the fridge and transfer chocolate to a heat-proof piping bag. Chocolate should be warm, not hot. Cut the tip from the piping bag.
- For each treat, pipe 5 sided stars (without filling in the centers, since it should look like the cookie decoration) on each ear, and in the center of the treat. Immediately cover the chocolate with sprinkles. Set aside and repeat with remaining treats.
- Let the treats sit at least 30 minutes for the chocolate to harden, and then enjoy!
Notes
- These scale very easily at a 1:1 ratio of marshmallows to cereal. Mini marshmallows you can scoop but I like to weigh out the regular or jumbo sized marshmallows. The butter though you do not necessarily need to scale along with the other ingredients. 1-3 cups use 2 tablespoons, 3-5 cups use 3 tablespoons.
- Use a smaller pan than you think you’ll need for this. As the marshmallows melt into the butter, if there’s too much space in the pan they will start to dry out and form strings. Keeping the marshmallows closer together in the pan will ensure they melt more evenly, creating a better mixture to add the cereal into.
- When mixing crisped rice cereal into the melted marshmallows, keep the mixture on the flame so that marshmallows stay liquid. Removing to mix in can seize up the liquid before the cereal is fully mixed.
- You can add in a 1/2 cup of peanut butter chips when combining the cereal to the marshmallows for extra peanut butter flavor.
- You can combine some extra rice krispie treat scraps into the mold to shape additional Mickey Mouse treats.
- To smooth out the chocolate when piping the decoration, use a scribe or toothpick to move the chocolate into the pattern you’d like while also removing any air bubbles.
- Treats can be kept in an air-tight container for up to 3 days.