Where can I find the original treat?
- This seasonal treat can be found all over the Disneyland resort.
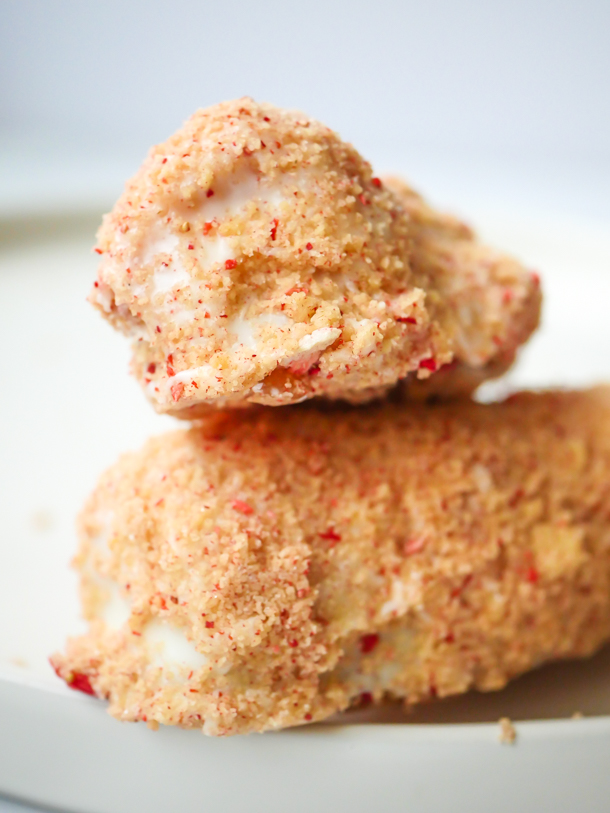
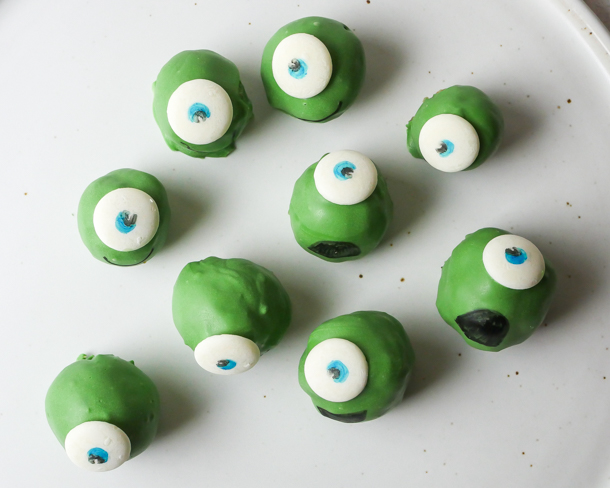
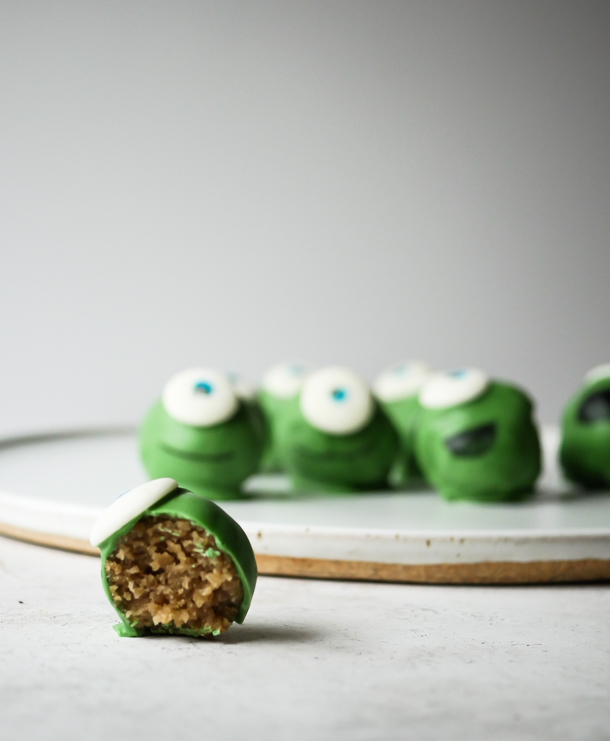
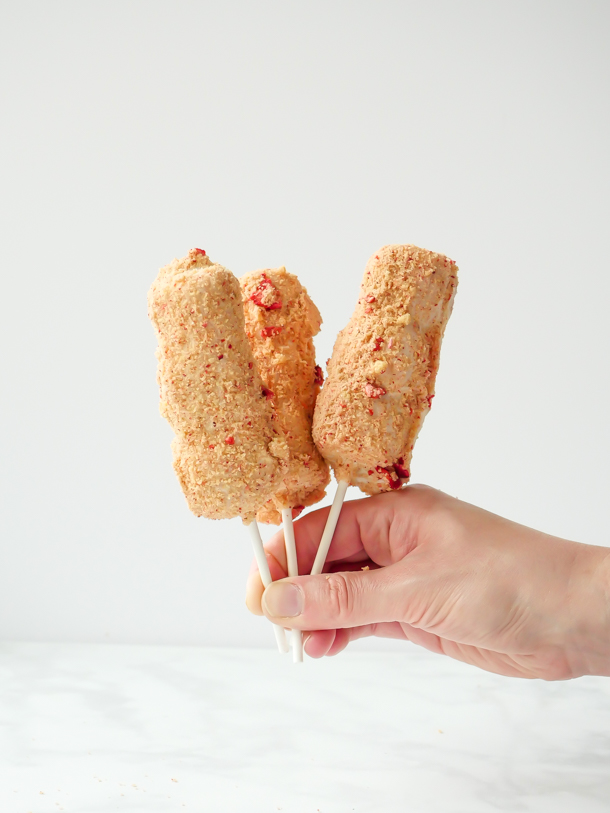
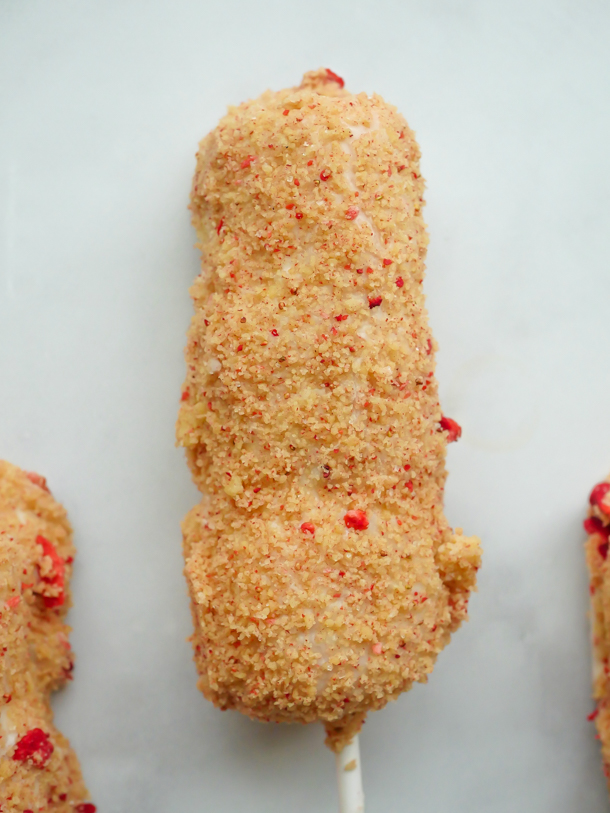
I had opened our mini freezer the other day, the freezer that I keep all my backup ingredients in for this site, and for my drinks site, Stir and Strain, and realized I had everything before me to make another round of marshmallow wands. If you take away one good tidbit from this post, I hope it’s that marshmallow wands, after they have been coated in caramel, freeze beautifully. And even after almost 6 months, once fully decorated, they still taste fresh. But so anyways, I also had a bag of crumbled shortbread in that freezer. And a bag of freeze dried strawberries. I had everything ready to go to make Strawberry Shortcake Marshmallow Wands. So that’s what we’re making today!

This treat appeared during Valentine’s Day among the many other delicious treats on sticks at Disneyland. It definitely was a contender for the site, but I had to narrow it down to just a few items since the treats were released right before the holiday, and soon after would be leaving the cases. Since we’re in the middle of a hiatus from new park treats, I’ll be making a few past ones here until I’m back once again, strolling the candy cases and shoving chocolate in my face. Fingers crossed I don’t have to wait until a year from now to do that.
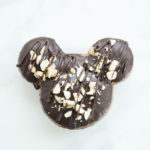
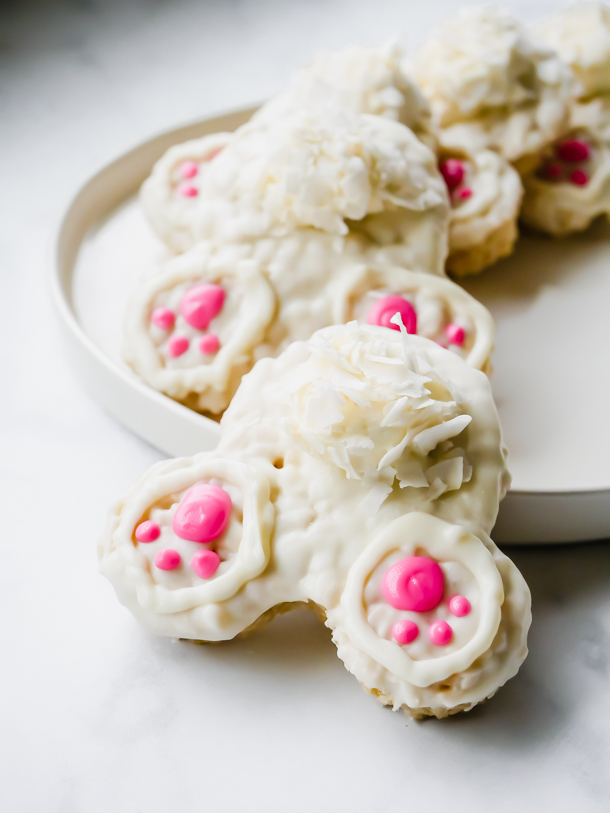
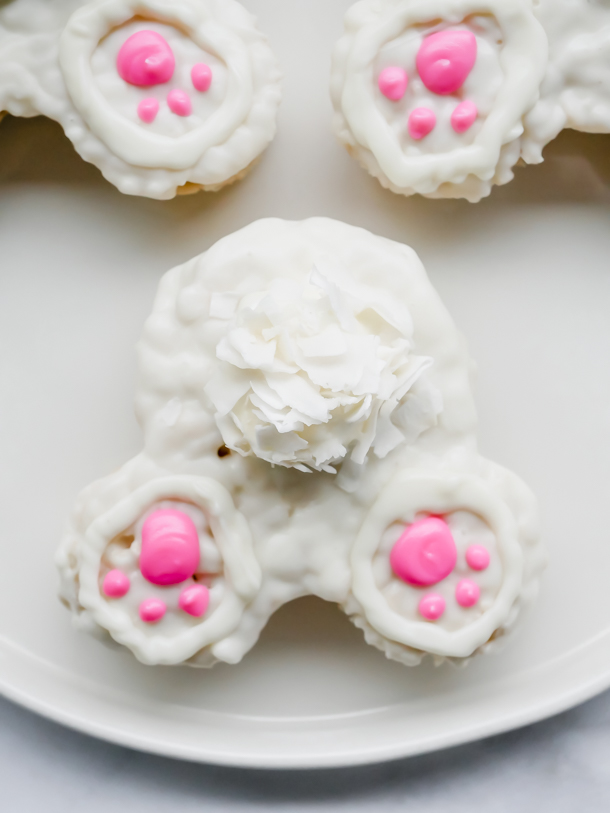
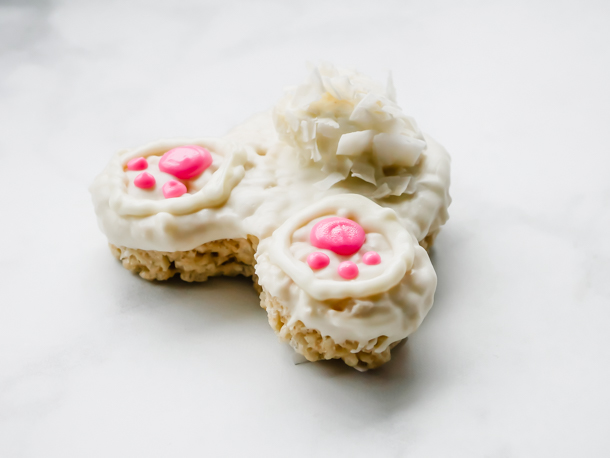
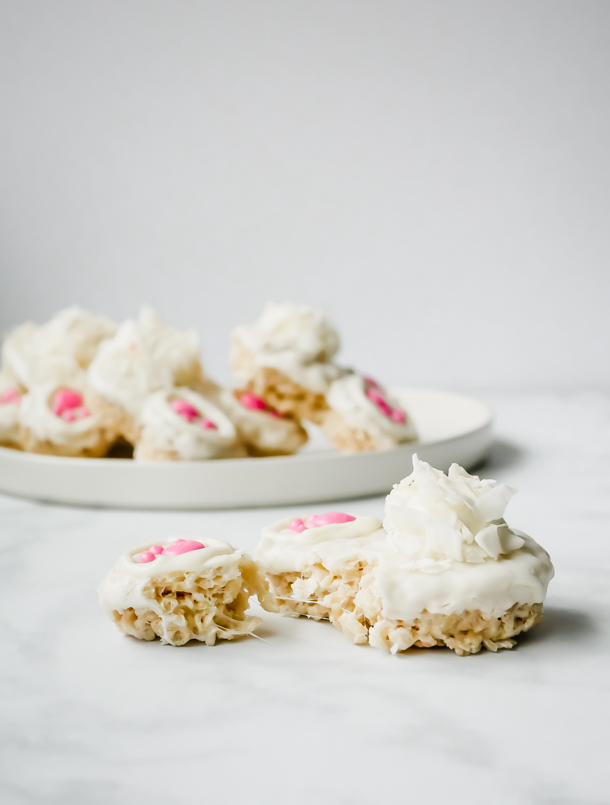
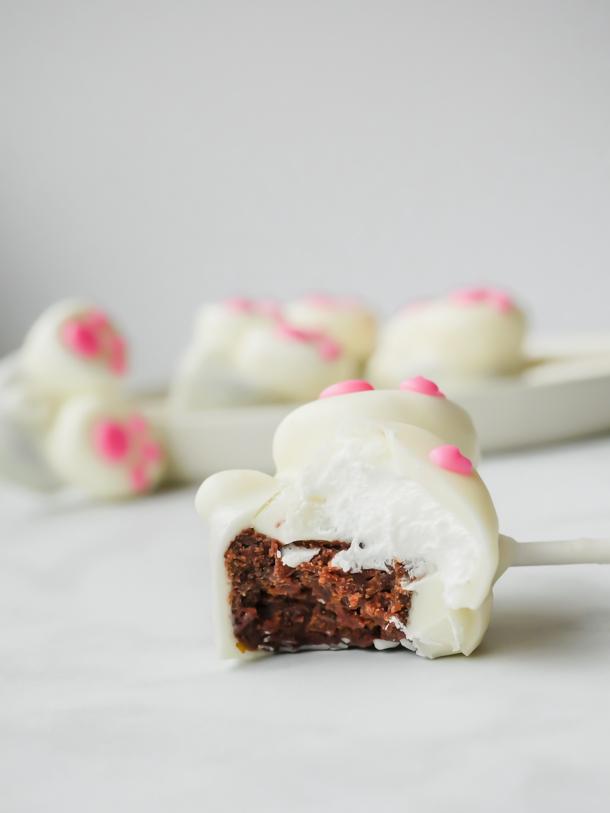
What I love about this treat is the buttery contrast of the cookie to the sweeeeeeeet white chocolate, caramel, and marshmallow. The strawberry bits add a nice zing to it as well. It’s definitely a sweet treat, but I wouldn’t write this off as just for kids.
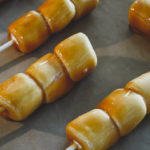
![]() But speaking of kids! Kids can help assemble these and dip in the chocolate and decorate. Older kids comfortable with a stove, and good common sense, can help dip in the caramel, but under supervision.
But speaking of kids! Kids can help assemble these and dip in the chocolate and decorate. Older kids comfortable with a stove, and good common sense, can help dip in the caramel, but under supervision.
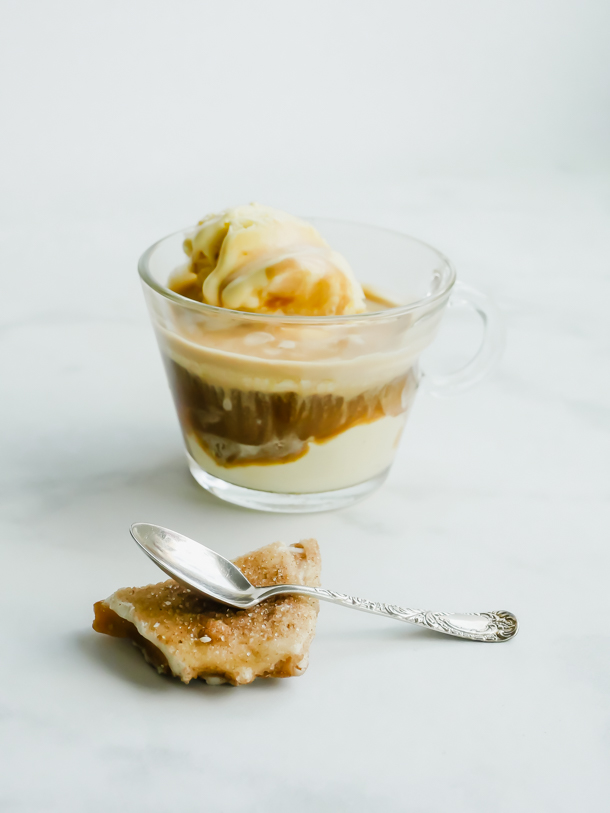
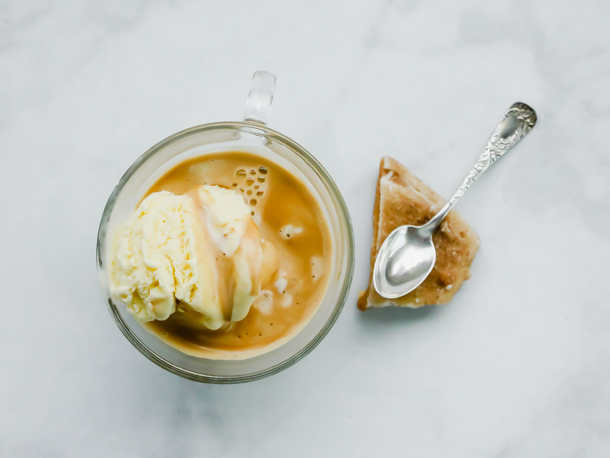
And if you’re wondering, the reason I had a container of marshmallow wands in the freezer is because I find melting the caramel in larger batches is easier to work with when making things like the wands. It stays liquid longer, and heats more evenly. The downside though is that there is a lot left over since I’m using more than I need. So now when I have extra caramel, I’ll just grab some lollipop sticks and some marshmallows (Another panic buy from March was a case of marshmallows. I’m thinking maybe I might start selling these as kits…), and I’ll coat a batch of marshmallows, place them on parchment and freeze. So far, after a 6 month hibernation, these were still great.

For the cookies, homemade or store bought is fine. But make sure you’re using a butter cookie, not a sugar cookie! And with that, I hope you enjoy these Strawberry Shortcake Marshmallow Wands!
Print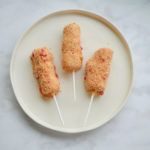
Strawberry Shortcake Marshmallow Wands
- Yield: 6 Strawberry Shortcake Marshmallow Wands 1x
Description
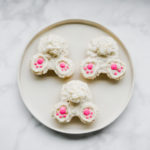
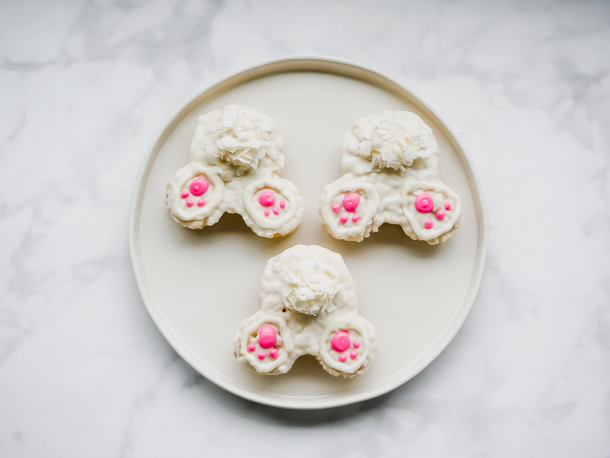
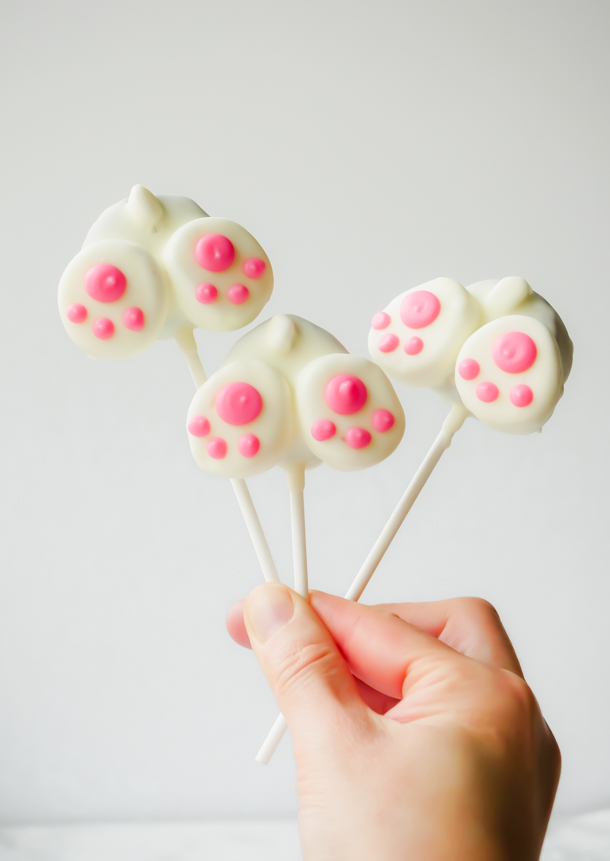
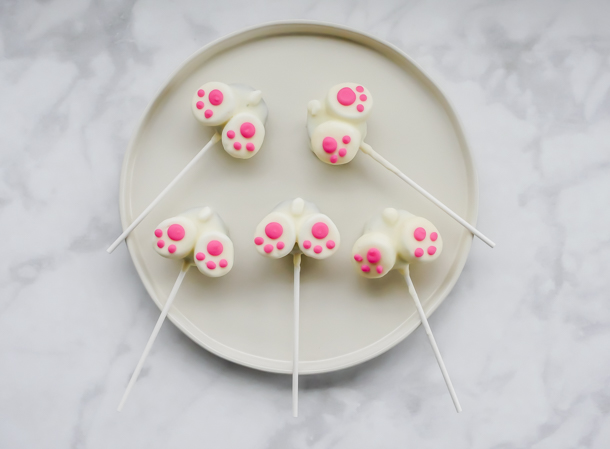
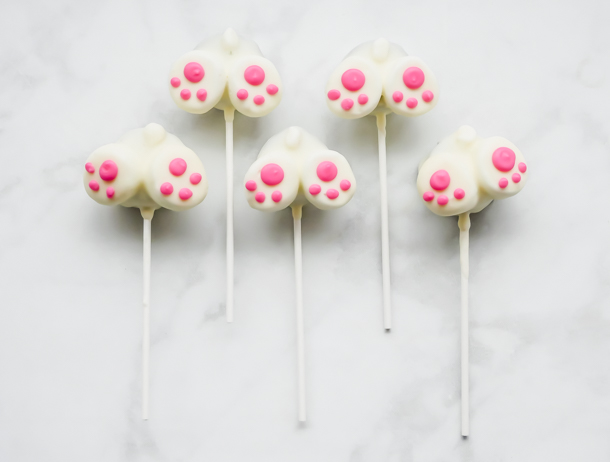
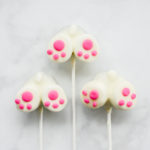
The classic caramel coated marshmallow wand gets a sweet upgrade with a layer of white chocolate and a buttery shortbread cookie crumble and tart strawberry coating! A Disneyland-inspired treat.
Ingredients
- 18 marshmallows
- 9 ounces (~32 candies) individually wrapped caramels (like Kraft)
- 1–3/4 tablespoons water
- 1/2 teaspoon of coconut oil
- 10 ounces of white candy melts
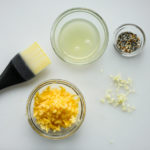
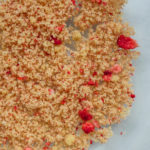
- 1 cup crushed shortbread cookies
- 1/4 cup freeze dried strawberries, crushed
- 6 lollipop sticks
Instructions
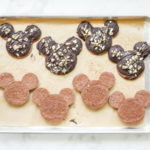
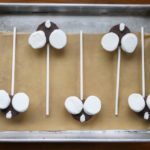
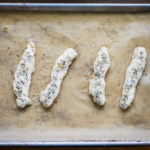
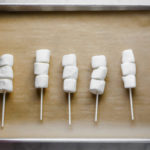
- Place 3 marshmallows on each lollipop stick and set aside on a parchment lined sheet pan.
- Mix together the crushed shortbread and freeze dried strawberries in a large, shallow bowl that can accommodate the length of the marshmallow wand. If you cannot crush the strawberries by hand (some brands are chewier than others), a quick blitz in the food processor or coffee grinder should render them fine enough to mix with the cookies. Set aside.
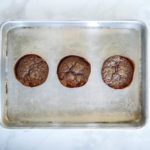
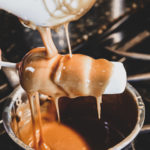
- Unwrap all the caramels and add to a small saucepan. Pour water in and heat over medium-low heat.
- Stir constantly until everything has melted and caramels are smooth (about 7-8 minutes).
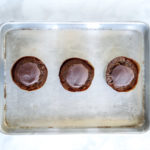
- Once melted (caramels should drip in a ribbon from a spoon back into the pan), dip each wand into the caramel, turning quickly to coat OR ladle the caramel over the wand, turning to coat. Let excess caramel drip off for at least 30 seconds, turning while it drips for even coating, tap the wand gently but firmly on the edge of the pan to remove any additional excess caramel, and then place back on the parchment.
- When all the wands have been dipped, place the baking sheet in the refrigerator for 15-20 minutes so that the caramel will be set for dipping.
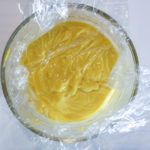
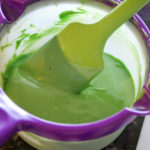
- While the caramels set, melt your white chocolate for coating. Combine the white candy melts and coconut oil in the microwave inside a microwave safe bowl, like glass, for 30 seconds. Stir and microwave again for an additional 30 seconds. Keep stirring and microwaving in short bursts of 15-20 seconds until melted and smooth. Use can alternatively use a double boiler for melting. Do not let the white chocolate get over 110°f as it can burn the chocolate (use a candy thermometer if you’re not sure about this).
- Remove the marshmallow wands from the refrigerator. You’ll know they are set when they lift easily off the parchment. If they still stick, keep them in 5 minutes longer.
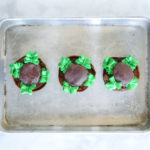
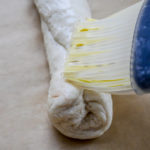
- Set up the shortbread cookie and strawberry mix bowl next to your white chocolate.
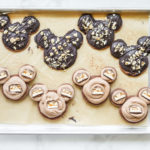
- Dip the marshmallow wand in the white chocolate, or ladle chocolate over, turning to coat. Tap the stick firmly on the side of your pan to remove any excess chocolate. Then immediately roll in the cookie/strawberry mix, gently pressing the mix onto the white chocolate. Then place back on the parchment.
- Repeat with the remaining marshmallow wands.
- Let sit at least 30 minutes to firm up or in the refrigerator for quicker results. Enjoy!
Notes
- Melted caramel is HOT! Use caution in the kitchen. Do not dip your fingers or hands into the caramel has it can adhere to skin and burn you. Keep away from children.
- Use hot water to remove caramel from pans and utensils.
- If the marshmallow wands start to stick to the parchment while you are dipping and coating, stick the pan with the un-coated wands back to chill in the refrigerator for a few minutes. If your kitchen is really hot, keep them in there the whole time, taking one at a time out to coat and decorate.
- If you have extra melted caramel that has dried around your wand, use kitchen shears to remove it immediately after removing from the refrigerator.
- Extra caramel coated marshmallow wands may be placed on a sheet of parchment in a single layer inside an airtight container and frozen for up to 6 months. No need to defrost them before use.
- Did your chocolate coating break when you first dipped your wand in? Wait for the chocolate to cool down more. It should drip freely from a spoon without it seizing when the spoon is shaken slightly (will cause crevices in the chocolate on the spoon). If it breaks on the wand, your wand also might be too cool, so let them warm up more. And don’t worry, once that chocolate starts to firm up, you can dip it AGAIN into the chocolate to get a more even, although slightly thicker, coating.