Where can I find the original treat?
- This treat can be found throughout the Disneyland resort.
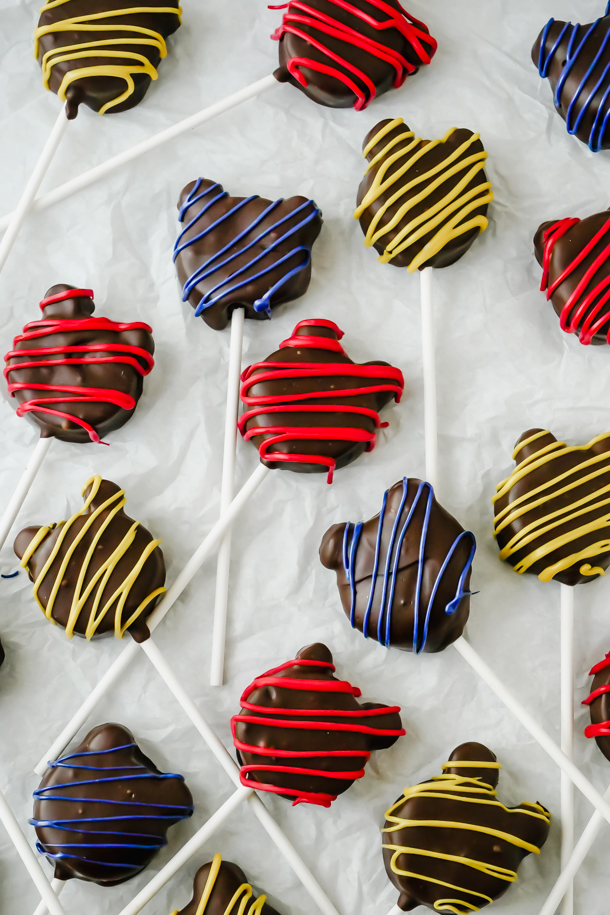
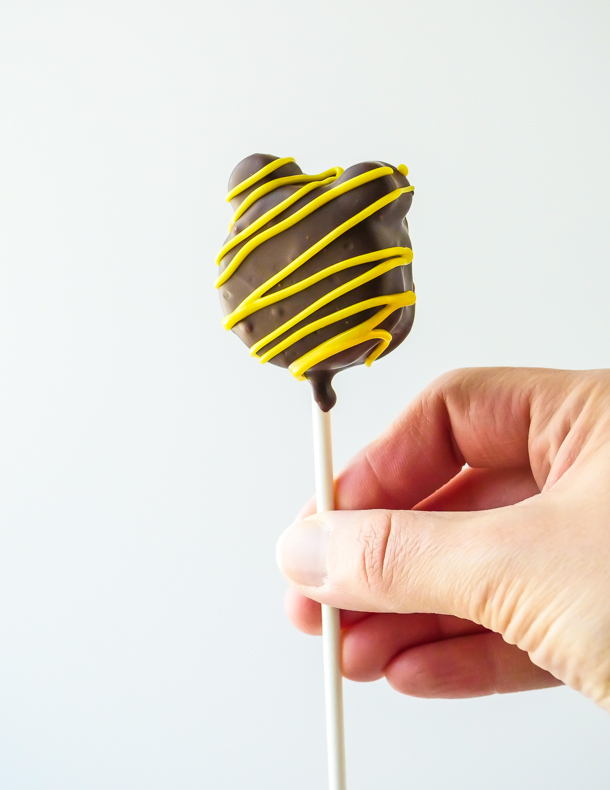
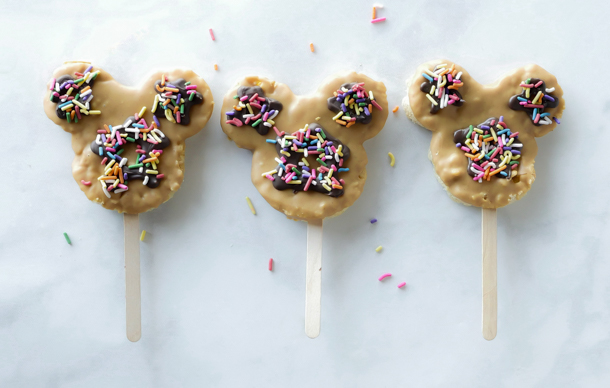
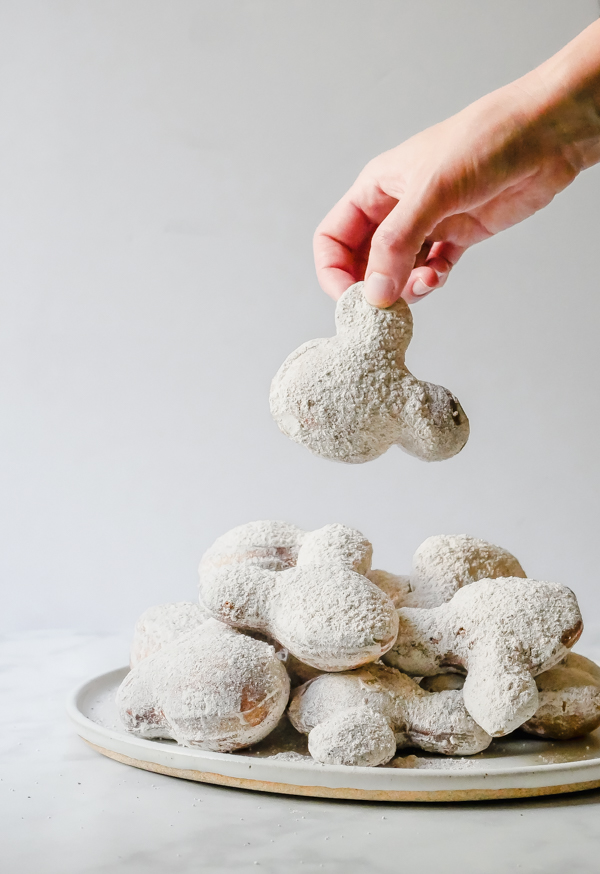
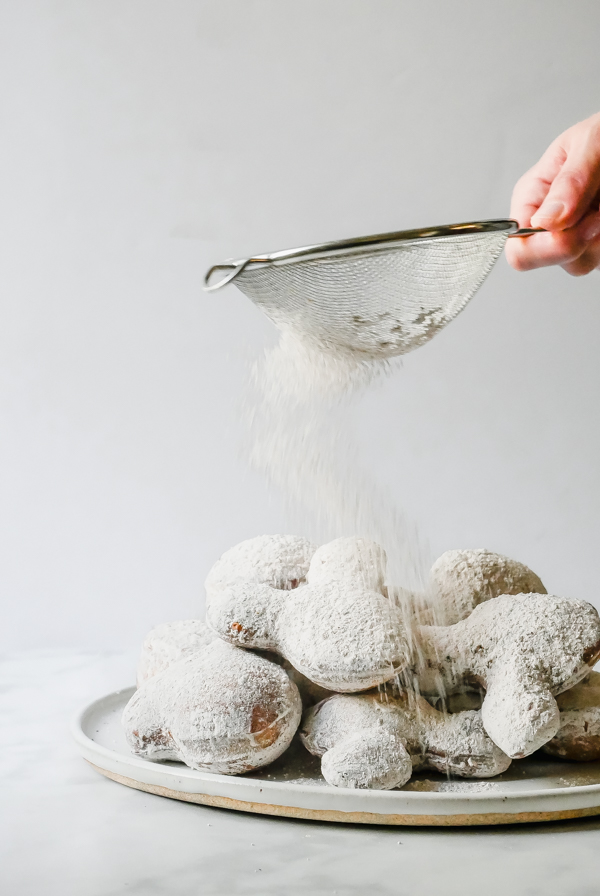
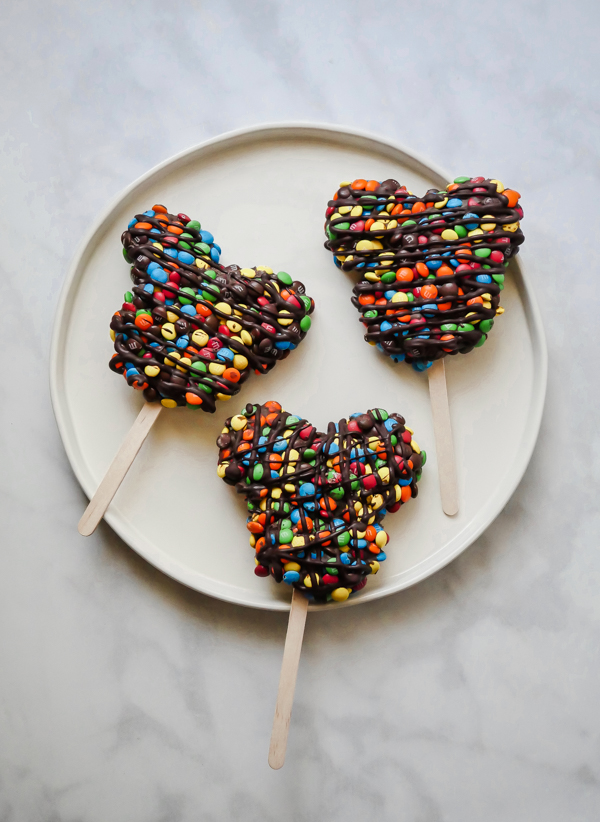
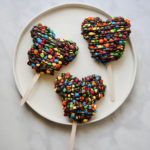
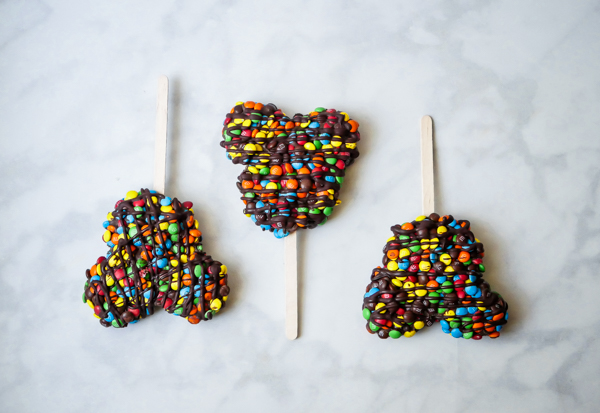
These Mickey Mouse Chocolate Cake Pops are part of the three variety series. See the intro post here!
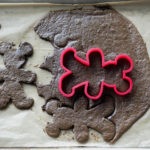
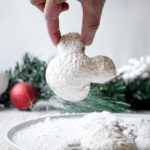
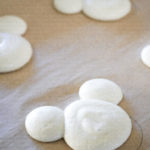
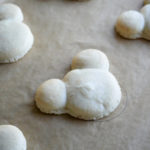
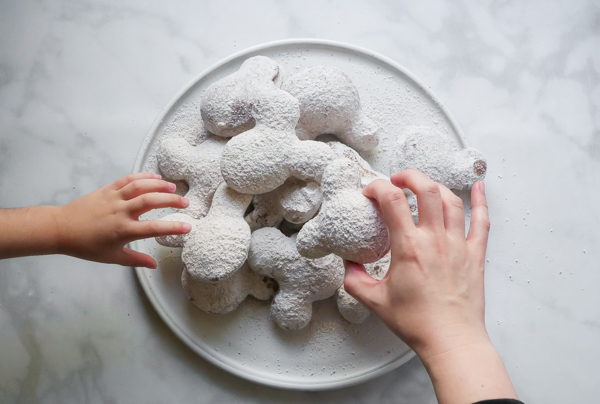
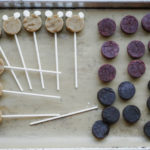
![]() Let your young bakers help cut out shapes, dip chocolate, and decorate the cake pops. If you want your ears to be more precise, you might want to take over that part, or let older bakers help.
Let your young bakers help cut out shapes, dip chocolate, and decorate the cake pops. If you want your ears to be more precise, you might want to take over that part, or let older bakers help.
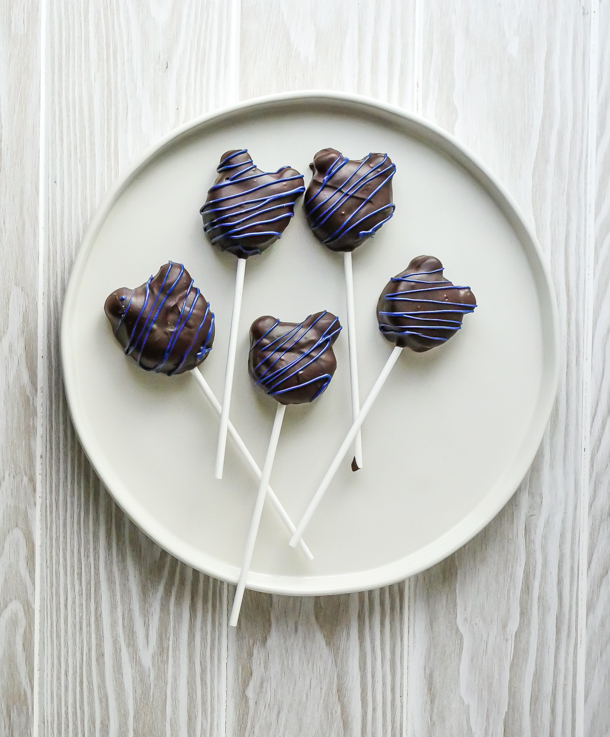
Mickey Mouse Chocolate Cake Pops
- Yield: 8 1″, or 4 2″ Mickey Mouse Chocolate Cake Pops 1x
Description
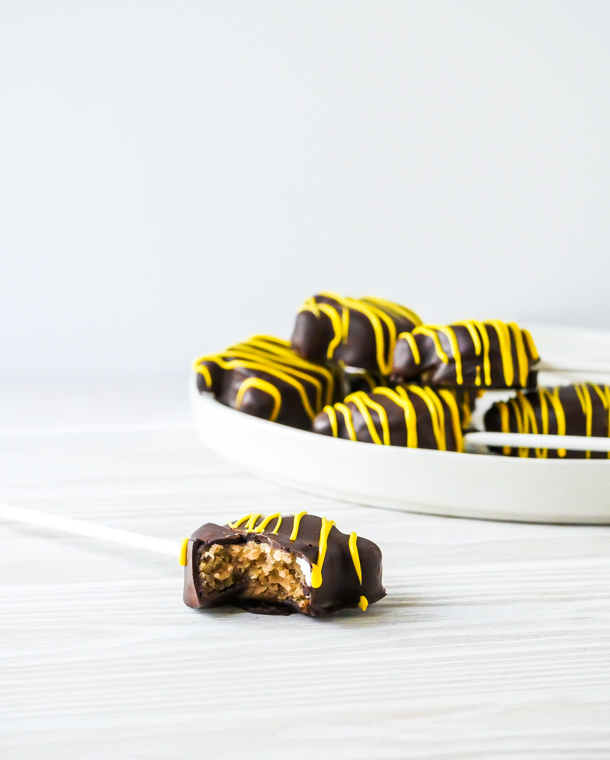
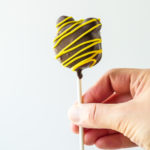
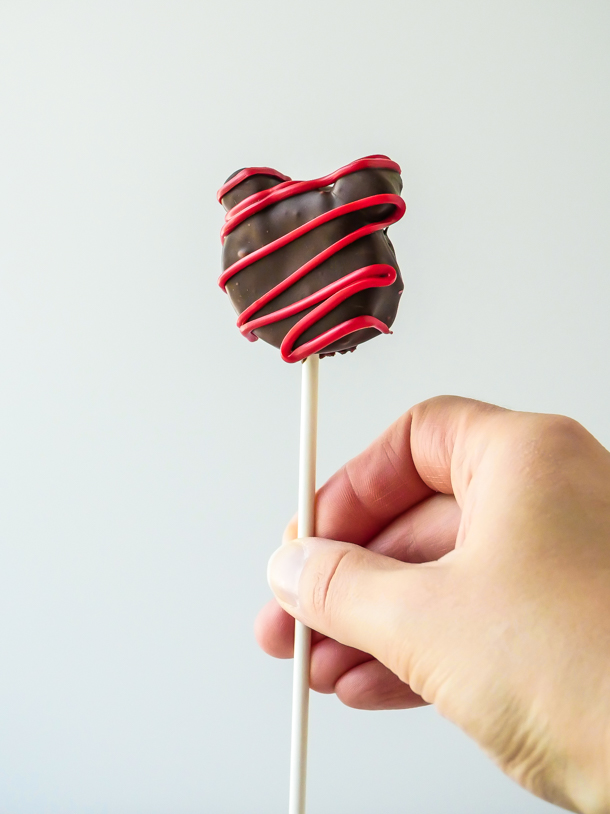
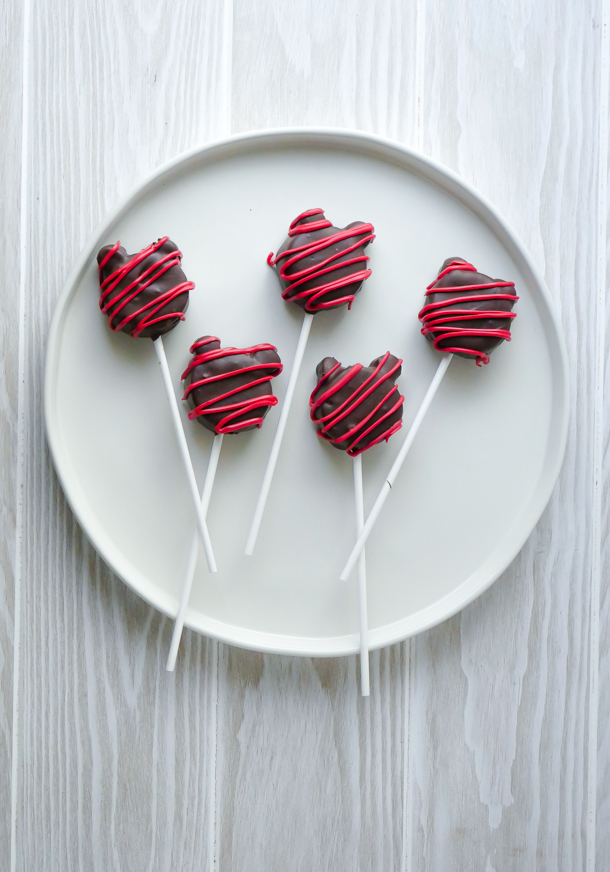
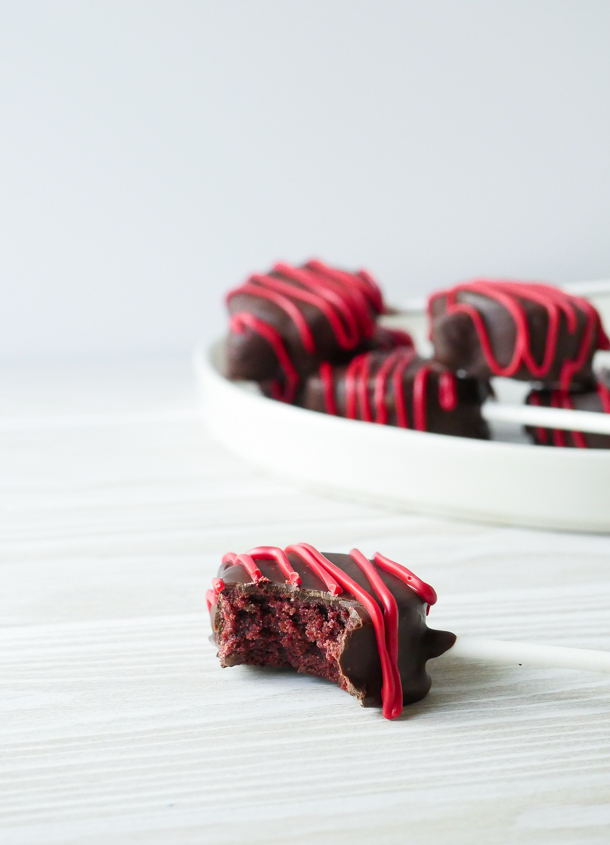
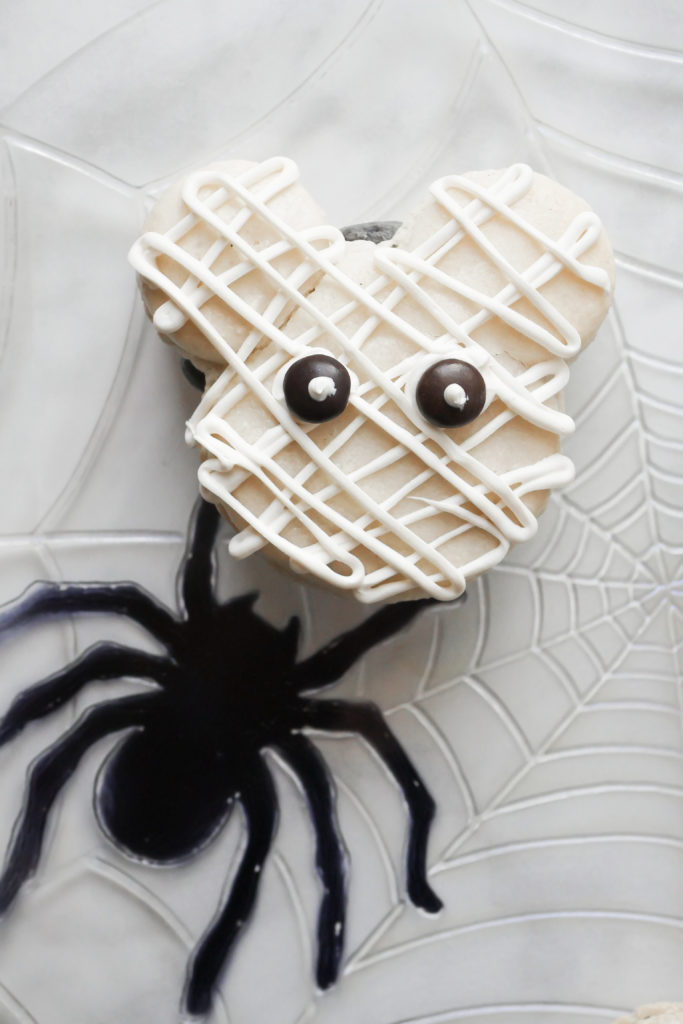
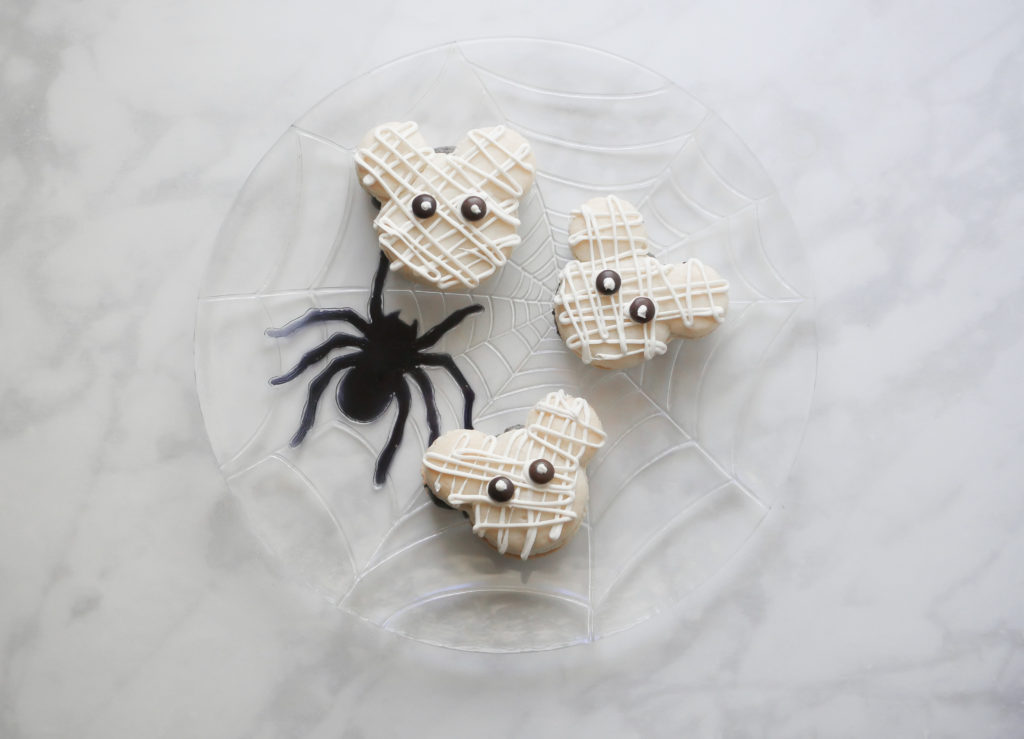
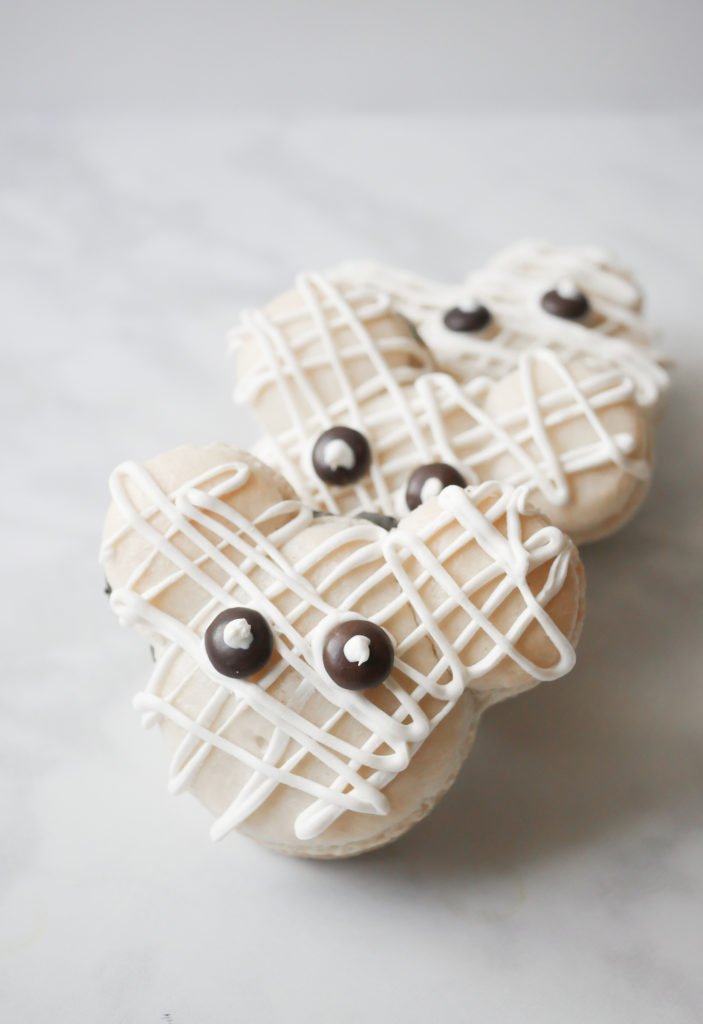
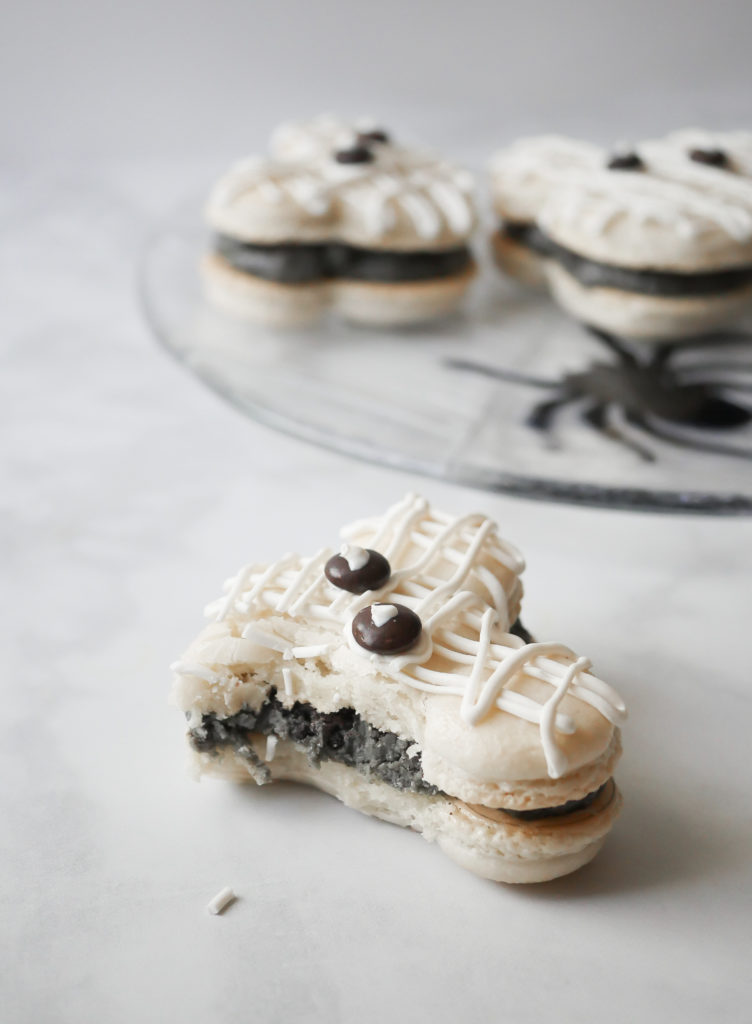
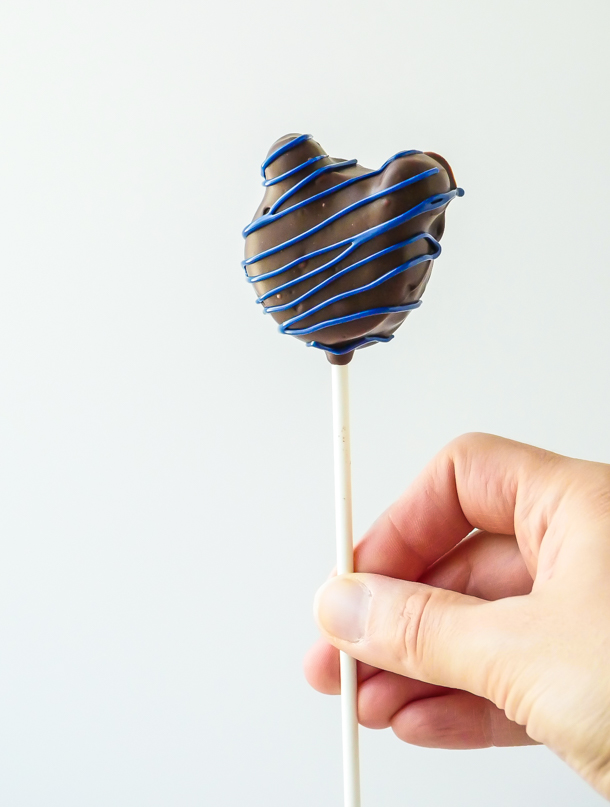
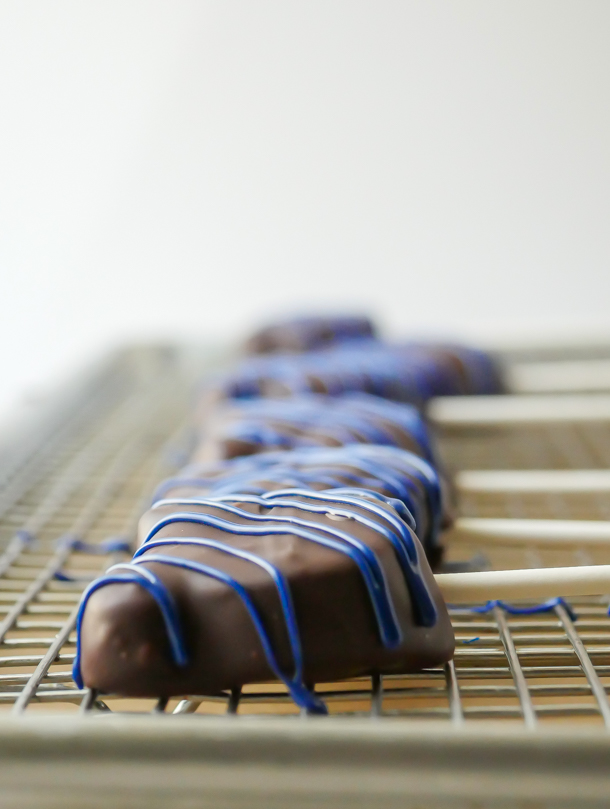
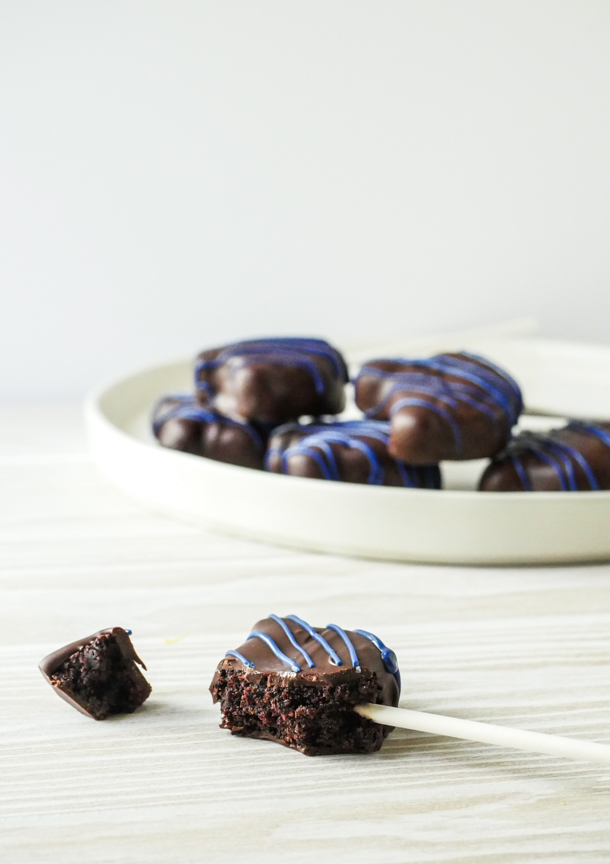
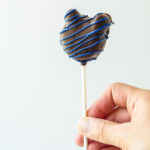
Chocolate Mickey Mouse shaped cake pops have hidden marshmallow ears, covered with semisweet chocolate, and drizzled with blue candy melts for a fun treat! A Disneyland-inspired recipe.
Ingredients
For the chocolate cake pops:
- 4 cups loosely packed chocolate cake crumbs (either from cake cuttings or from recipe below)
- 1/4–1/3 cup cream cheese frosting (store bought or homemade)
- 1/2 ounce white candy melts
- 16 mini marshmallows, or 4 regular sized marshmallows cut in half
- 6 ounces semisweet chocolate, divided
- 1 ounce royal blue candy melts
For the chocolate cake:
(This makes one single layer 6″ cake and is adapted from this recipe. If you’d like more cake pops, or don’t want to measure by grams, make the original two 6″ cake layers and save one layer for another use.)
- 45 g all purpose flour
- 75 g granulated sugar
- 14 g cocoa powder, unsweetened
- 1/2 teaspoon baking soda
- 1/4 teaspoon baking powder
- 1/4 teaspoon salt
- 1 egg
- 3 tablespoons Greek yogurt
- 1 teaspoon melted refined coconut oil
- 3 tablespoons warm water
- 1/2 teaspoon vanilla extract
Special Tools:
Instructions
For the cake:
- Preheat oven to 350°f and grease and flour a 6″ round cake pan.
- Combine the dry ingredients in the bowl of a stand mixer.
- Next, mix in the egg, Greek yogurt, coconut oil, warm water, and vanilla extract about 1 minute.
- Pour the batter into the cake pan and bake on center rack 26-28 minutes, or until a cake tester comes out clean.
- Let cool in the pan 5 minutes, turn out the cake onto a cooling rack, and let completely cool at least one hour.
- Cake can be wrapped until ready to use, or crumbled for the cake pops. Crumbs should be small and no larger than a pea.
For the cake pops:
- Combine the cake crumbs and frosting in a stand mixer until fully combined. Mixture should stay together when pressed in your hand.
- Next, line a loaf pan with parchment and press mixture firmly into about 1/2 to 2/3 of the pan. You want a solid brick to be able to cut out shapes later.
- Refrigerate the pan 1-2 hours, or 30 minutes in freezer.
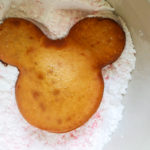
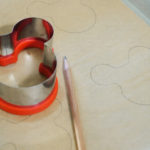
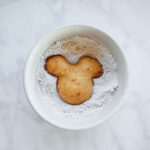
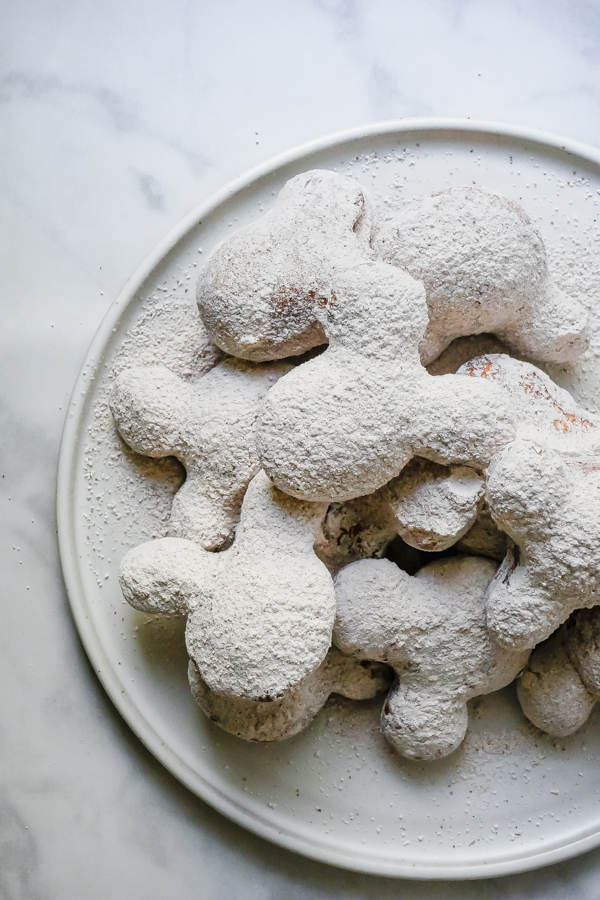
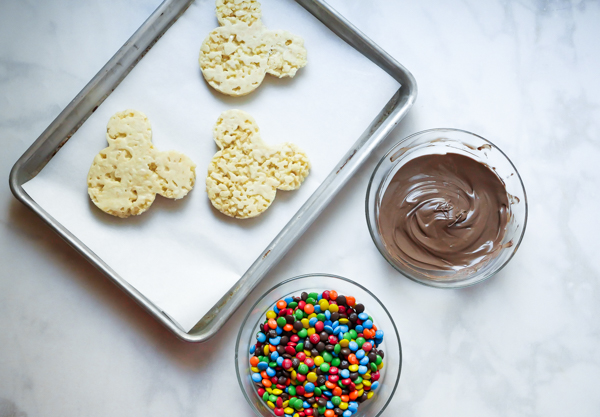
- Next, using either a 1″ or 2″ round cookie cutter, cut out the shapes and set aside. This mix yields 8 1″ and 4 2″ circles. You can recombine scraps to cut out more shapes if you’d like, or roll into balls for classic shaped cake pops.
- Insert lollipop sticks into each circle.
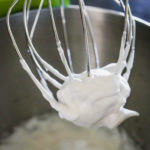
- To attach marshmallows, melt the white chocolate in the microwave inside a microwave safe bowl, like glass, for 30 seconds. Stir and microwave again for an additional 30 seconds. Keep stirring and microwaving in short bursts of 15-20 seconds until melted and smooth. Place a small dollop at the 10 and 2 marks on the circle (like a clock), and immediately place the marshmallow circle facing outwards. Set to dry by placing in the fridge 20-30 minutes. You want to keep your cake pops firm before dipping into chocolate.
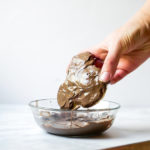
- Next, temper the chocolate. In a microwave safe bowl, add 2/3 of the chocolate. Microwave for 30 seconds, stir, microwave for another 30 seconds. Stir again and microwave in short bursts of 15-20 seconds until chocolate has uniformly melted and has reached between 114° – 118°F. Then add in some of the remaining chocolate, stir to completely melt and then add more (I did three batches). Continue to stir the chocolate until it has cooled to 88° – 89°F. The chocolate is now tempered and ready to use. (Alternatively, you can heat in a double boiler on the stove.)
- Remove the cake pops from the refrigerator for 5 minutes before dipping.
- Then either dip directly into the chocolate, or use a ladle or spoon to pour the chocolate over the cake pops. Gently tap the lollipop stick to remove any air bubbles and get off any excess chocolate, scraping the back side on the side of the bowl as well. Set aside on a sheet of parchment and repeat until all the cake pops have been covered.
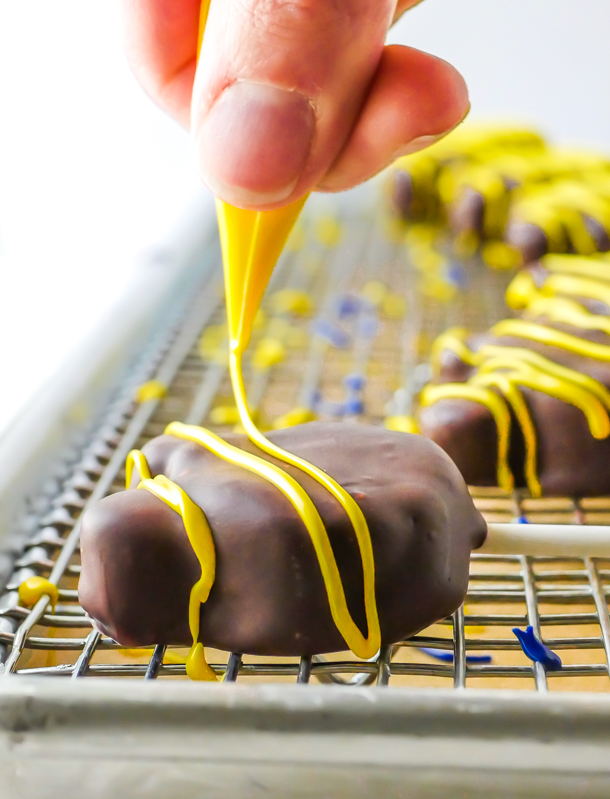
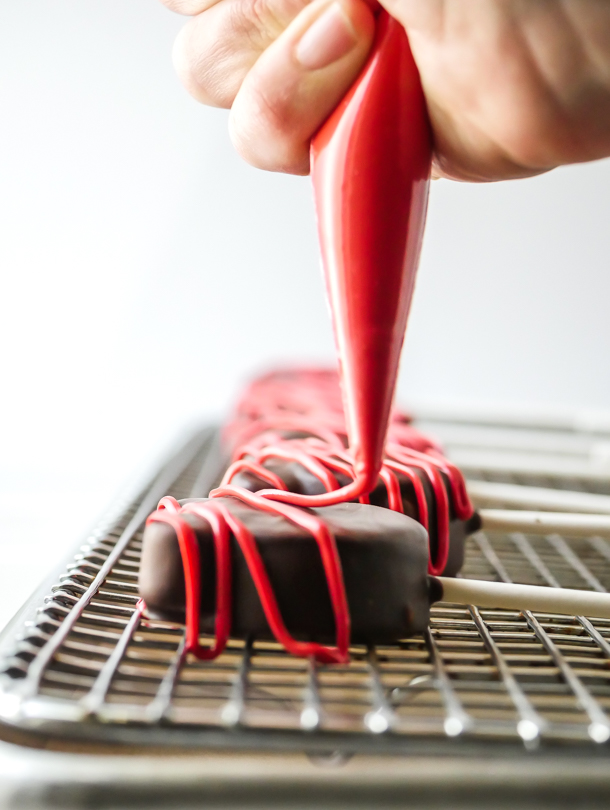
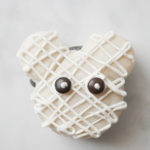
- Finally, melt the blue candy melts in the microwave inside a microwave safe bowl, like glass, for 30 seconds. Stir and microwave again for an additional 30 seconds. Keep stirring and microwaving in short bursts of 15-20 seconds until melted and smooth. Transfer to a piping bag (or directly melt in a heat proof piping bag). Cut a small amount off the tip of the bag and make zig-zagging lines across the face of the cake pop. Let set at least 15 minutes and enjoy!
Notes
- If cocoa powder is lumpy, sift before using.
- Cake crumbs should be small and no larger than a pea.
- To be efficient, after all your cakes are made in this series, you can assembly line adding the marshmallow ears, and then the chocolate dipping.
- Cake balls should not be too wet or too dry to hold their shape properly. If too wet, add more cake crumbles. If too dry, add more frosting a small bit at a time.
- You can use a combination semisweet/bittersweet at 75/25% for a less sweeter chocolate coating.
- If cake balls are slipping off the sticks, dip lollipop stick tip in the melted chocolate and insert into cake ball. Refrigerate a few minutes to set.
- If you do not pop the air bubbles, then moisture from the cake will seep out as the chocolate dries. If this happens, gently wipe away anything that has seeped out, and coat a second time in the melted chocolate. You can also store freshly baked cake a day or two in the refrigerator, wrapped in plastic wrap, to dry it out a bit before crumbling.
Tempering Chocolate tips:
- Tempering chocolate creates a glossy sheen and a crisp snap
- Using short bursts of time makes controlling the temperature easier
- Keep all moisture and liquids away from the chocolate while tempering
- Use an instant read candy thermometer with a clip (we like this one)
- If chocolate starts to cool, microwave for 5-10 seconds
- If you do not have a candy thermometer, read this article on tempering without one: https://www.thekitchn.com/how-to-temper-chocolate-without-a-thermometer-cooking-lessons-from-the-kitchn-196475
- And if you don’t have the time to temper your chocolate, just melt and dip and eat!