Where can I find the original treat?
- This seasonal treat can be found all over the Disneyland resort.
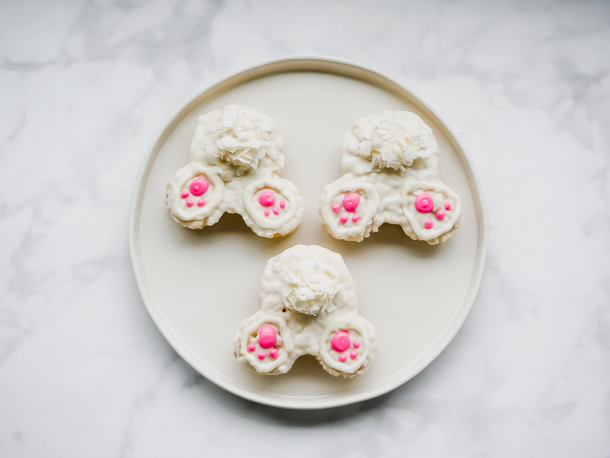
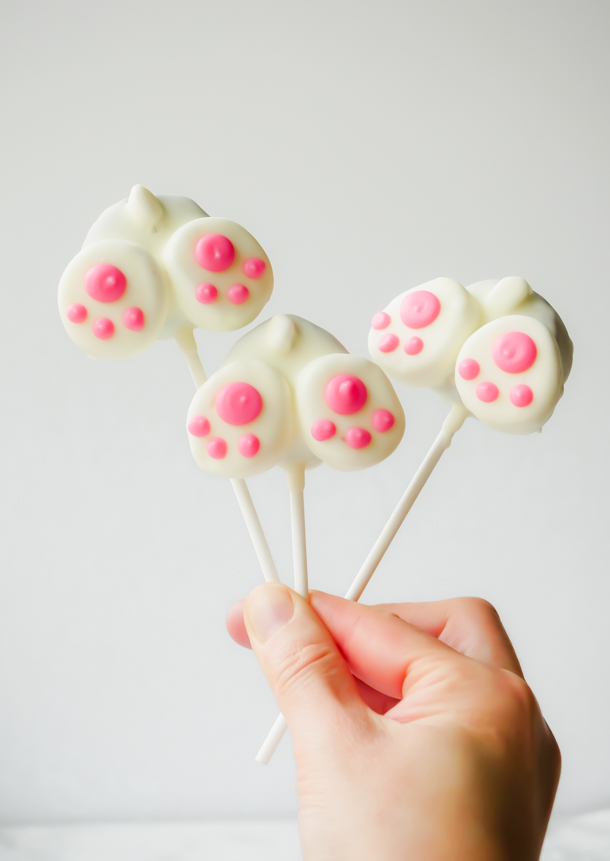
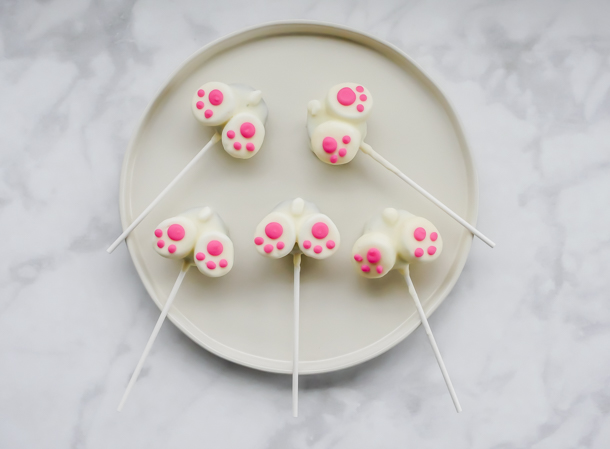
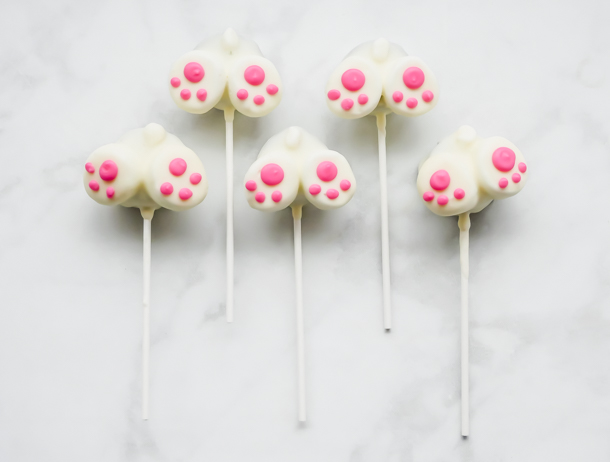
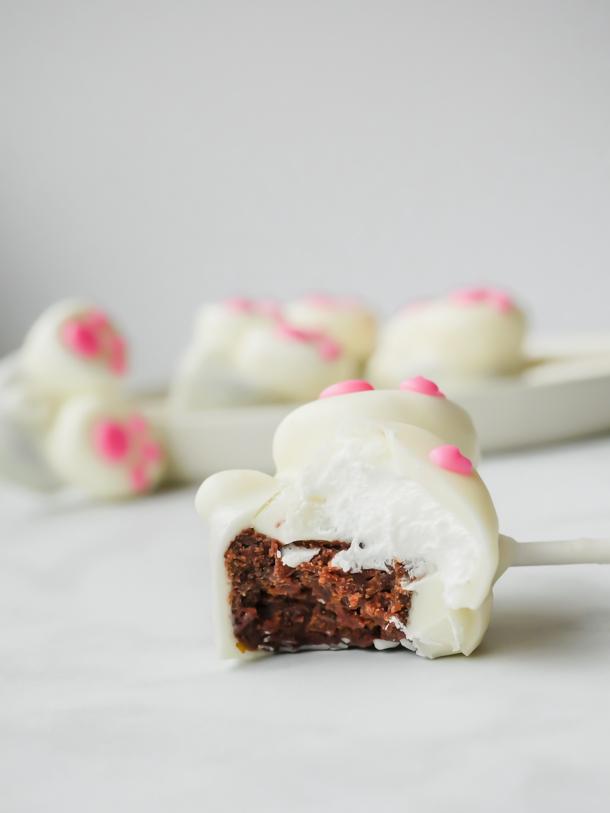
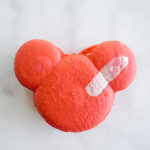
We’re back again today with another Disneyland park inspired Easter treat. Similar in style to yesterday’s Bunny Butt Cake Pop, today we’re not getting quite so technical with this Bunny Butt Easter Crispy Treat.
Yes! Disneyland did it again with some super cute crispy treats shaped like Peter Cottontail’s, er, cottontail. I just loved seeing these and the cake pops on my last few visits to the park in March. It was hard to narrow down what treats to make for Easter, but in the end, the bunnies won.
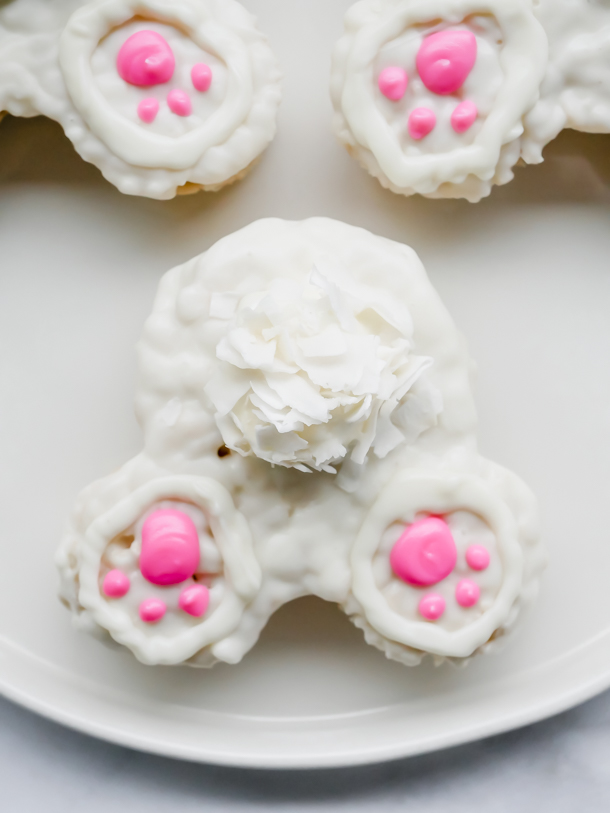
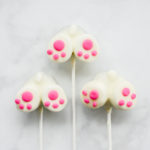
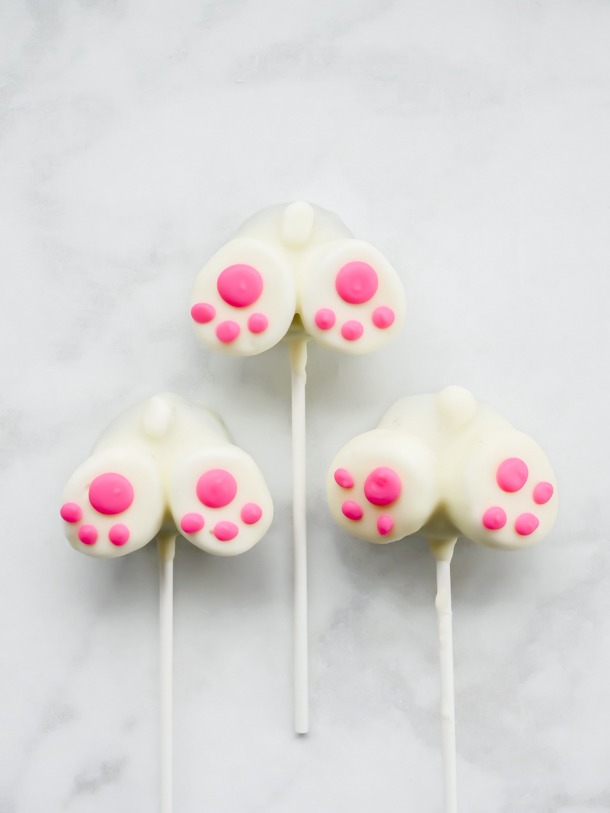
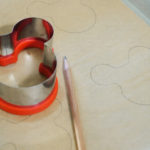
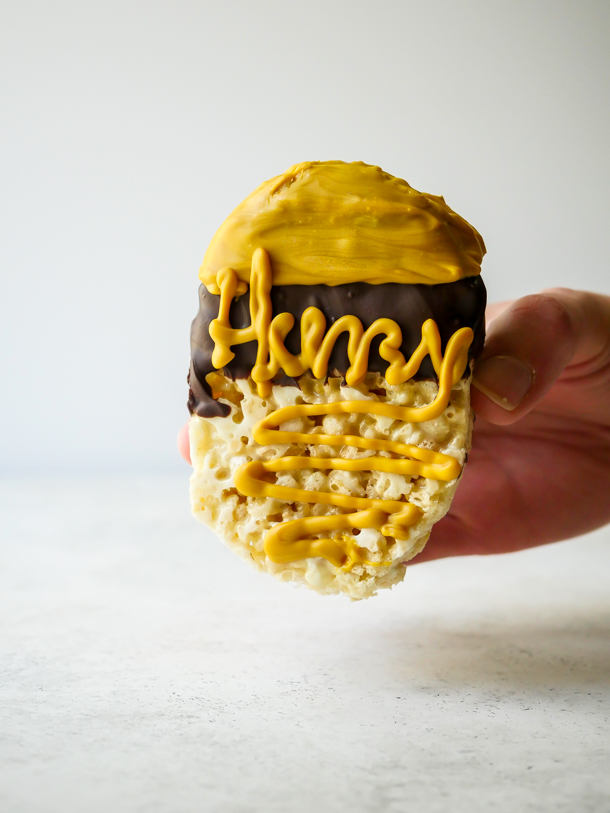
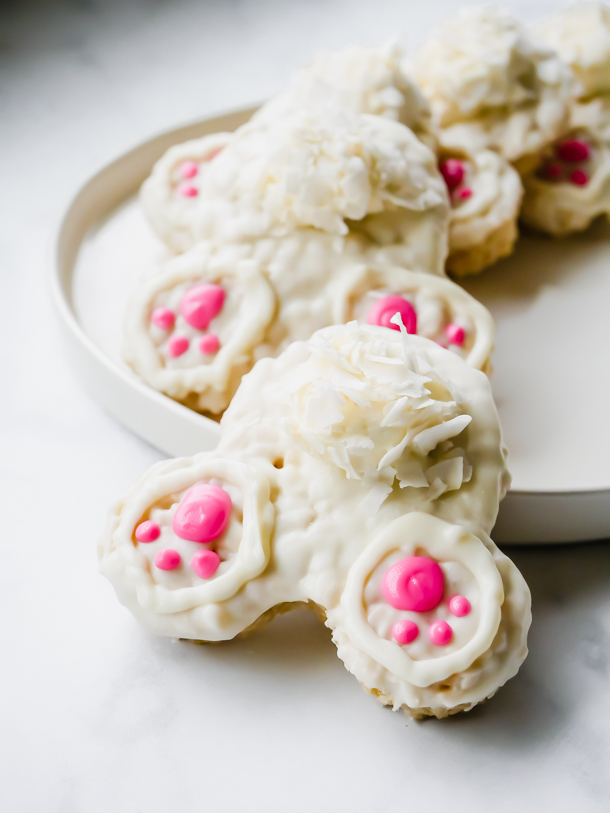
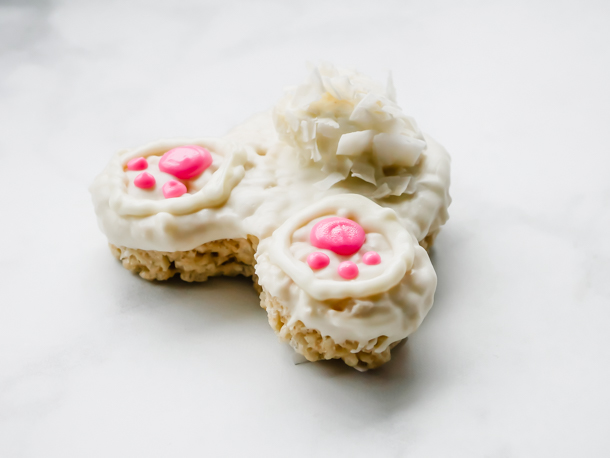
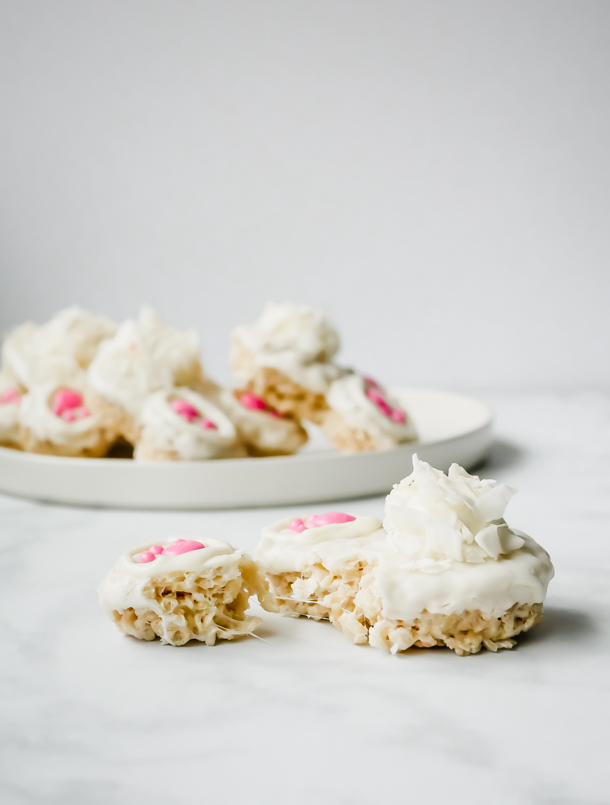
Unlike the smaller cake pops, these treats use flaked coconut to make a big tail for these Easter rabbits and the feet decorations are piped on. (And if you’ve got a large Mickey Mouse cutter at home, you’re in luck, since these use that shape, but flipped upside down to create the bunny butt!) Our batch below makes 3 generously sized crispy treats but you can definitely double this recipe using the handy button in the recipe too!
If you’ve saved your leftover white chocolate from yesterday, then you should still have plenty leftover to coat these and do some piping work. If not, no worries! These are still super easy to make even with a little extra time melting chocolate.
One trick I learned with these this time, is that you can speed the firming up stage by sticking these straight into the freezer for a little bit right after pouring the mixture in the pan. Then go straight to cutting out the shapes. I’d still stick them back in the fridge after cutting so they don’t un-firm up quickly though before coating and decorating. This trick came in handy when I realized I was late for snack time this week and needed to put something in front of my kids ASAP.
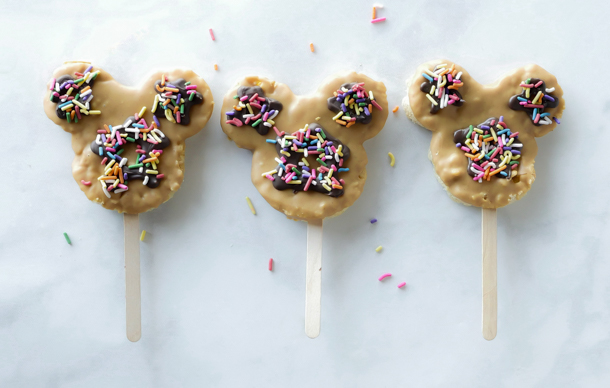
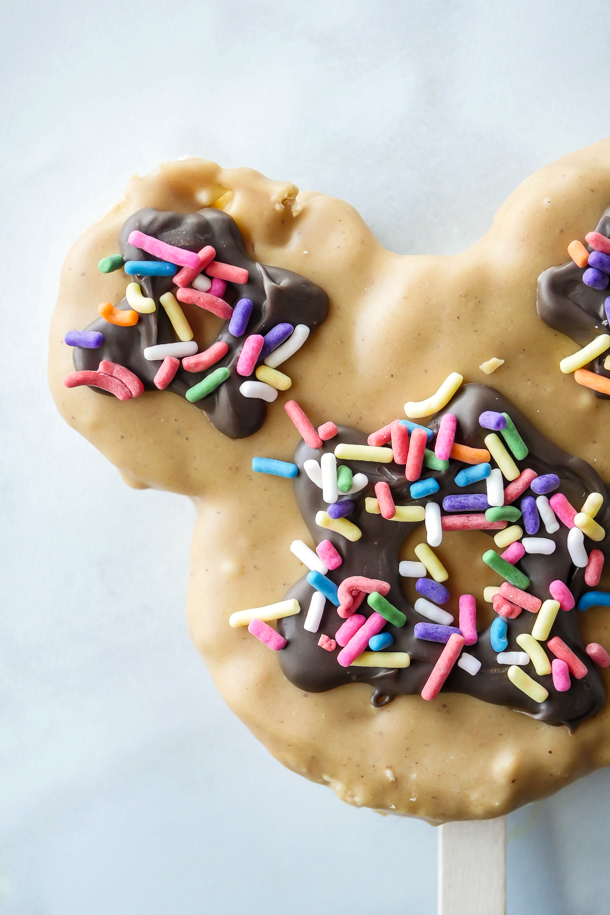
![]() Speaking of kids, this is a fun treat for kids to decorate. I like to stay clear of small hands touching the molten marshmallows, but that cools down very quickly once it’s out of the saucepan and into the baking pan to set.
Speaking of kids, this is a fun treat for kids to decorate. I like to stay clear of small hands touching the molten marshmallows, but that cools down very quickly once it’s out of the saucepan and into the baking pan to set.
Ok, now let’s make some bunnies! And don’t forget to check the notes below for more tips!
Print
Bunny Butt Easter Crispy Treats
- Yield: 3 Bunny Butt Crispy Treats 1x
Description
Sweet, chewy, crispy treats get the Cottontail treatment in these cute, Easter themed Bunny Butt dessert. A Disneyland-inspired treat.
Ingredients
For the crispy treat:
- 2 tablespoons butter, unsalted
- 2–1/2 cups mini marshmallows or 25 regular sized marshmallows
- 2-1/2 cups crisped rice cereal
For the decoration:
- 1 cup white chocolate, finely chopped (or candy white candy melts)
- 1/4 cup light pink candy melts
- 2 marshmallows, cut in half
- 1/3 cup shredded coconut (sweetened or unsweetened)
Specialty Tools:
Instructions
For the crispy treat:
- Before beginning, line a loaf pan with parchment.
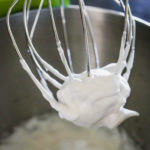
- Combine the butter and marshmallows in a medium sauce pan over medium-low heat. Stir constantly until marshmallows have melted and mixture is smooth.
- Immediately dump in the crisped rice cereal and mix to combine.
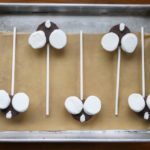
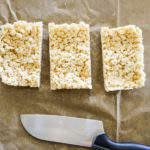
- Pour into the prepared pan and gently press mixture into place with a rubber spatula (or damp fingers). Set aside for at least an hour in the refrigerator (or 20 minutes in the freezer) so that the mixture can firm up enough to cut shapes.
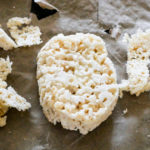
- When the treats have firmed up, use a Mickey Mouse cutter to cut out your shapes. Set aside.
For the decoration:
- First, melt the white chocolate (or candy melts) in the microwave inside a microwave safe bowl, like glass, for 30 seconds. Stir and microwave again for an additional 30 seconds. Keep stirring and microwaving in short bursts of 15-20 seconds until melted and smooth. Use can alternatively use a double boiler for melting.
- Dip the top of the treat into the melted chocolate, letting any excess drip off back into the bowl. Repeat for other treats.
- Then attach the half marshmallow, cut side down, into the center of the largest part of the crispy treat. Repeat with all the treats and set aside. (You’ll have half a marshmallow left over)
- Next, pour all the remaining white chocolate into a piping bag. Set aside.
- Melt the pink candy melts now in the microwave inside a microwave safe bowl, like glass, for 30 seconds. Stir and microwave again for an additional 30 seconds. Keep stirring and microwaving in short bursts of 15-20 seconds until melted and smooth. Use can alternatively melt directly in a heavy duty piping bag. If you haven’t melted in a piping bag, transfer the melted candy melts to one now. Set aside.
- Start piping the feet with the melted white chocolate first, outlining the circles for the feet. Then over the marshmallow with white chocolate and immediately press the shredded coconut onto it to create the cottontail.
- Then, using the pink candy melts, pipe the feet decorations. Start by squeezing until a large circle forms, and then using a quick motion, pipe three small dots.
- Let the treats firm up at least an hour in the refrigerator before serving. Enjoy!
Notes
- Use a smaller pan than you think you’ll need for this. As the marshmallows melt into the butter, if there’s too much space in the pan, they will start to dry out and form strings. Keeping the marshmallows closer together in the pan will ensure they melt more evenly, creating a better mixture to add the cereal into.
- When mixing crisped rice cereal into the melted marshmallows, keep the mixture on the flame so that marshmallows stay liquid. Removing to mix in can seize up the liquid before the cereal is fully mixed.
- If crisped rice cereal is unavailable right now, use any kind of puffed grain, or cereal. Fruity Pebbles would work here too!
- After you’ve cut out your treats, extra cereal/marshmallow mixture can be recombined by hand and cut again (or just combined and shaped into another treat by hand).
- Melted white chocolate is thinner than candy melts. If you find your first dip in the white chocolate is too thin, wait 5-10 minutes and then dip a second time AND THEN adhere the marshmallow.
- At the parks, they use marshmallow creme to hold the coconut tail in place. If you’ve got fluff in a jar, that would work here too!
- Save any extra white chocolate or candy melts to reuse for another treat within a week for white chocolate and a month for candy melts. Let harden and then seal in an airtight container.
- Treats can be kept in an air-tight container for up to 3 days.