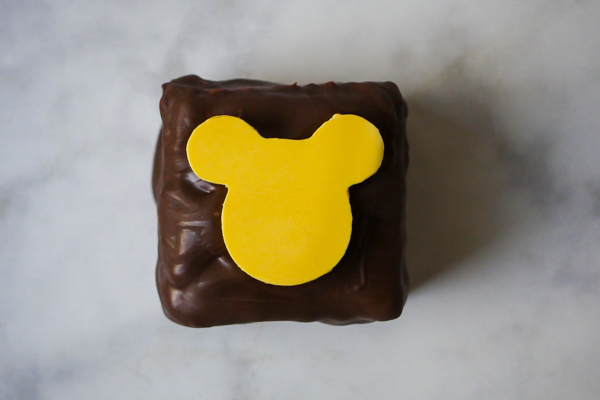
Where can I find the original treat?
- These treats can be found all over the Disneyland Resort.
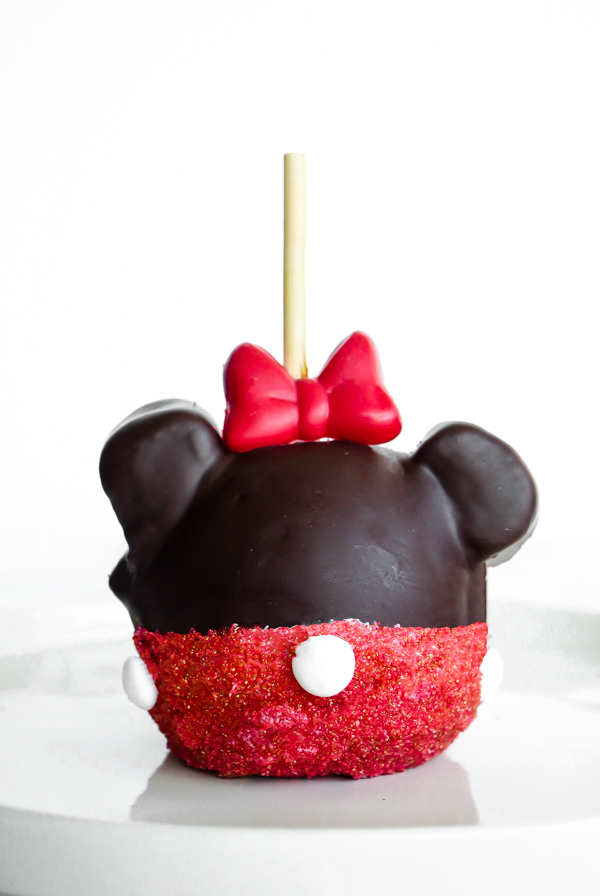
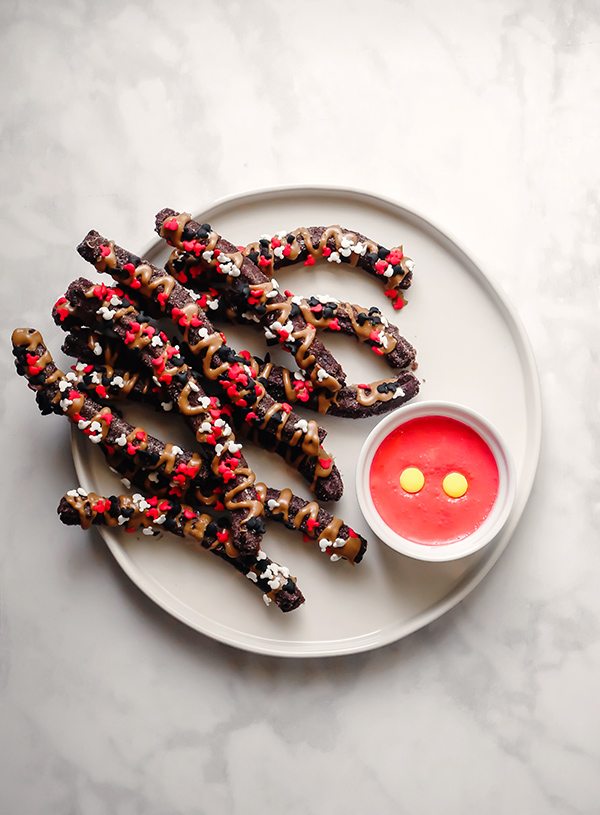
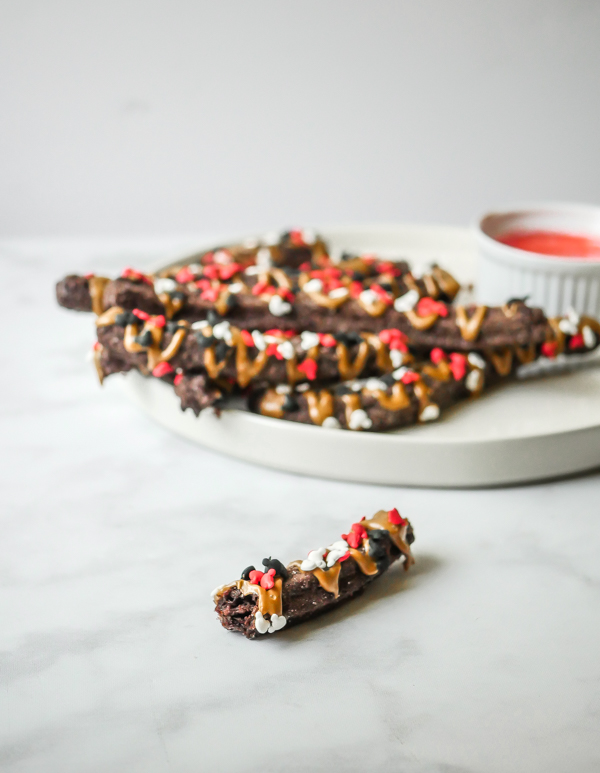
I jokingly declared it fall over on last week’s Instagram announcement due to both Starbucks and Disneyland bringing out all their seasonal products…. in August. But now that it’s September 1st, somehow that doesn’t feel so strange. So, today we’re making caramel apples. Minnie Mouse Chocolate Covered Caramel Apples!
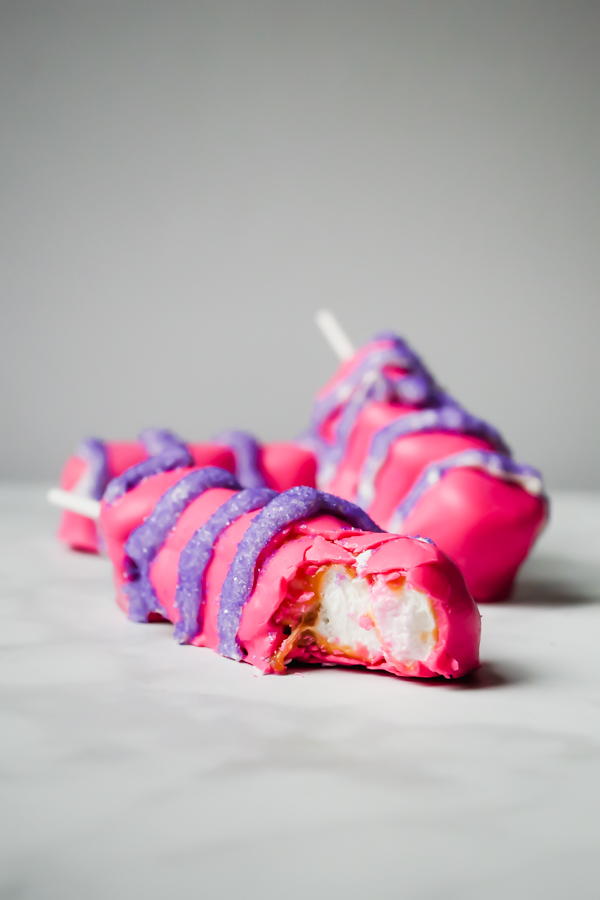
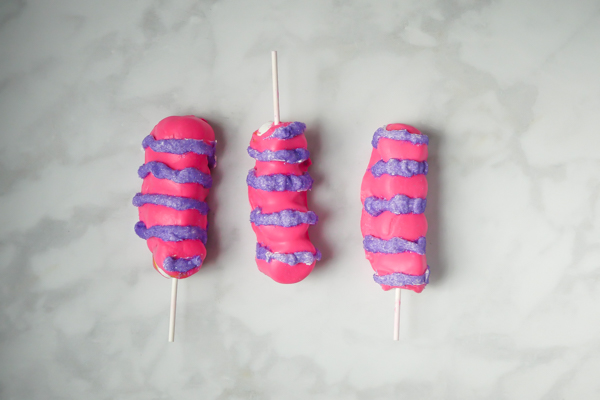
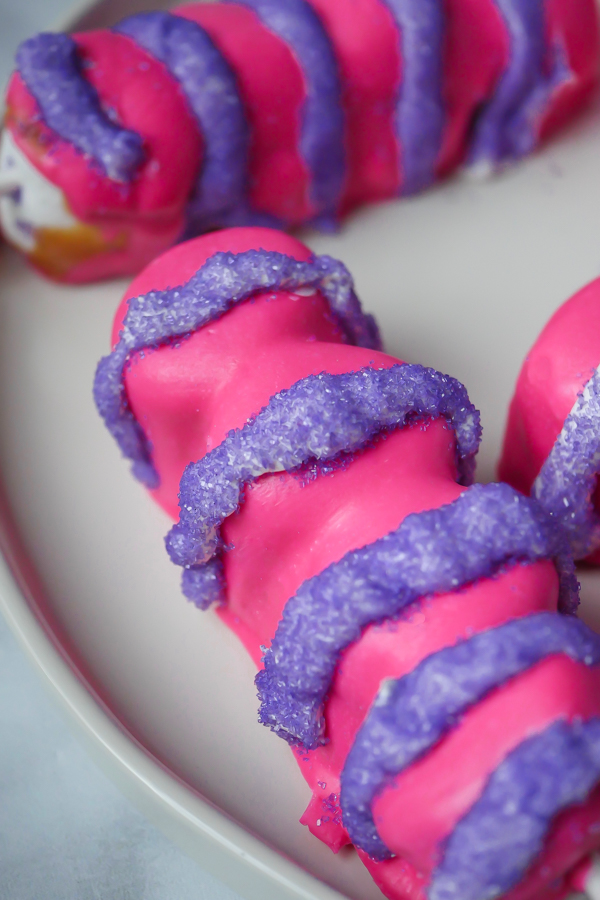
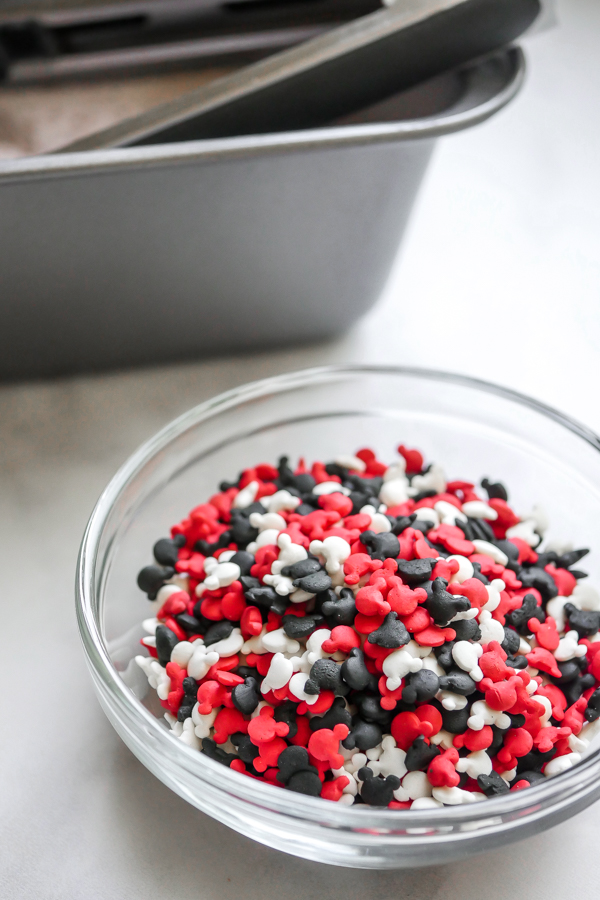
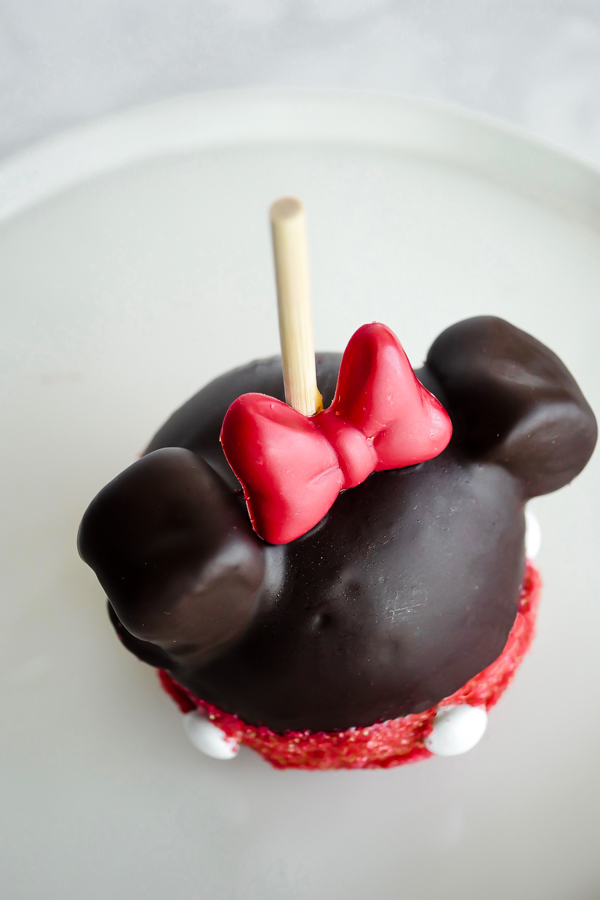
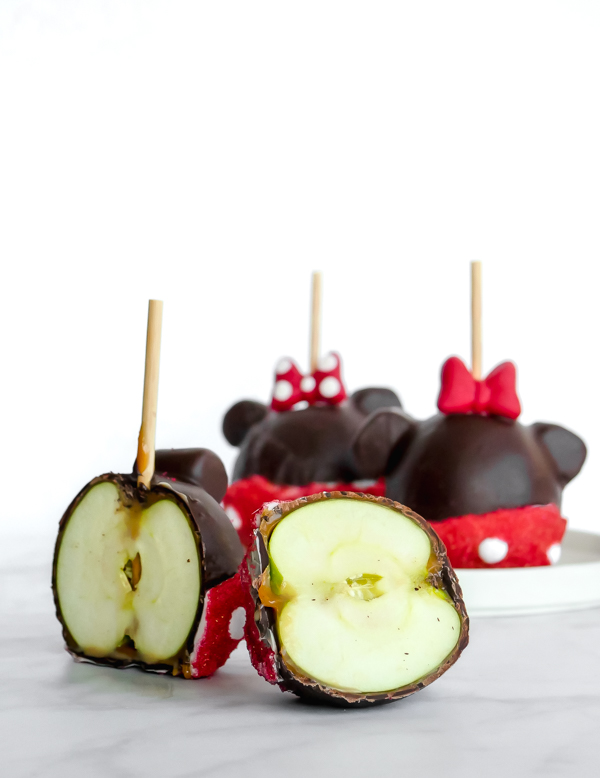
These caramel apples are easy to find at the parks, and you can grab one at Candy Palace, Pooh Corner, Trolley Treats, and Marceline’s in Downtown Disneyland. The treat consists of an extra large apple (I’ve gotten Granny Smith apples but I’ve also seen Fuji) dipped in caramel, with marshmallow ears, which then get dipped in semisweet chocolate, and then half dipped in white chocolate. The apple then gets decorated with the classic Minnie Mouse bow, and gets a layer of white M&M’s buttons and a red sanding sugar bottom. The apples also seemed to be treated with a citric acid bath probably to stop the apples from browning and to keep them fresh while sitting, albeit briefly, in the candy case. We’re going to skip that step here, but if you’re making a bunch, say for favors, or for a class treat, drop me a line and I’ll let you know how to do that.
These chocolate covered caramel apples are sweet, crunchy, and big enough to share. I find these treats best if eaten at room temp, straight out of the refrigerator they’re too hard, and the flavors too muted. So, if you make these and then store them for awhile, let them sit out on the counter at least 15 minutes before digging in.

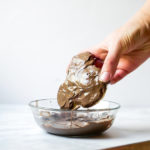
![]() This recipe has a few steps, and a bit of a waiting time to make, but once you have all your ingredients prepped, you can double and even triple this recipe to suit your needs. Also, once you’ve covered your apples in caramel and done the first chocolate dip, I would say from here on out the apples are kid ready for decorating. An adult should melt the white chocolate, but kids can dip apples in there, and then decorate the bottom themselves.
This recipe has a few steps, and a bit of a waiting time to make, but once you have all your ingredients prepped, you can double and even triple this recipe to suit your needs. Also, once you’ve covered your apples in caramel and done the first chocolate dip, I would say from here on out the apples are kid ready for decorating. An adult should melt the white chocolate, but kids can dip apples in there, and then decorate the bottom themselves.
We’ve got a few notes on chocolate tempering and how to get candies and sugars to stick to each other below in the notes, so please read all the way through the recipe. Also! Hot caramel can be dangerous, so keep kids away during that part. Hope you enjoy this sweet treat!

Minnie Mouse Chocolate Covered Caramel Apple
- Yield: 3 caramel apples 1x
Description
A sweet, crunchy, Minnie Mouse themed chocolate covered caramel apple. A Disneyland-inspired treat.
Ingredients
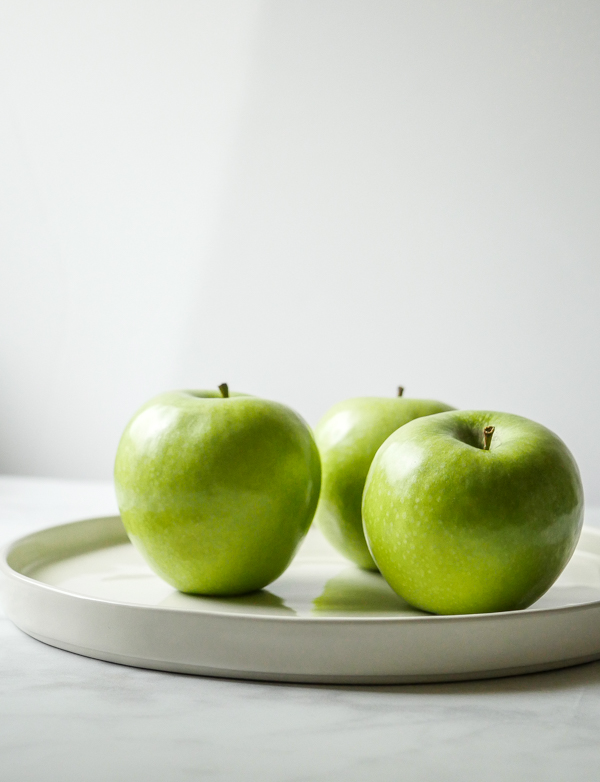
- 3 Granny Smith apples
- 14 ounces individually wrapped caramels (like Kraft)
- 2–1/4 tablespoons water
- 6 regular sized marshmallows
- 2 ounces red candy melts
- 16 ounces semisweet chocolate wafers, divided
- 8 ounces white chocolate melting wafers
- 18 white M&Ms candies
- 1–2 cups red sanding sugar
Special Tools
Instructions
- First, rinse apples in very hot water to move any wax that they might be covered with. Dry well, and using a sharp pairing knife, remove bottom and top stems. Insert a wooden stick into the bottom of the apple. They are easier to stand if you keep them bottoms up. Place them on a sheet pan covered with parchment.
- Next, combine caramels and water in a medium sized saucepan over medium-low heat.
- Stir constantly until everything has melted and caramels are smooth (about 7-8 minutes).
- Slightly tip the pan towards you with one hand and dip the apple in the caramel, turning it around to coat the entire surface. Let the excess caramel drip off and scrape any remaining on the bottom off on the side of the pan. Place back on parchment and repeat with next two apples. Let caramel cool slightly but still tacky. Place two marshmallows on each apple towards the top (as caramel cools more, the marshmallows will settle out and downwards a bit). Refrigerate at least 1 hour to let caramel harden and set.
- While caramel sets, make the Minnie Mouse bows by melting the red candy melts in the microwave inside a microwave safe bowl, like glass, for 30 seconds. Stir and microwave again for an additional 30 seconds. Keep stirring and microwaving in short bursts of 15 seconds until melted and smooth. Use can alternatively use a double boiler for melting. If you’d like to also create white polka dots here as well, melt about 1 ounce of white candy melts in the same way and then transfer to a piping bag. Pipe small, round dots in the mold first, and then proceed below.
- Pour red candy melts into bow molds and let set for 15-20 minutes (you can speed this up by sticking the molds in the refrigerator). Remove from the molds and set aside until ready to use.
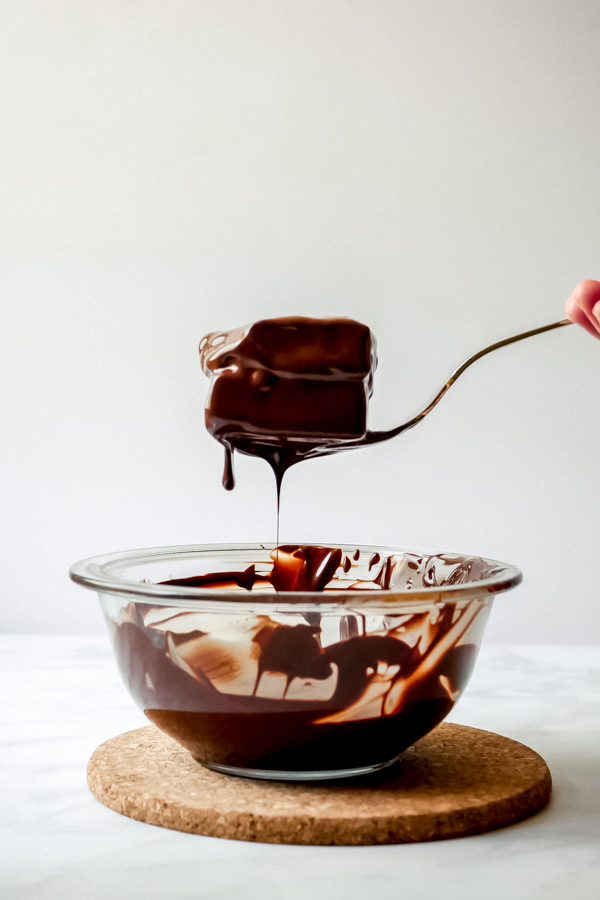
- Next, temper the semisweet chocolate. You can do this in a double boiler on the stove or in the microwave. Place 2/3 of the semisweet chocolate in a glass bowl. On the stove, over a double boiler, stir until temperature reaches about 110°f. In the microwave, heat for 30 seconds, stir, and keep heating in short 15-20 bursts, stirring between, until temperature reaches about 110°f. Next, start adding in the rest of the semisweet chocolate in small amounts, stirring until melted between batches, until chocolate temperature cools to around 84-90°f. The chocolate is tempered at this point and ready to use.
- Remove caramel covered apples from the refrigerator. Dip each apple in, shaking off any excess and letting it drip back into the pan. Scrape any extra off on the side of the bowl. Place back on parchment and attach red bow. Allow chocolate to firm up, about half an hour in the refrigerator.
- Fill a shallow bowl with the red sanding sugar, set aside.
- Then, melt white chocolate over a double boiler over medium heat, or in the microwave, stirring until smooth.
- Dip half the apple in the white chocolate, allowing any excess to drip off, and scraping any extra off on the side of the bowl.
- Attach white M&M’s “buttons” around the base and then immediately roll the apple in the red sanding sugar. Set aside and repeat with last two apples.
Notes
- Melted caramel is HOT! Use caution in the kitchen. Do not dip your fingers or hands into the caramel has it can adhere to skin and burn you. Keep away from children.
- Use hot water to remove caramel from pans and utensils.
- Extra melted caramel can be poured into a container and reheated at a later time. Store in an airtight container in refrigerator.
- If you are having trouble keeping your marshmallows on during chocolate dipping, insert a small toothpick in each, dip, and immediately remove the toothpick.
- If you have extra melted caramel that has pooled at the bottom of the apple, use kitchen shears to remove it immediately after removing from the refrigerator.
- You can also pour the red sanding sugar over the apple into a bowl to catch excess and then press lightly with your hand to secure the sugar.
- Any extra red sanding sugar that has attached itself to the apple can be swept away with a pastry brush once the white chocolate has set.