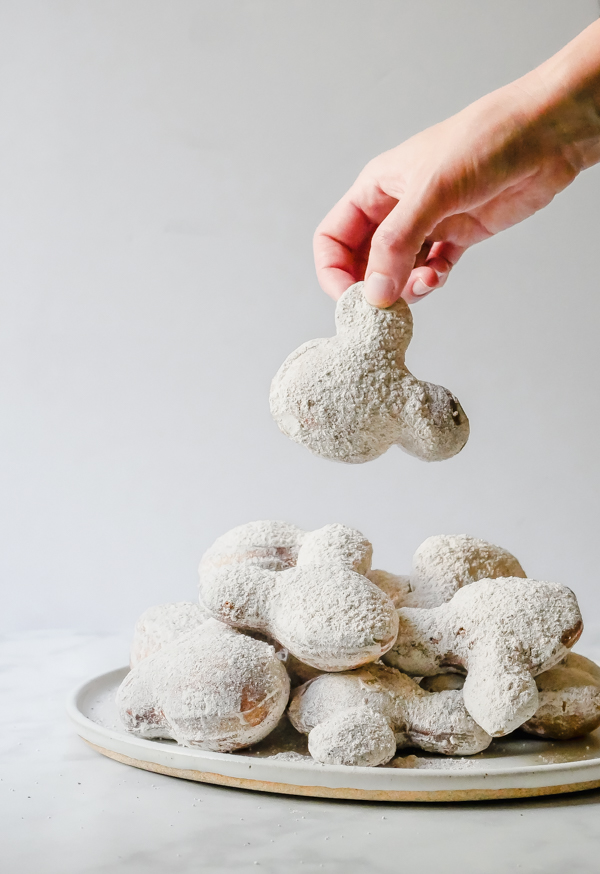
Where can I find the original treat?
- The original treat can be found at the Candy Palace in Disneyland.
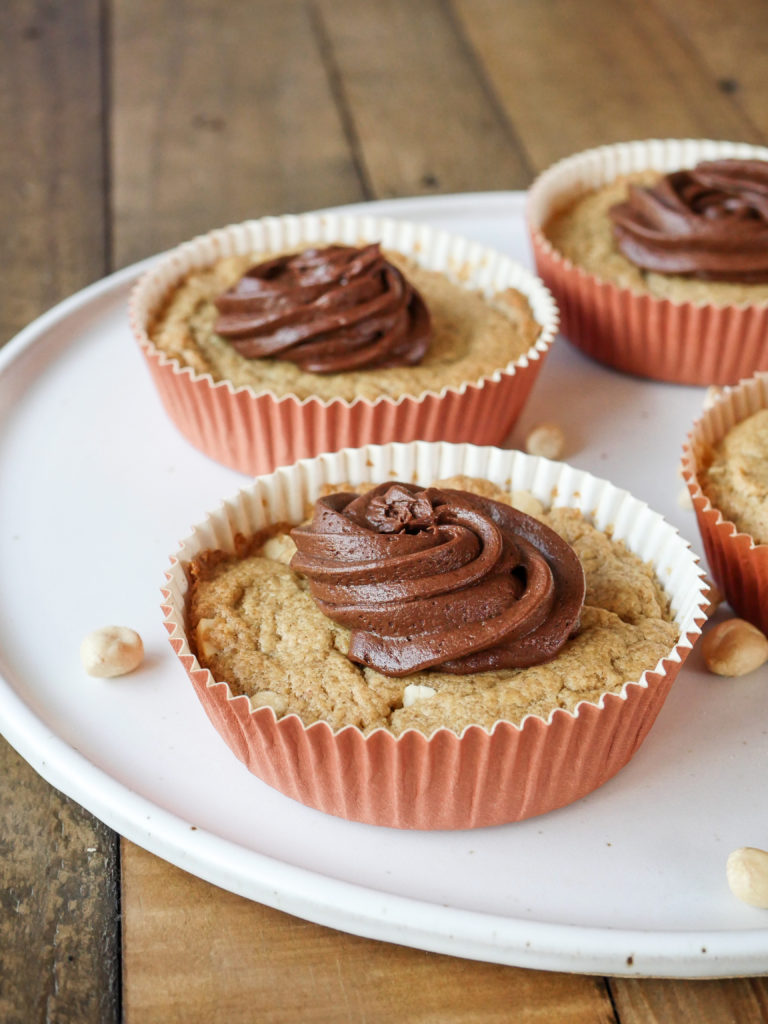
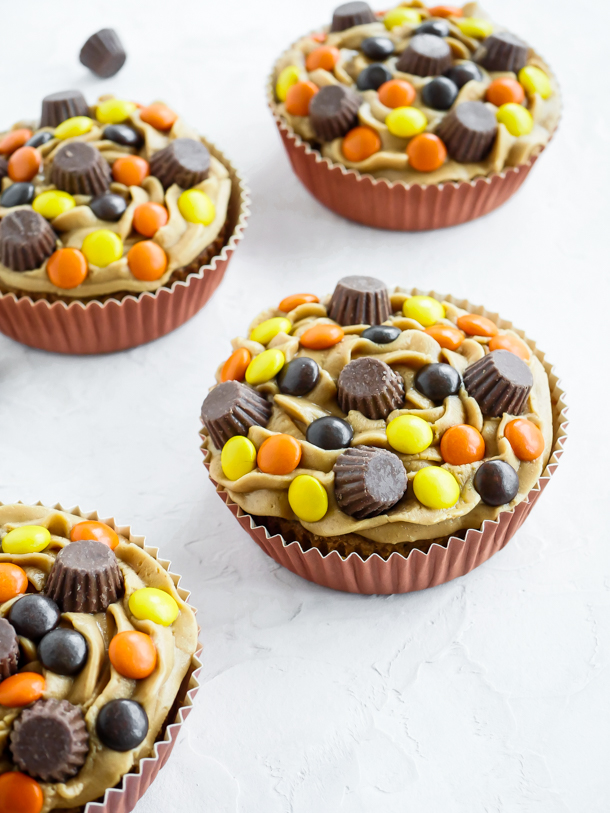
We’re closing out the year squeezing this recipe in just before the clock rings midnight. While I am a huge fan of chocolate and peppermint, I know there are some of you (my husband being the most vocal) who cannot take that delicious holiday combo. So I thought I’d add in my second favorite of the cookie/brownie “pies” over at Disneyland with this yummy treat. The Peanut Butter and Chocolate Cookie Pie is both salty and sweet, and just as richly decadent as the other new treats found over at the Candy Palace. It’s big enough to share… if you want.
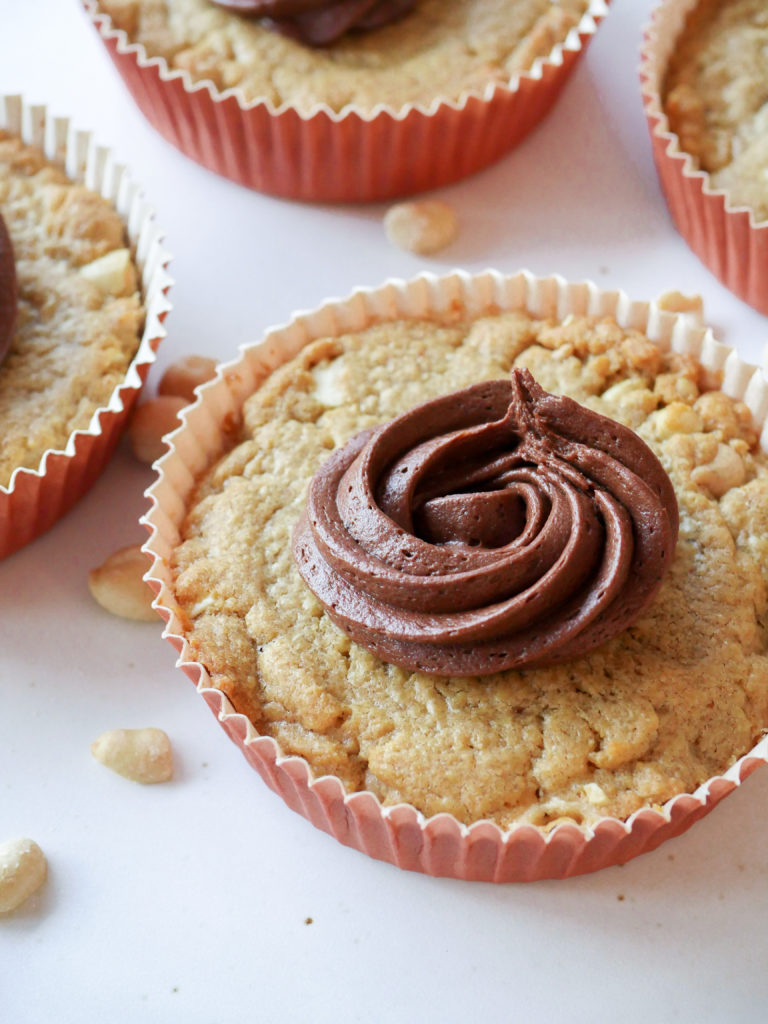
These have a similar base to the Peanut Butter Blondies, but the fillings and toppings are different. The cookie base here is chock full of peanut butter chips and chopped peanuts, topped with a swirl of fudgey chocolate frosting. I’ve pared down the recipe to make four, but if that still seems like a lot to have on hand, these will freeze well wrapped for several months.
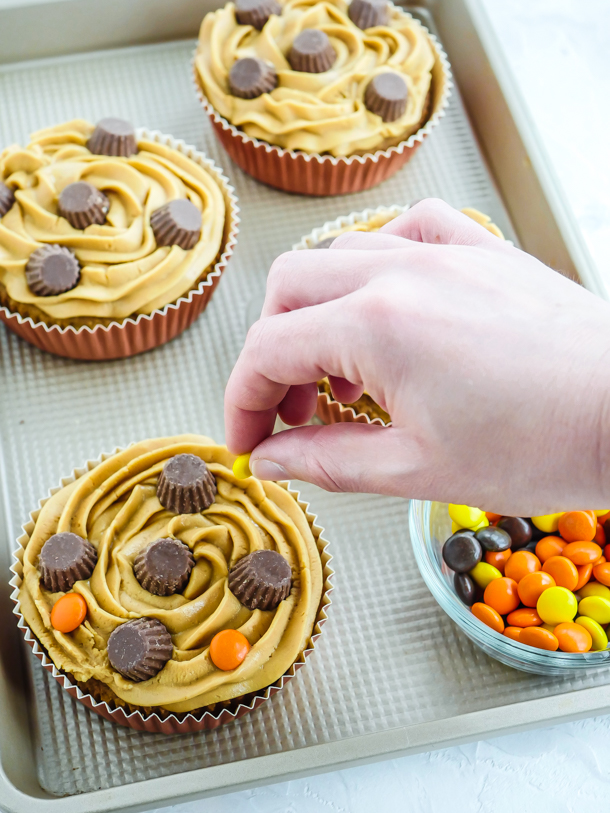
![]() If you’ve got kids in the kitchen, this is an all-levels recipe with opportunities for small hands to help chop, stir, and mix. We’ve been practicing piping techniques and I’ve recently been introduced to these great squeeze bulbs that are easy for kids to hold instead of the larger piping bags.
If you’ve got kids in the kitchen, this is an all-levels recipe with opportunities for small hands to help chop, stir, and mix. We’ve been practicing piping techniques and I’ve recently been introduced to these great squeeze bulbs that are easy for kids to hold instead of the larger piping bags.
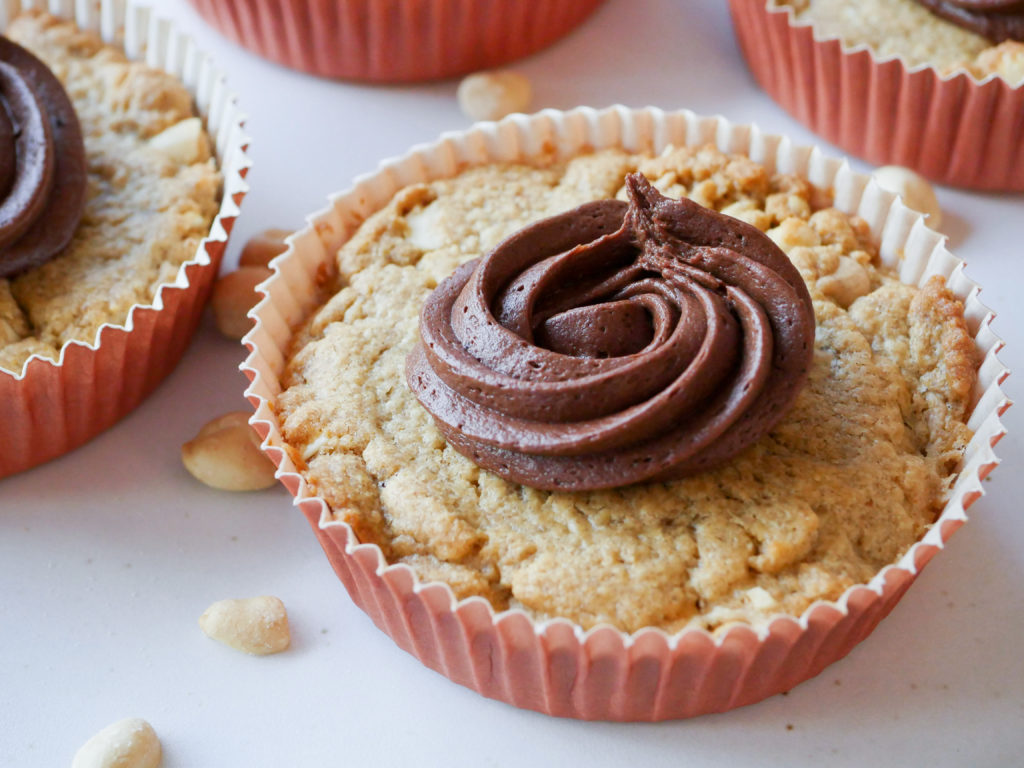
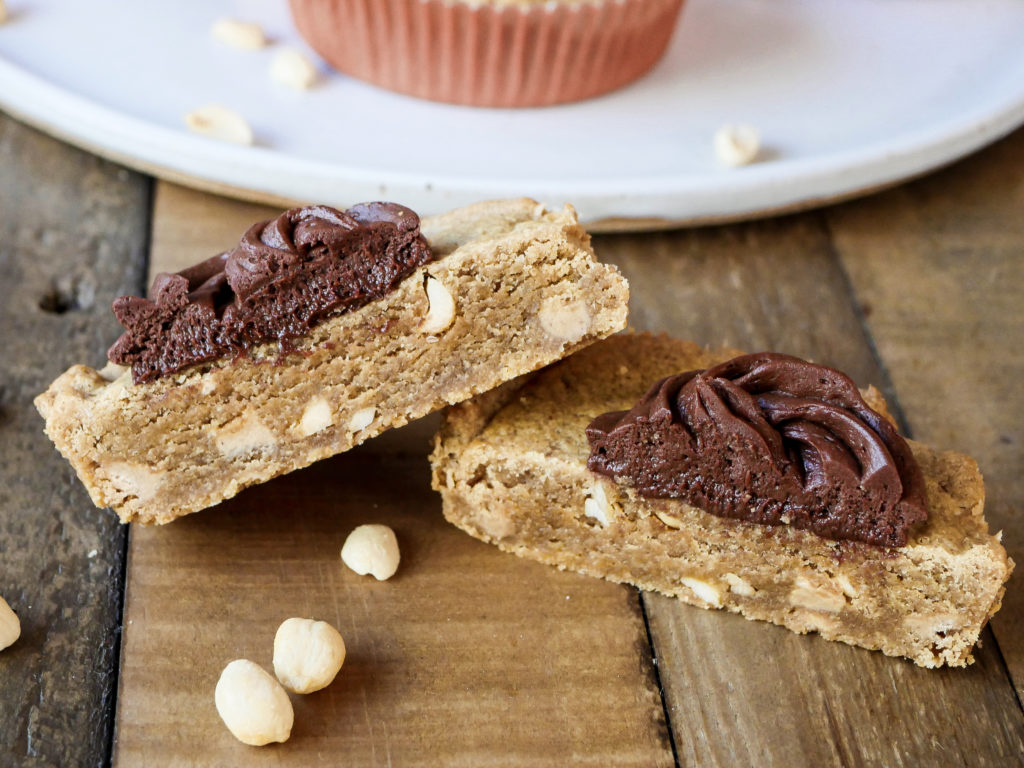
The time and temperature I’ve put in the recipe will result in the peanut butter cookie pies having a firm exterior and moist center, but not so moist as to fall apart. You can take the time down a few minutes if you prefer your cookie pies to have that very soft cookie center. How much chocolate you add to the top is also to you. Did I test one completely covered in chocolate on top? Yes, yes I did. The chocolate gives this a much needed sweet bite that complements the salty peanut butter (but don’t worry, it’s not too salty-savory). If you find that your frosting is too stiff, add a teaspoon of cream until it is soft enough for your liking.
I’ve really enjoyed these new “pies” at the parks, and I’d love to see some new treat formats in 2022. Maybe an actual pie? On a stick?
Happy New Year everyone! As always, leave us a comment here or on our socials if you’ve tried one of our recipes, or if you have one you’d like to see. Thanks for visiting and making magic in your kitchen with us!
Print
Peanut Butter and Chocolate Cookie Pie
- Prep Time: 20
- Cooling Time: 15
- Cook Time: 26
- Total Time: 1 hour 1 minutes
- Yield: 4 Peanut Butter and Chocolate Cookie Pies 1x
- Category: Dessert
- Method: Baking
- Cuisine: Holiday
Description
The classic combination of peanut butter and chocolate create a shareable treat that satisfies both your sweet and savory tastes in this oversized cookie “pie”. A Disneyland-inspired recipes.
Ingredients
Peanut Butter Base:
- 1 stick butter (1/2 cup)
- 1/2 cup (120 g) creamy peanut butter
- 3/4 cup (150 g) light brown sugar
- 1 egg
- 1/2 teaspoon kosher salt
- 1 teaspoon vanilla extract
- 1 cup (120 g) flour
- 1/2 cup (127 g) peanut butter chips
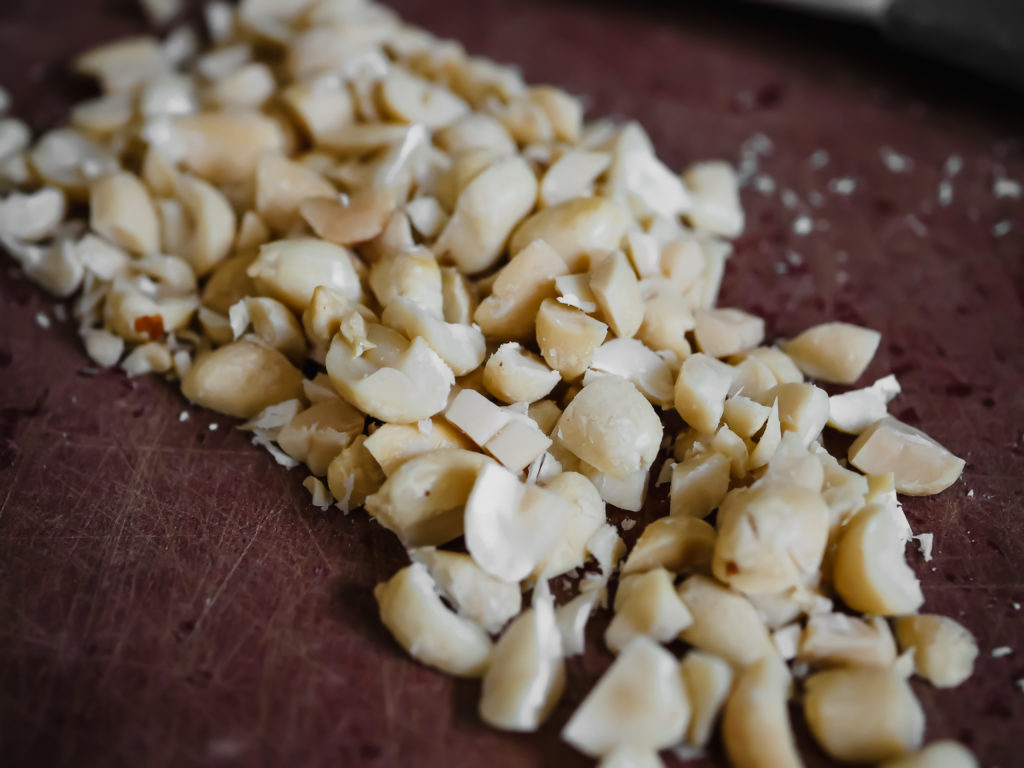
- 1/4 cup (31 g) roasted peanuts, chopped
Fudge Frosting:
- 1/4 cup (4 tablespoons) unsalted butter
- 2 ounces (57 g) unsweetened baking chocolate, chopped
- 1/2 pound (227 g) powdered sugar, sifted
- 2 tablespoons unsweetened cocoa powder, sifted
- 1/4 teaspoon pure vanilla extract
- 4 tablespoons cream
Special Tools:
Instructions
For the base:
- Preheat the oven to 350°f.
- Melt the butter in a small saucepan, or in the microwave.
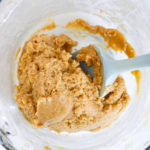
- In a large mixing bowl, combine the melted butter, peanut butter, and brown sugar. Whisk until smooth.
- Mix in the egg, salt and vanilla extract until smooth.
- Stir in the flour until just combined.
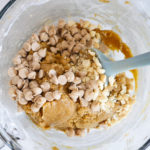
- Fold in the peanut butter chips and chopped peanuts.
- Pour the mixture into 4 of the baking cups (the mixture will be on the stiff side), and smooth the tops.
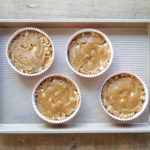
- Bake for 25-30 minutes.
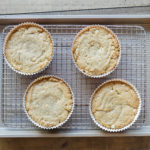
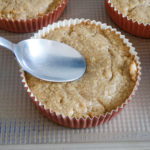
- When done, let fully cool before frosting. To help create a space for the frosting to sit, depress the center of the cookie pies with the back of a spoon.
For the fudge frosting and finishing:
- Melt butter and chocolate in a double boiler, or microwave, in a heat proof bowl. For a double boiler, stir constantly over a low simmer until melted and smooth. If using a microwave, do short bursts of 15-20 second intervals, stirring in-between, until fully melted and smooth.
- Stir together the powdered sugar, cocoa powder, and melted chocolate and butter. Add in the vanilla extract and cream.
- Whip together on medium high speed (8), until well combined and smooth.
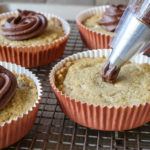
- Transfer frosting to a piping bag fitted with the Wilton 1M tip.
- Pipe rosettes in middle of the peanut butter cookie pies.
- Enjoy!
Notes
- You can also bake this in an 8×8″ baking pan lined with parchment.
- If you’re using salted peanut butter, reduce salt in recipe to 1/4 teaspoon.
- Extra frosting can be refrigerated up to 4 days in an air-tight container, or frozen up to 3 months. Re-whip once defrosted.
- Bases can be wrapped with or without frosting and frozen for up to 3 months.