Where can I find the original treat?
- This holiday treat was found at the Main Street Bakery inside the Magic Kingdom in Walt Disney World.
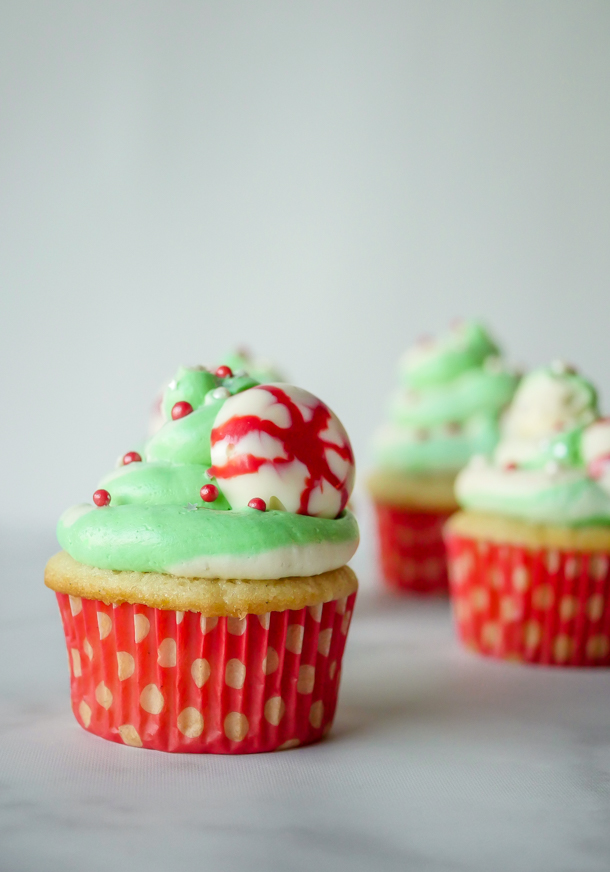
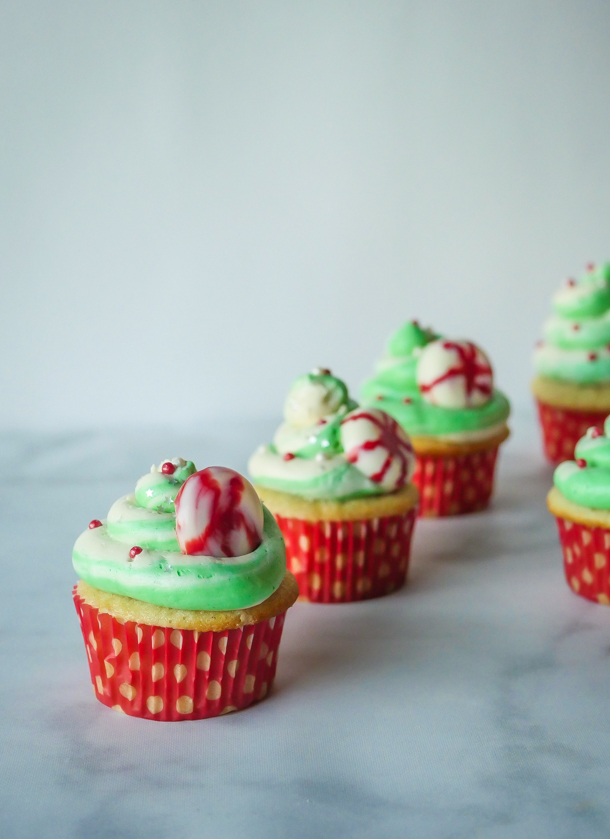
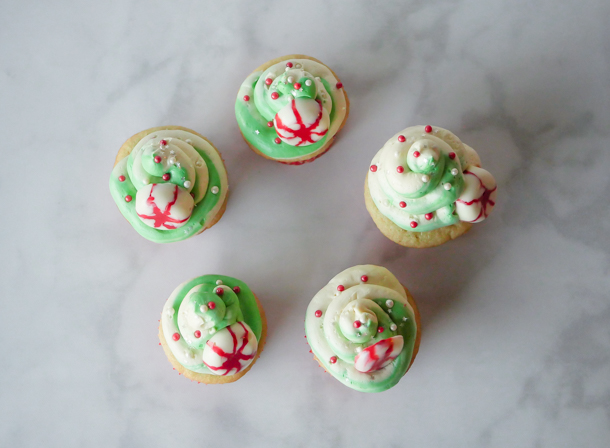
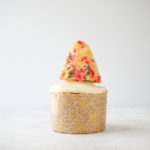
During the holidays your baking is allowed to be… extra. And today we’ve got an “extra” cupcake. As in, there is a cupcake sitting on top of another cupcake. See? Extra.
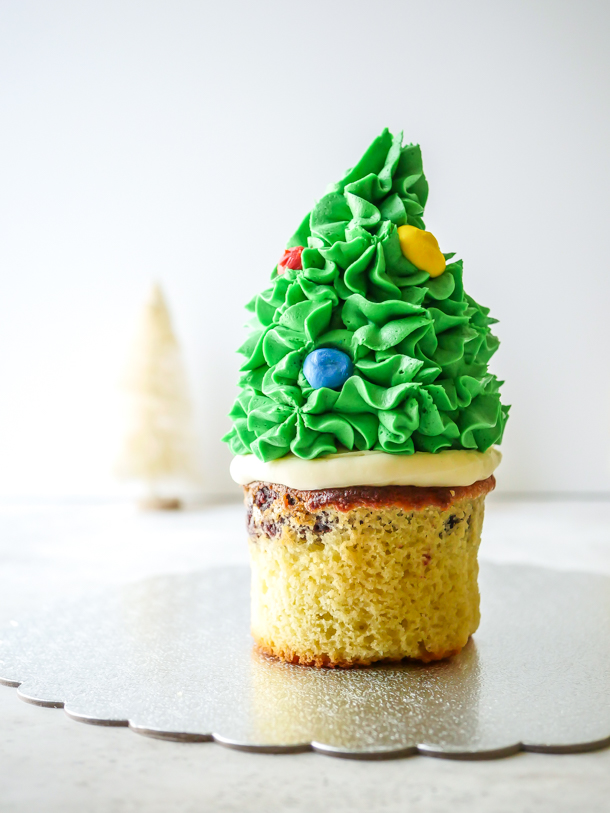
Actually, there is a cupcake sitting on top of a cupcake with a hidden Mickey cake ball inside. Sooooo extra. And let’s be real. This is fun to make, but there’s a lot of components. You can definitely make just some of these parts, but if you’re missing Disney treats on Main Street this holiday season, then this is a fun project.
The recipe below is broken down into three components: cake balls, confetti tree cupcakes, and the surrounding base for the cupcake. These can be done simultaneously, or broken up into steps over days depending on how much time you have. I’m also noting that usually, I make the red velvet cake balls with cream cheese icing, but I found that regular American buttercream works better here (it doesn’t “weep” like the cream cheese does when molding and freezing).
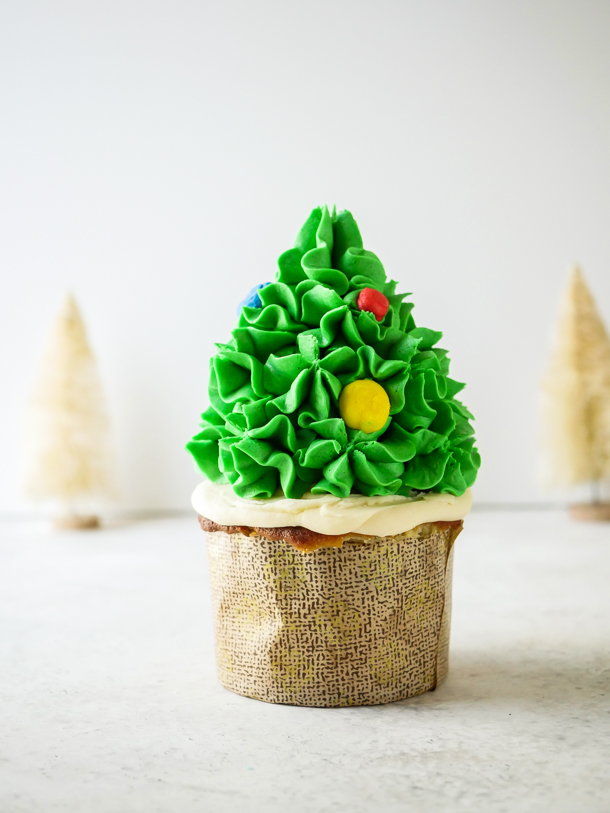
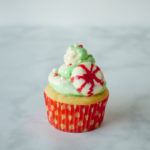
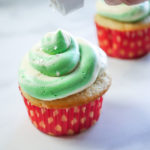
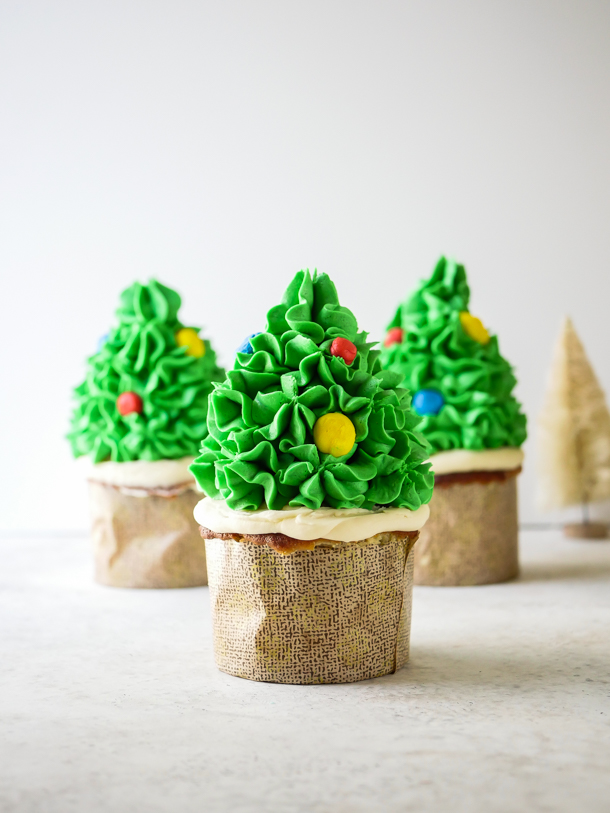
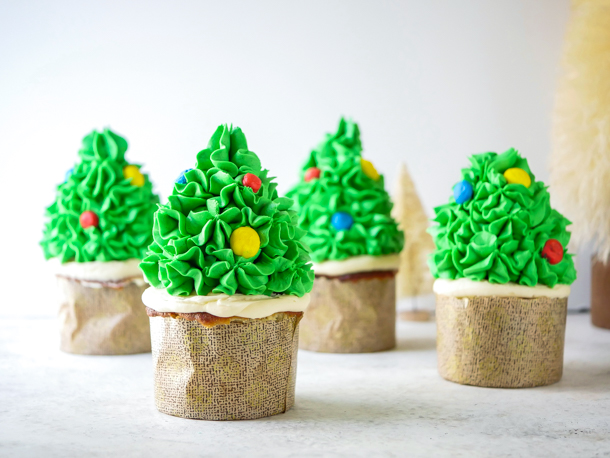
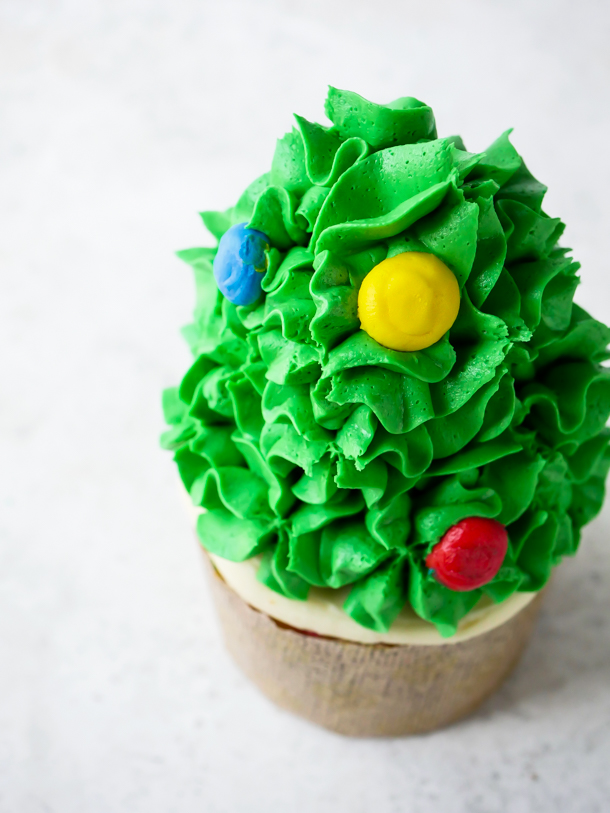
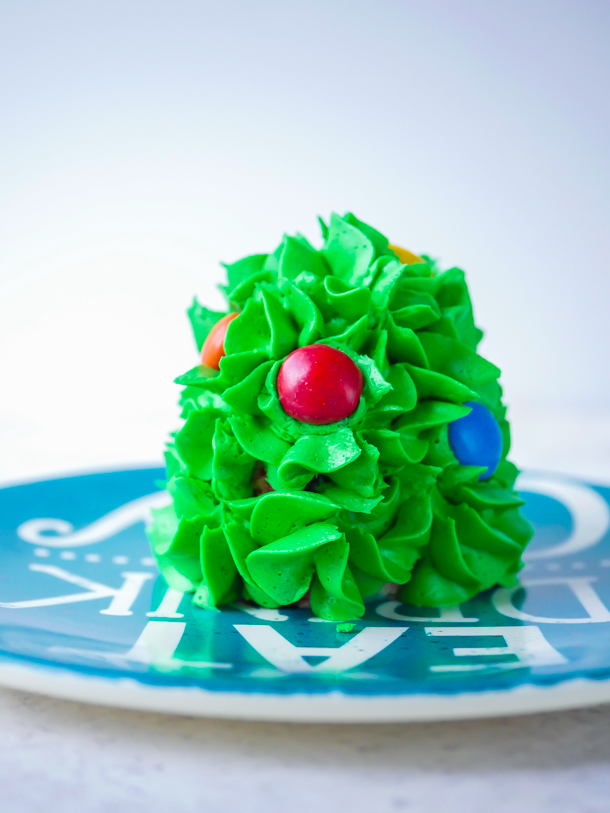
The only thing I deviated from in the original treat was the sugar light bulbs. For a home baker, I thought going through this step would feel like overkill. Instead I piped out buttercream lights, refrigerated them, and used for the lights. Then, my 6 year old looked at the trees and asked “why didn’t I just use M&Ms?”, and honestly, I would have just done that had I thought of it. So, I’m recommending that for convenience here as well.
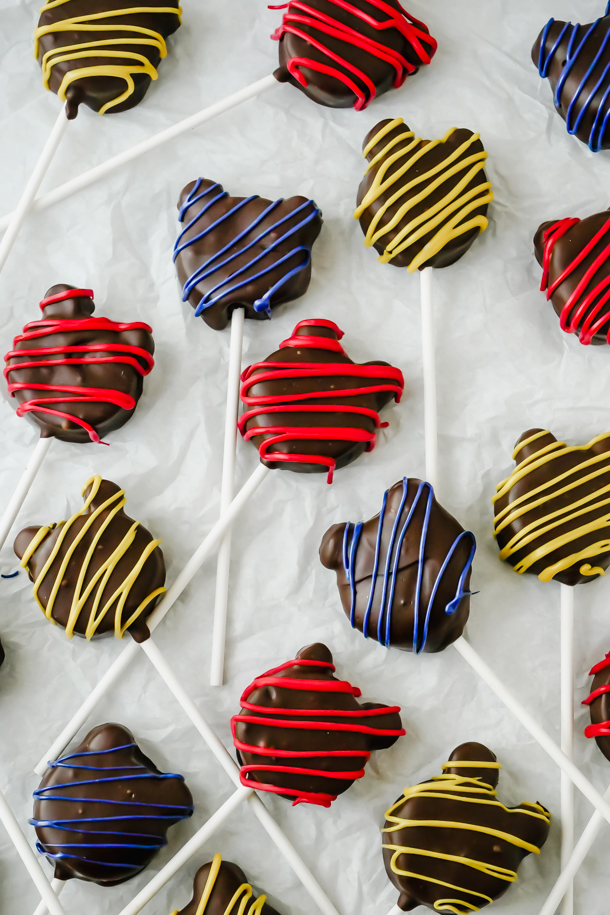
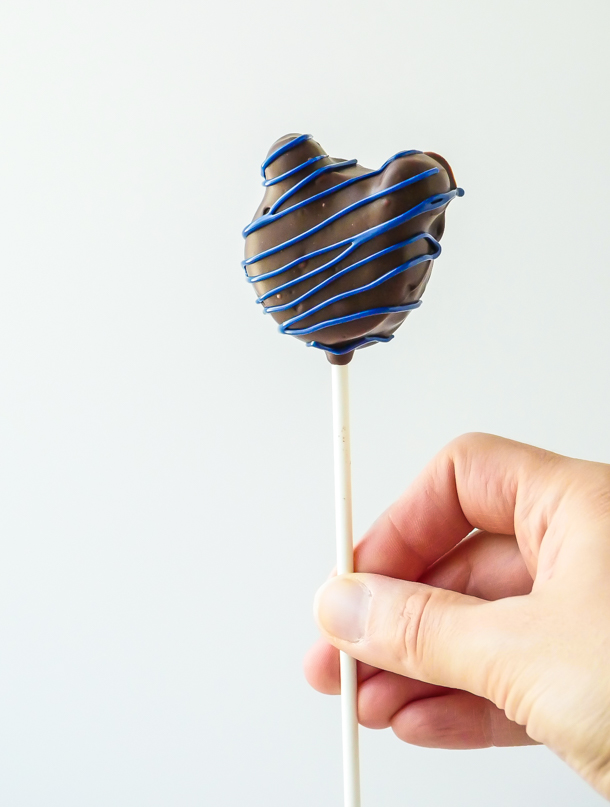
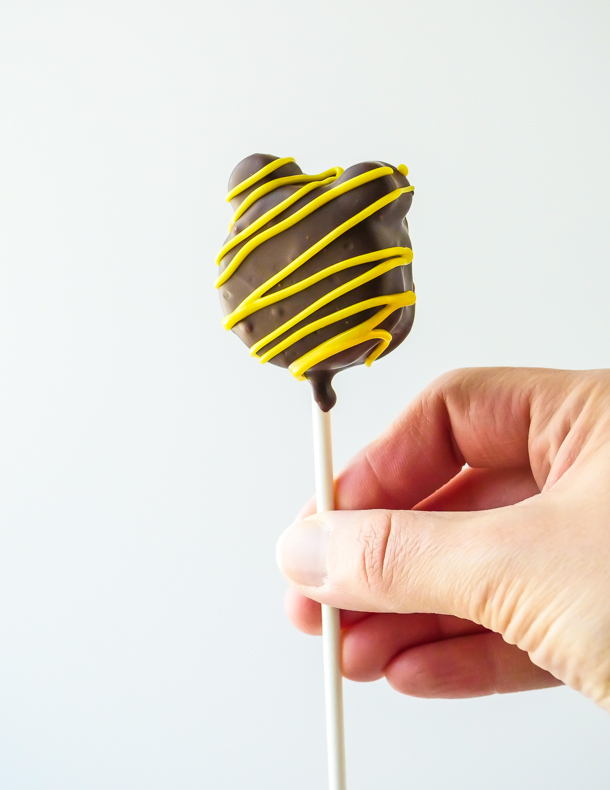
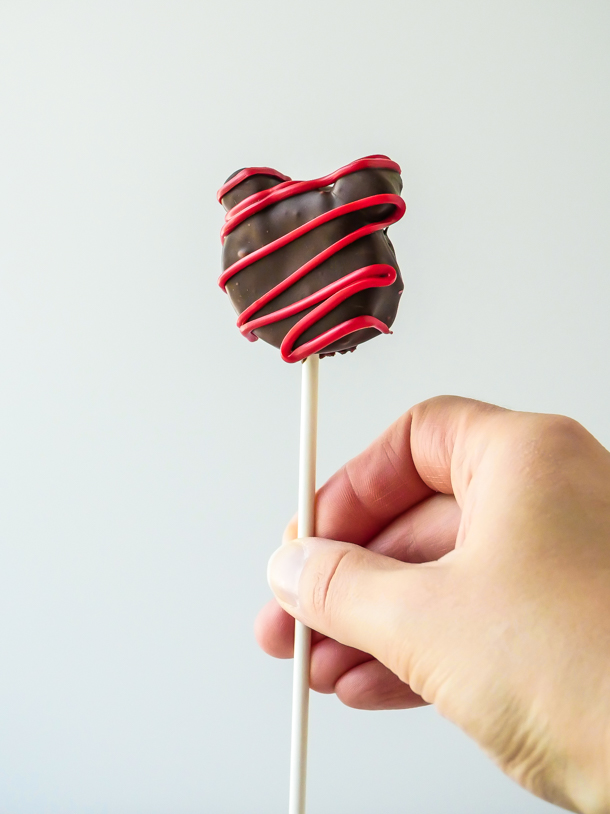
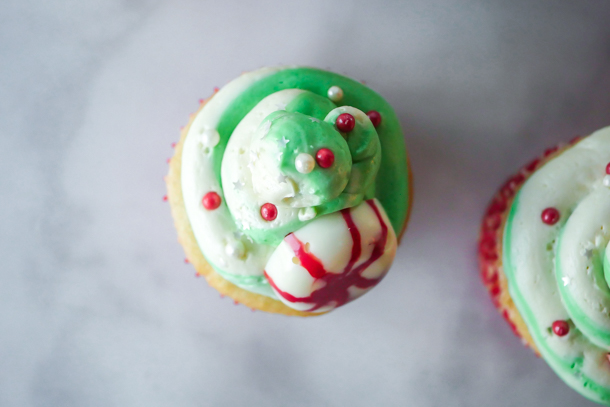
![]() Kids can help in all parts of the baking and decorating stages here. My kids mostly liked adding the M&Ms to their half trees (in the picture below I piped some frosting onto an extra confetti “tree” cupcake and let them decorate and eat that part).
Kids can help in all parts of the baking and decorating stages here. My kids mostly liked adding the M&Ms to their half trees (in the picture below I piped some frosting onto an extra confetti “tree” cupcake and let them decorate and eat that part).
Now, the hidden Mickey part of these is probably the hardest of these cupcakes. And what is the secret to getting a hidden Mickey every time you make a cut? Simple! You actually create a ring, or halo, over the ball in the center. Then no matter where you make the cut to reveal the hidden Mickey, you’ll get one! They are tricky though, and as you can see, mine were prone to separate when baking. My suggestion is that you really seal the ball and the ring together. I had placed mine just on top, and the cake batter pushed the ring up a bit. You could also pin them together with toothpicks and take the toothpicks out when done baking (and PLEASE remember to do that as I do not want you to harm your mouth eating treats!).

Anyway you decided to make these, whether the full cupcakes, just the trees, or without the hidden Mickey centers, these are a delightful treat to have this holiday week.
Happy baking, happy holidays, and I’ll see you all in the New Year!
Print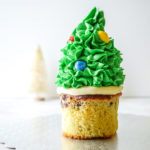
Twice Upon a Cupcake
- Yield: 4–6 Twice Upon a Cupcake cupcakes 1x
Description
A decadent holiday cupcake has TWO hidden treats inside that are revealed when you cut through the cupcake. Did you find the hidden Mickey? A Walt Disney World inspired treat.
Ingredients
For the Buttercream and decorations:
- 1 pound powdered sugar, sifted
- 1 cup butter, room temperature
- pinch of salt
- 1 tablespoon vanilla
- 1 tablespoon cream
- green food coloring (I used Americolor Leaf green)
- Optional food coloring if making buttercream light decorations: red, yellow, blue
- Red, yellow, and blue M&Ms for lights
For the red velvet hidden Mickey center:
- 95 g (3/4 cup) flour
- 4 teaspoons cocoa powder, unsweetened
- 1/2 tsp baking soda
- 1/4 teaspoon salt
- 1/2 cup coconut oil or neutral oil
- 2 tablespoons warm water
- 1/2 cup (99 g) granulated sugar
- scant 1/4 cup (57 g) Greek yogurt
- 1 egg
- Red food coloring (see notes below for type and amounts)
- 1/4 tsp vanilla
For the Cupcakes (and Sprinkle Funfetti Tree Cupcakes):
- 1/2 cup (1 stick) unsalted butter
- 3/4 cup (150 g) granulated sugar
- 2 large eggs
- 1/2 cup milk
- 2 teaspoons vanilla
- 1–1/2 cups (180 g) all purpose flour
- 1–1/2 teaspoons baking powder
- 1/2 teaspoon salt
- 1/2 cup green and red sprinkles
Specialty Tools:
- Tall baking cups
- popover pan
- piping bags
- closed star tip (Ateco #847 used here)
Instructions
For the buttercream:
- First, make sure your powdered sugar is lump free. Sift if needed.
- Then, beat the butter and salt together for a minute until light and fluffy.
- Pour in the powdered sugar and slowly mix until they start to combine about 30 seconds. Then turn up the speed to high and beat together until mixture starts to become fluffy in texture.
- Add in the vanilla and cream, and beat on high an additional minute or two until desired texture is reached. If dry, add in an additional teaspoon of cream. Set aside covered with a damp, not wet, towel.
For the red velvet hidden Mickey center:
- Preheat oven to 350°f and grease and flour a 6″ round cake pan.
- In a small bowl, whisk together the flour, cocoa powder, baking soda, and salt. Set aside.
- In the bowl of a stand mixer, combine the oil, warm water, granulated sugar, Greek yogurt, egg, red food coloring, and vanilla.
- Add in the dry ingredients and mix until combined.
- Pour into prepared baking pan and bake 20-25 minutes, or until a cake tester comes out clean.
- Let cool in the pan 5 minutes, turn out the cake onto a cooling rack, and let completely cool at least one hour.
- Then crumble the cake into pea sized crumbs and place in a mixing bowl.
- Add to the crumbs about 1/4 cup of the buttercream frosting. Mix well until combined.
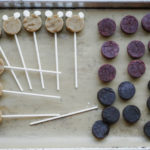
- Next, roll out 4-6 small round balls, these will be the heads. Set aside on a parchment lined baking sheet.
- With the remaining cake pop dough, roll out thin snakes (you can use plastic wrap to help roll out the snakes). Form the snakes into rings and place on the balls. You can use toothpicks to hold in place. Press firmly to help seal the two together. Place in freezer until ready to use.
For the cupcakes:
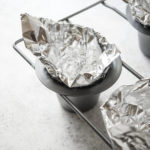
- Set the oven to 350°f. Set out tall cupcake holders (you will not need a cupcake tray for the freestanding molds). Then, using tin foil, shape out a conical mold for the tree tops. (You can use a popover pan to hold the molds in place, or place the tin foil mold in a tall baking cup). Make sure there are no gaps or holes or your batter will leak. Optionally, you can also cook off some funfetti cupcakes in regular molds, freeze, and then cut to shape.
- In a mixing bowl, beat butter and sugar together until light and fluffy.
- Next, beat in eggs one at a time until incorporated. Then add in vanilla and 1/4 cup of the milk.
- Mix in flour, baking powder, and salt, and then the rest of the milk. Set aside.
- Remove red velvet cake pops from freezer and place into freestanding baking molds. Spoon batter over cake pops until about 2/3 of mold is filled. Place in oven for 25-28 minutes.
- Next, add sprinkles to remaining batter and mix to combine. Do not over mix.
- Pour sprinkle batter into conical molds, and place in oven for 22-26 minutes. Both cupcakes can bake in the oven at the same time, but keep separate timers.
- When finished baking, let cool to room temperature. Funfetti cupcakes can be kept in the freezer for 30 minutes to firm up if they need to be cut to shape.
Decorating:
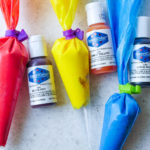
- If piping lights, remove about a half cup of frosting. Divide into three bowls and color one bowl red, another yellow, and lastly blue. Then transfer to small piping bags with a round tip. Pipe out circles onto a parchment lined baking sheet and refrigerate at least an hour to firm up.
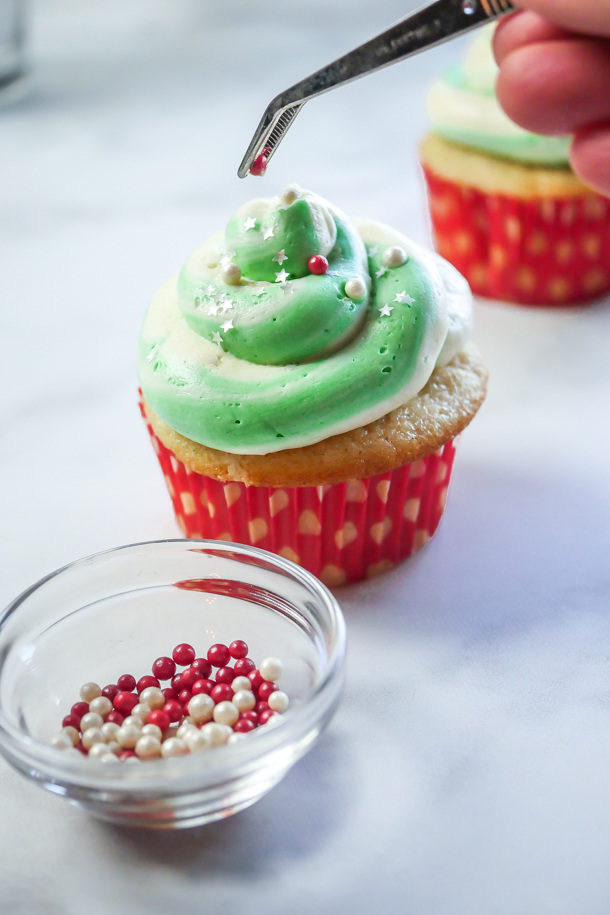
- If not piping lights and using M&Ms instead, remove about 1/2 cup of frosting into a plain tipped piping bag and pipe a circle on top of the base cupcakes. Place the funfetti trees on top of that. Then proceed to coloring all the remaining frosting green by adding 2-3 drops of gel food coloring into the frosting bowl. Mix well to fully incorporate the color and then transfer all of the frosting to a piping bag fitted with an closed star tip (I used Ateco #847).
- Pipe out closed stars for the trees all over the funfetti cakes.
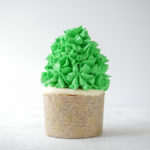
- Next, if using buttercream lights, remove those from the fridge and place immediately onto the green frosting. If you using M&Ms, place those on the frosting. Repeat until all cupcakes are decorated.
- Enjoy!
Notes
- If cocoa powder is lumpy, sift before using.
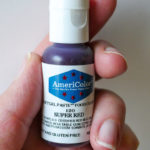
- If you are using grocery store food coloring, you will need about 1-1/2 teaspoons of red food coloring to get the cake a nice bright red. If you were using a gel paste from like Americolor, you will need about a quarter teaspoon or two big squirts from the bottle.
- Cake crumbs should be small and no larger than a pea.
- Cake balls should not be too wet or too dry to hold their shape properly. If too wet, add more cake crumbles. If too dry, add more frosting a small bit at a time.
- M&Ms candies can be used instead of piping buttercream lights.
- To prevent cake pop from moving inside the cupcake when baking, use toothpicks to hold together in place. REMEMBER TO REMOVE THE TOOTHPICKS BEFORE DECORATING.
- Cupcakes will keep up to 4 days refrigerated in an airtight container. Let come to room temperature before eating.
- Extra buttercream can be kept in an airtight container up to a week, or frozen up to 3 months.
- Extra cake batter can be baked off for regular cupcakes. Reduce bake time by 2-3 minutes.