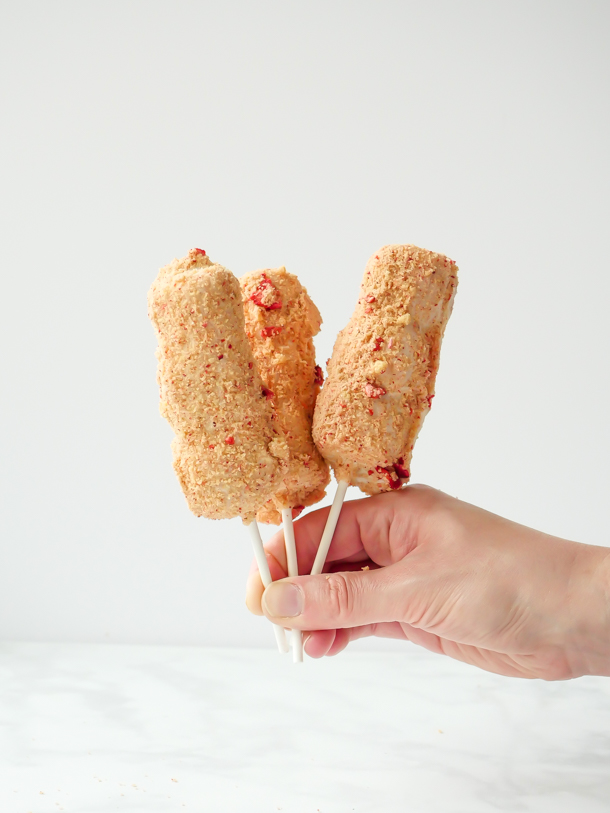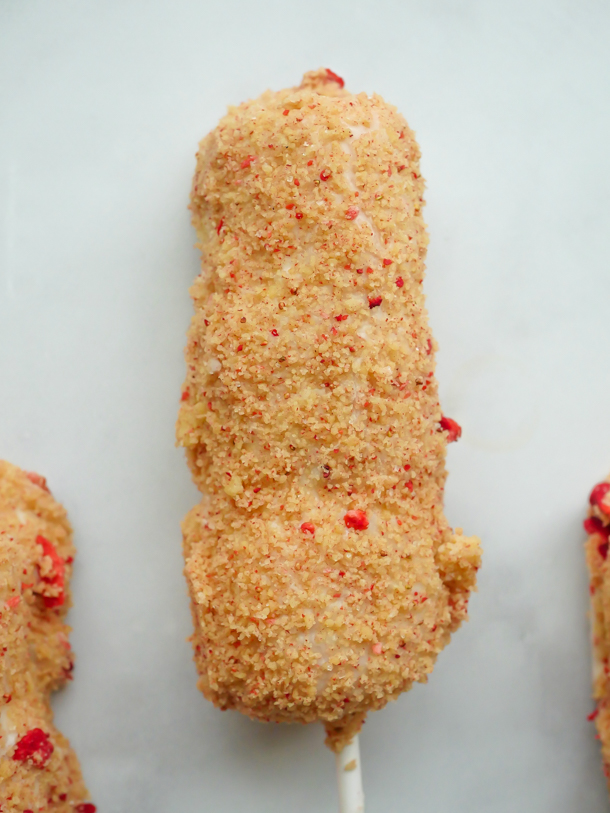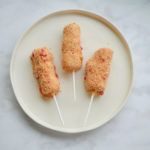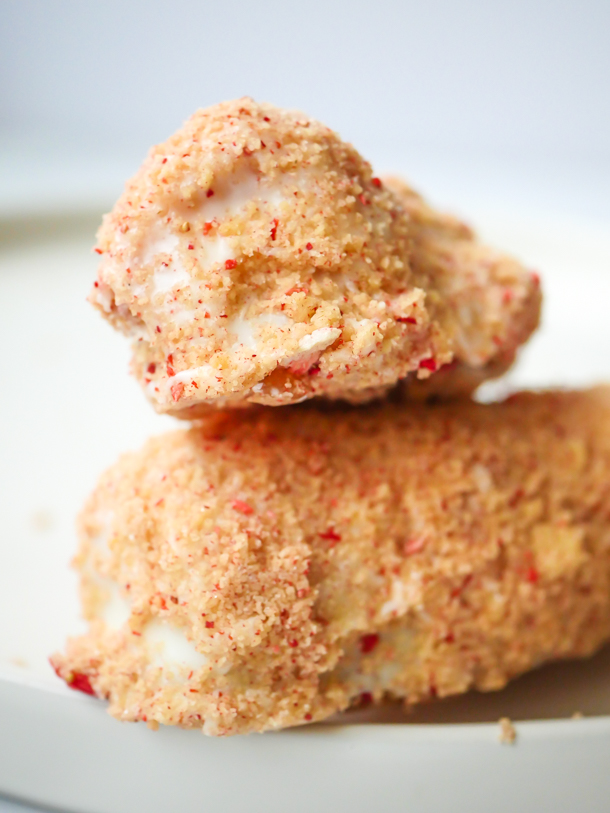
Where can I find the original treat?
- This seasonal treat was found throughout the Disneyland Resort.
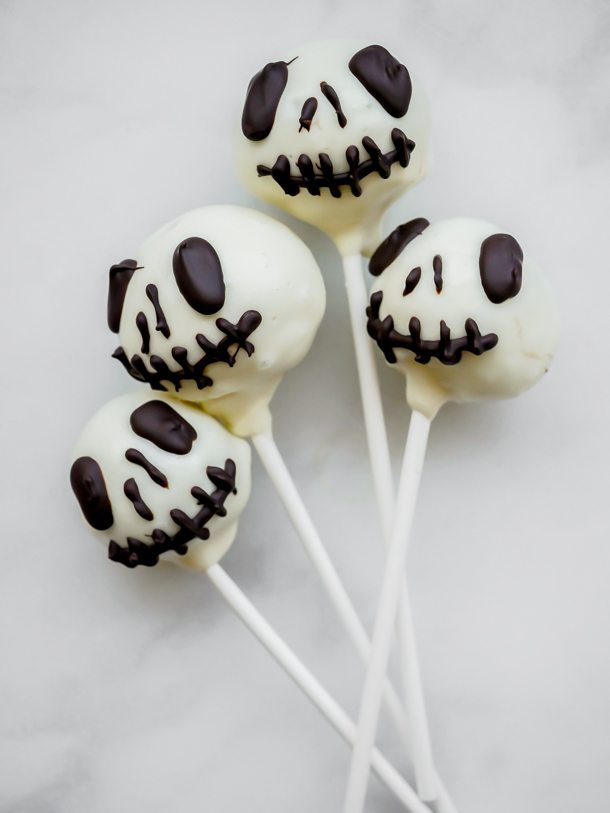
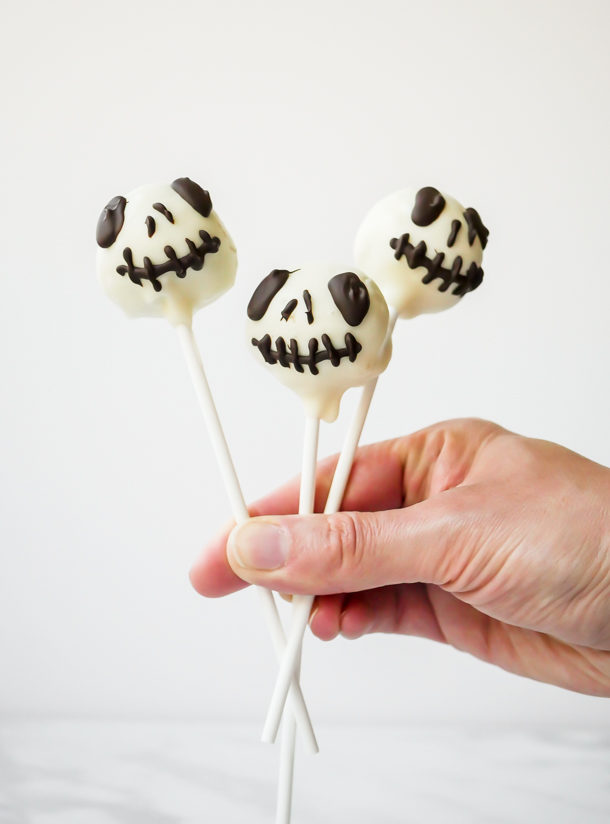
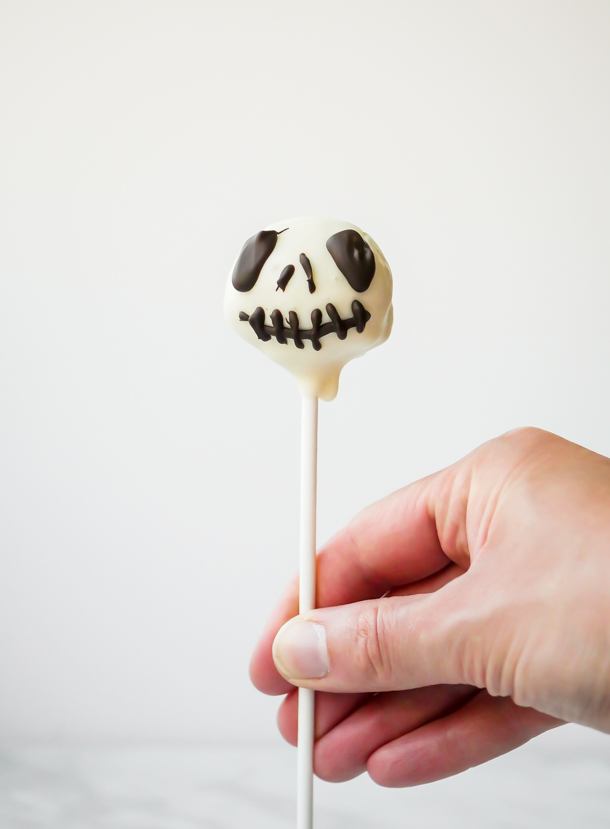
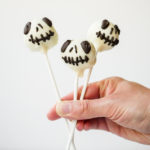
First, yes, I know it is May, however when Disney announced they were going to hold a special “Halfway to Halloween” event yesterday (Friday May 15th), and I just happened to have a batch of undecorated white chocolate coated cake pops in the fridge, instead of my original idea (which I’ll withhold for now since I’m still going to do it at another date) I pivoted to a batch of Jack Skellington cake pops instead. They are super easy to decorate. So let’s talk about that and make some!

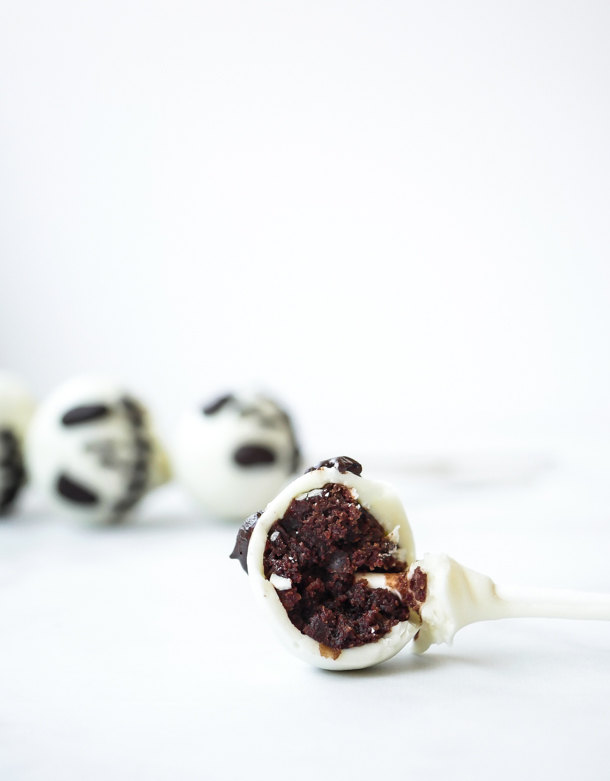
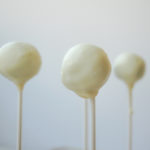
The original Disneyland treat last year was a vanilla cake pop, which makes sense, since if you make a darker colored cake, which I did with chocolate, you will more than likely have to double coat these depending on how opaque your melted chocolate is. So, I’ve linked to our standard Disneyland cake pop recipes in the recipe below and you can choose the flavor you’d like best.
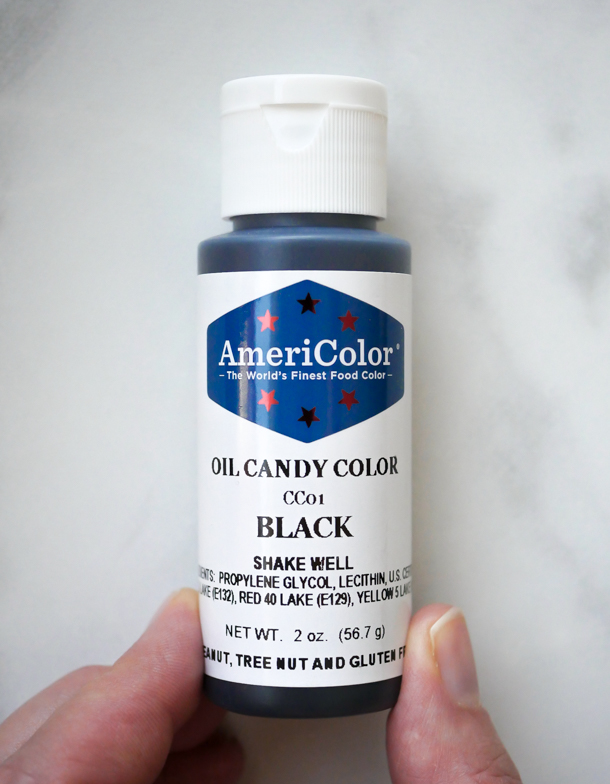
For decorating, I colored semisweet chocolate with some chocolate, oil based, food coloring in black. If you can get your hands on black candy melts I’d suggest that for one less step. Also, remember, never use water based (like gel) food coloring with chocolate. Water and chocolate don’t mix! It will make your chocolate seize up when you melt it.
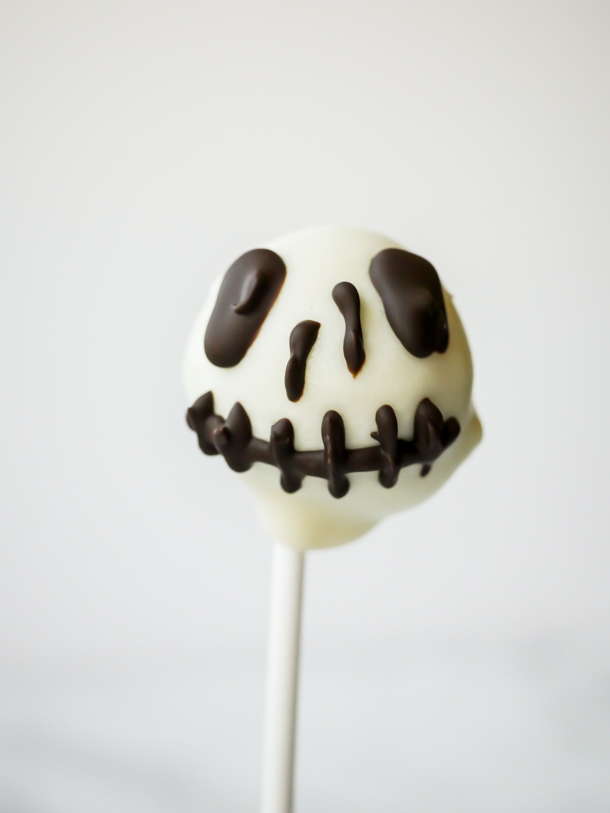
One tip when decorating Jack’s face is to cut the smallest tip off your piping bag that you can get away with. It will make the line work on his smile all the easier if you have a fine line to control. If you want to use a tip with your bag, I’d go with Wilton’s #1 or #2 tip.
And that’s it! These look great and are really very easy to decorate. Whip up a batch to celebrate #Halfway2Halloween right now, or pin this recipe to welcome the actual Halloween season the first week of September.
Jack Skellington Cake Pops
- Yield: 8–10 Jack Skellington Cake Pops 1x
Description
Get spooky with these easy to decorate Jack Skellington white chocolate coated cake pops! A Disneyland-inspired treat.
Ingredients
For the cake pops:
- 8–10 cake balls (find our recipe here for the Disneyland-inspired vanilla, chocolate, and red velvet cake pops)
- 1 cup white chocolate discs (like Merckens) or white candy melts
- 1/4 cup black candy melts OR 1/4 cup semisweet chocolate discs + 3-4 drops oil based food coloring for chocolate in black
Specialty Tools:
Instructions
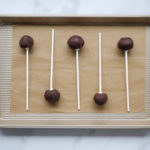
- First, make your cake balls for the cake pops. I chose the chocolate flavor for this recipe.
- Push a lollipop stick halfway into each cake ball. Set aside into a cake pop stand, or make holes in the bottom of a shoe box and stick the cake pops in there.
- Refrigerate at least one hour to firm up, or up to two days.
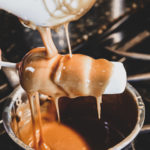
- Next, melt the white chocolate. You can do this one of several ways:
- Melt in a candy pot until smooth (Wilton makes this one for their candy melts I use for dipping projects like this). This can take up to 20 minutes to get fully smooth candy melts. Follow the directions for your particular pot!
- Melt in the microwave in a microwave safe bowl, like glass, for 30 seconds. Stir and microwave again for an additional 30 seconds. Keep stirring and microwaving in short bursts of 15-20 seconds until melted and smooth.
- Melt in a double boiler on the stove. In a medium saucepan, bring about an inch of water to a simmer. Place a glass bowl on top and add candy melts. Stir until melted and smooth.
- Make sure the cake pops have come to room temperature. If they’re too cold, the chocolate will seize up and harden too soon.
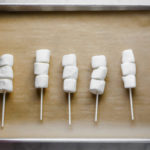
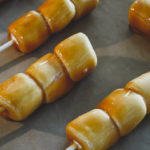
- Next, dip each cake pop into the white chocolate, tapping each stick against the bowl to pop any air bubbles and to remove all the excess chocolate. If your white chocolate is not opaque enough, dip all the cake pops a second time after you have finished the first round. Stick them back into the stand or box holder.
- Let the cake pops firm up slightly again and melt the black candy melts (or chocolate with 3-4 drops of the food coloring) to finish decorating the cake pops. To melt, microwave inside a microwave safe bowl, like glass, for 30 seconds. Stir and microwave again for an additional 30 seconds. Keep stirring and microwaving in short bursts of 15-20 seconds until melted and smooth. You can alternatively use a double boiler for melting or melt candy melts in a piping bag, kneading the candy melts between microwaving.
- If not melting directly in a piping bag, transfer melted candy melts into a piping bag and cut a small amount of the tip off to decorate. See notes below on tip sizing if using a piping tip.
- Draw on Jack’s face with the piping bag on each cake pop. Start with the eyes making a small circle and moving outward until the eyes are large. Then make to small lines for the nose at angles, and then draw on a thin line for the smile and perpendicular lines for his mouth. Set aside and let firm up at least a half hour, or refrigerate until ready to eat.
Notes
- Cake balls should not be too wet or too dry to hold their shape properly. If too wet, add more cake crumbles. If too dry, add more frosting a small bit at a time.
- I like to dry the cake crumbles out a bit before mixing with the frosting, and then letting that mixture sit overnight in the fridge to set up. This ensures a more solid cake pop when dipping.
- Boxed cake and canned frosting will also work for the cake pops if you don’t want to make them from scratch. Just follow the amounts for the crumbled cake and amount of frosting on those recipe pages listed above.
- Cake balls can be made in advance and frozen in a single layer on a sheet pan. Then move the frozen balls to a freezer safe container until ready to use. You can keep cake balls in the freezer up to 6 months.
- If cake balls are slipping off the sticks, dip lollipop stick tip in the melted chocolate and insert into cake ball. Refrigerate a few minutes to set.
- Pure white chocolate, as opposed to candy melts, will have a thinner texture and may show dark spots after one dip due to its translucent nature. The first dip will also ensure that your marshmallows will adhere and not slide off into the chocolate on the second dip. If your kitchen is particularly warm, stick in the fridge for 10 minutes to harden slightly before second dip.
- White chocolate can get too hot very easily. If the white chocolate looks like it is seizing on your spoon when you have dipped in the chocolate and let it drip off, it is too hot. Keep stirring the white chocolate to cool it down. It will be the right consistency to dip the cake pops in when it drips smoothly off your spoon. This can take anywhere sometimes from 20 to 30 minutes to melt, and then cool down to the right consistency.
- If your white chocolate or candy melts is still very clumpy and thick, add a 1/4 teaspoon of coconut oil into it and continue mixing. This should thin out your mixture and get a smoother consistency.
- If you want to use a tip with your bag for decorating Jack’s face, use Wilton’s #1 or #2 tip.
- Save any extra white chocolate to reuse for another treat within a week. Let chocolate harden and then seal in an airtight container.
- Cake pops will last up to one week in the refrigerator in an airtight container.