Where can I find the original treat?
- This treat can be found at the Jolly Holiday Bakery Cafe at Disneyland.
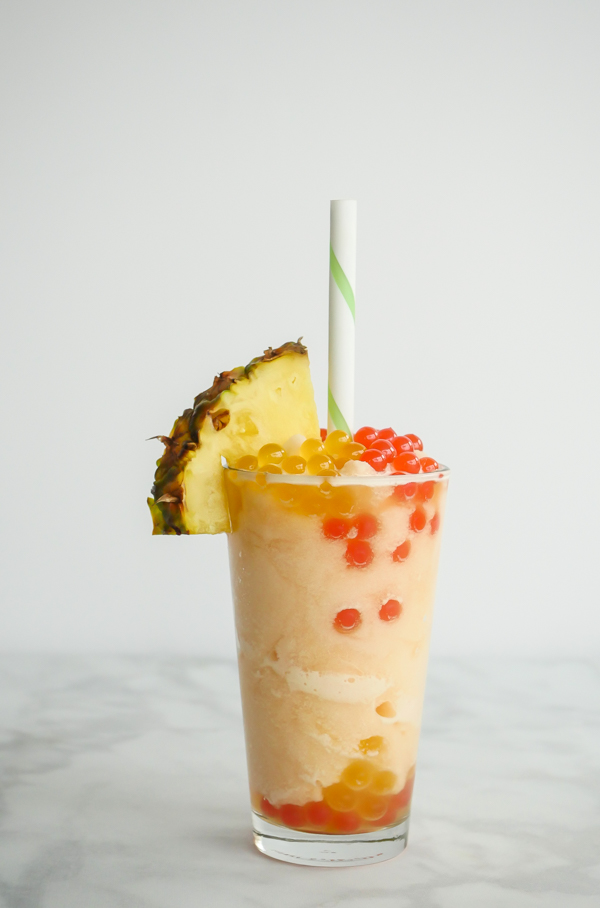
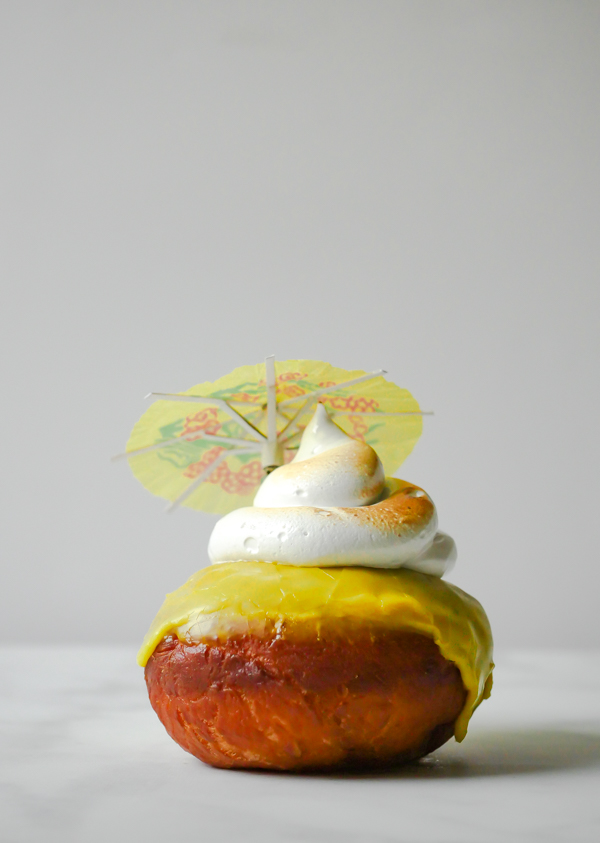
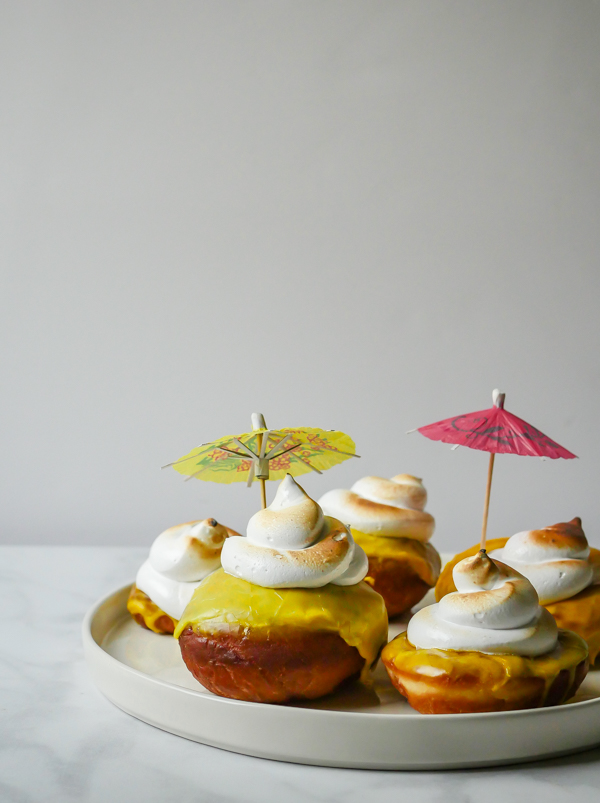
I just had to squeeze one last summertime dessert in before I flood your feeds with pumpkin spice, orange sanding sugar, and whatever spooky snacks Disneyland has planned for the next month and a half. And what dessert at Disneyland has the most summer fun packed into every bite? The Pineapple Donut, or as its cult following calls it: The Dole Whip Donut.
First of all, let me make one quick aside here, and that is that Disneyland spells it “donut”, and I almost always spell mine D-O-U-G-H-N-U-T. And it’s driving me crazy to spell it their way. Ok. Moving on…
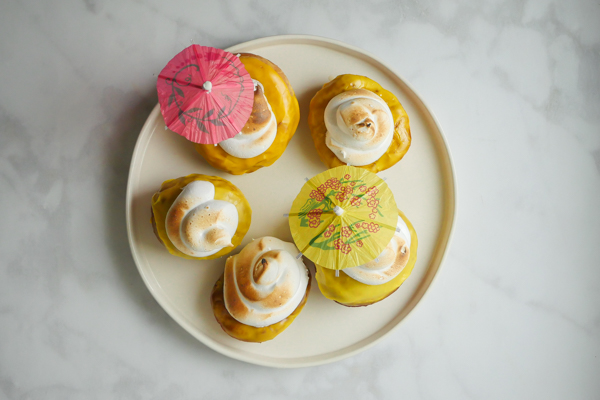
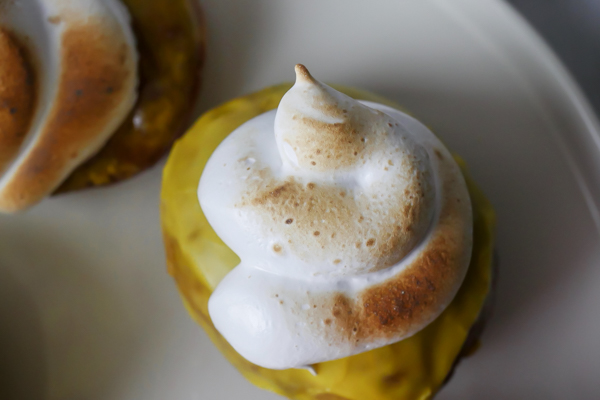
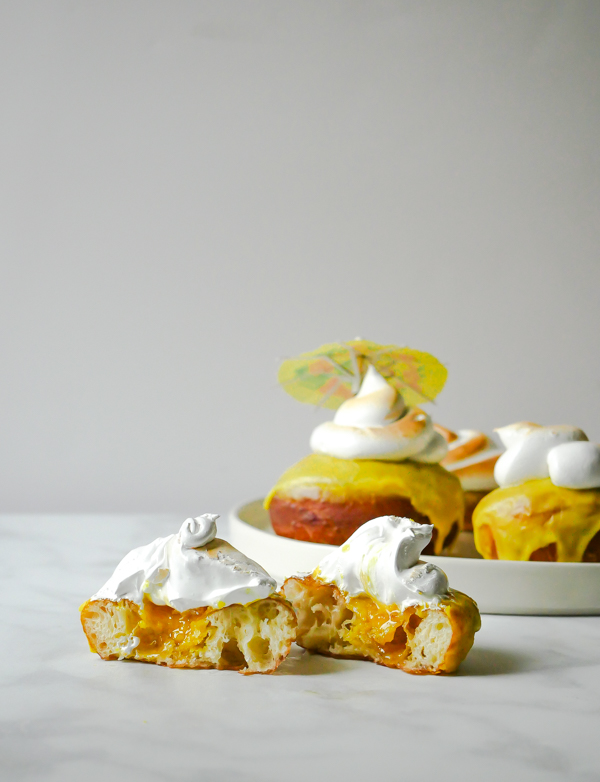
This tropical doughnut (now I’m referring to the type of dessert so I can spell it this way again) is SO hot it needs its own umbrella. Packed with sweet-tart pineapple jam, this yeast style doughnut is topped with a bright yellow glaze and crowned with meringue reminiscent of that iconic Dole Whip swirl. While this might look like a sugar bomb, the pineapple jam has a nice acidity, that when eaten with the meringue and the not-too-sweet doughnut, it balances really well.
The doughnut has three main parts: the doughnut, the pineapple filling, and the meringue topping (technically four if you count the glaze). And today, for the recipe, I’m going to let you decide how easy or involved you’d like to make this. So here it goes. You can:
- buy the doughnuts, pineapple jam, marshmallow cream, and make the glaze
- you can make everything from scratch (see recipes below)
- you can do a combination of make/buy all the components except the glaze (you need to make the glaze)
As per usual, notes are included below the recipe so please read through. If making the doughnuts, jam, and/or meringue, please keep children out of the kitchen as these all require HOT temperatures.
![]() However, once it is assembly time, kids can definitely help dip, fill, and decorate! Just leave the toasting to the adults.
However, once it is assembly time, kids can definitely help dip, fill, and decorate! Just leave the toasting to the adults.
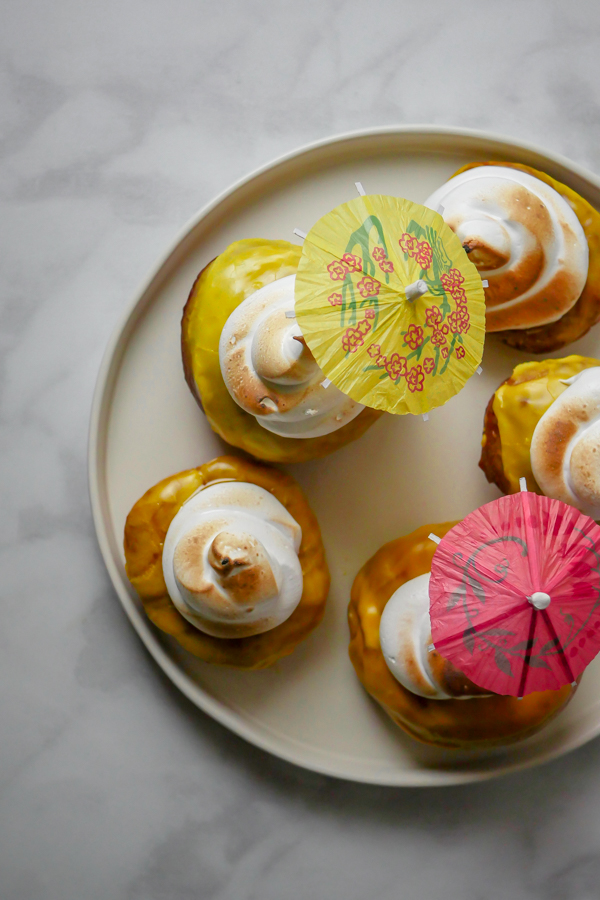
Now you’ve got an excuse to pick up some drink umbrellas! Let’s bake this!
Print
Pineapple Donut (aka Dole Whip Donut)
- Yield: 4 doughnuts 1x
Description
Take a trip to the tropics with this pineapple jam filled yeast-style doughnut with creamy meringue topping reminiscent of the classic Dole Whip. A Disneyland-inspired treat!
Ingredients
For the doughnuts (adapted from Joy the Baker):
- 3/4 teaspoon active dry yeast
- 1 tablespoon warm water (110°f)
- 1 cup (120 grams) all-purpose flour
- 1/4 cup warmed whole milk, or milk alternative of your choice (see notes below)
- 1 tablespoon unsalted butter, softened
- 1 large egg yolk
- 2 teaspoons granulated sugar
- 1/2 teaspoon sea salt
- 4 cups neutral oil like avocado or canola
For the pineapple jam:
- 1 cup pineapple crushed with juice (or 1 cup frozen chunks plus 3/4 cup water)
- 1 cup sugar
- 1 ounce (2 tablespoons) freshly squeezed lime juice
For the meringue:
- 5 tablespoons water
- 1/4 cup plus 2 tablespoons sugar
- 1/4 cup plus 2 tablespoons light corn syrup
- 2 egg whites
- 1/4 tsp cream of tartar
- pinch of salt
- 1/2 teaspoon vanilla
For the glaze:
- 1 cup powdered sugar
- 2–3 tablespoons water
- yellow food coloring
- pineapple extract, optional
Instructions
For the doughnuts:
- Mix together yeast and warm water in a small bowl. Let sit for five minutes until bubbles form on top.
- While yeast sits, in the bowl of a stand mixer, combine the flour, milk, butter, egg yolk, sugar and salt. Add in yeast mixture.
- Stir until just combined and then attach a dough hook and mix in the stand mixer on low until dough comes together. Then increase speed to high and mix for 3 more minutes.
- Remove dough from the dough hook and let sit in the bowl, covered, at room temperature, for one hour until dough has doubled in size.
- Next, sprinkle flour onto your counter and divide your dough into four equal pieces.
- Roll each segment into balls and let rise again for 30 minutes.
- About 20 minutes before the second rise is complete, heat oil in a dutch oven with a candy thermometer attached.
- When the oil reaches 350°f, take a dough ball, make an indentation in the middle with your thumb but do not go all the way through (you’ll need a ‘pocket’ to fill with jam), and lower carefully into the hot oil. You can fry two doughnuts at a time if in a wide dutch oven.
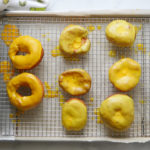
- Fry on each side about one minute. Then remove with a spider or slotted spoon onto a cooling rack with paper towels underneath. Let temperature in the pot come back to 350°f before frying next batch.
- Let doughnuts come to room temperature before glazing and filling.
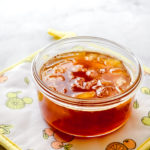
For the pineapple jam:
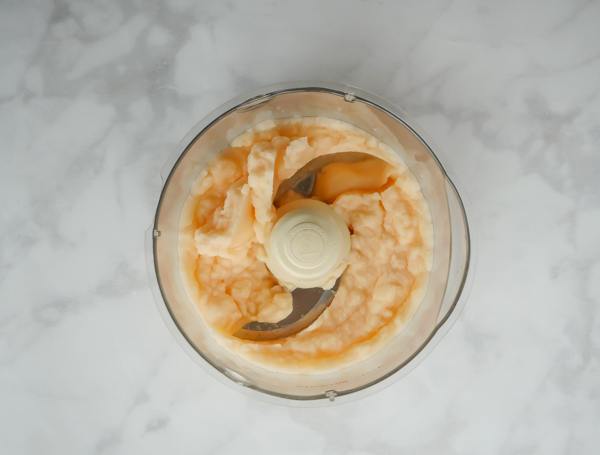
- Combine pineapple and water/juice in a medium, heavy bottomed saucepan over medium heat. Cook, stirring occasionally, until pineapple becomes soft, about half an hour.
- Stir in sugar and lime juice to the pineapple and raise temperature to medium-high.
- Let the mixture reach a simmer, stirring to dissolve all the sugar.
- Then, lower heat to low and let cook about one hour, stirring occasionally, until thickened.
- Let cool to room temperature. If not using right away, store in an airtight container in the refrigerator up to one month.
For the meringue:
- Place the water, sugar, and corn syrup in a medium saucepan over medium-high heat until the mixture reaches 240°F on a candy thermometer.
- At the same time (you’ll want sugar syrup and egg whites to be done at the same time), whisk egg whites in a stand mixer until foamy, and then add in cream of tartar and salt. Increase speed to high until soft peaks form.
- Once the syrup reaches 240°f, slowly pour it into the egg whites while the stand mixer is on medium speed. Mix until the bowl is no longer hot but room temp, about 8-10 minutes. Then, mix in vanilla until incorporated.
- Place all the meringue into a large pastry bag or ziplock. Set aside.
For the glaze:
- In a small bowl, combine water and sugar. Stir until smooth and then add in desired amount of food coloring.
- Optionally, you can add in 1-2 drops of pineapple extract if you’d like more pineapple flavor.
Assembly:
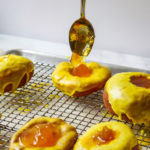
- Start by dipping room temperature doughnuts in the glaze. Dip a second time for a more opaque glaze.
- Spoon pineapple jam into the center of the doughnuts, using the spoon to push the jam down into the center.
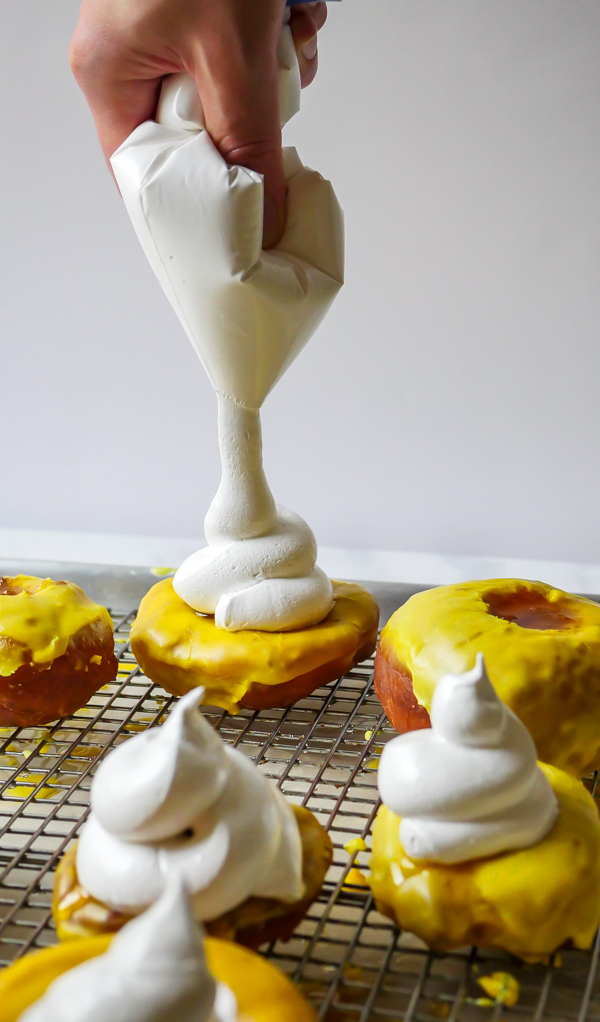
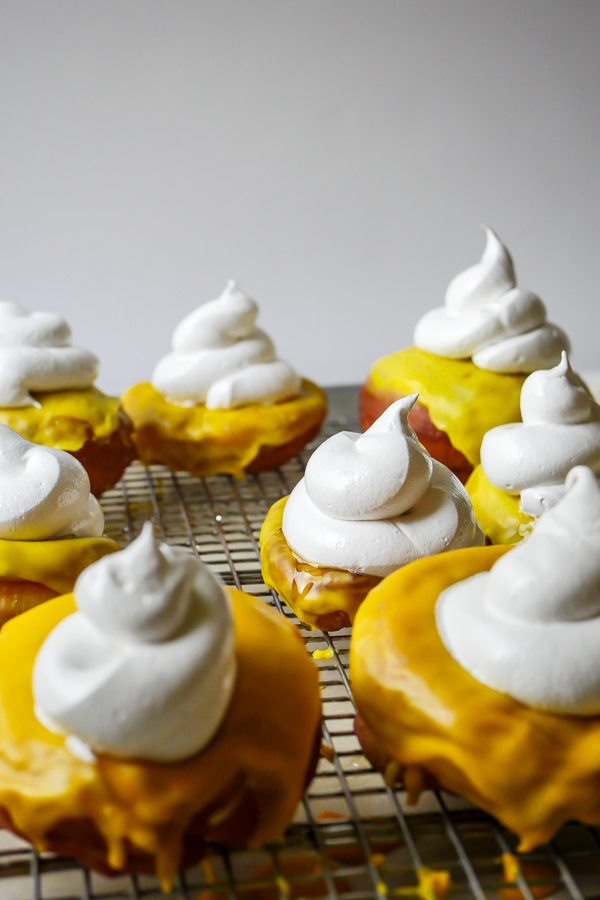
- Next, cut the tip off the pastry bag (if it’s disposable) or ziplock and pipe a swirl of meringue on top.
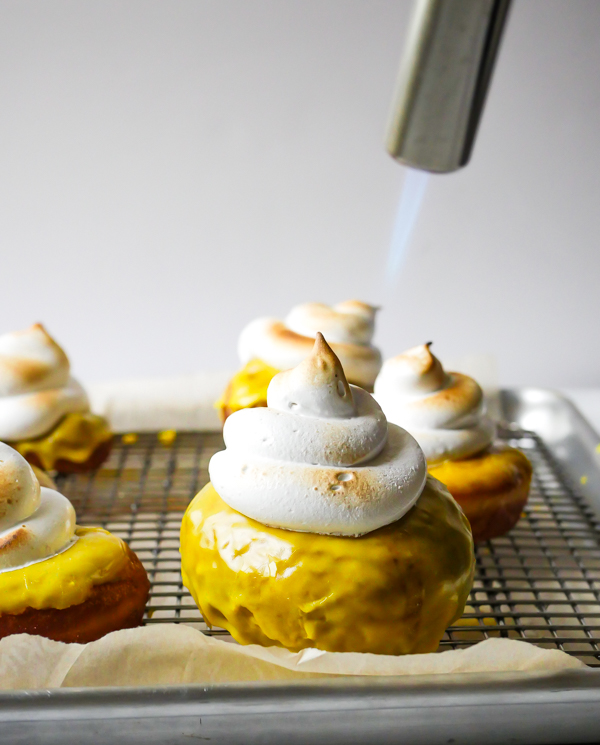
- Using a kitchen torch, lightly toast the outside of the meringue until golden. Enjoy!
Notes
- Doughnuts, jam, and meringue can reach temperatures of over 300°F so please use caution in the kitchen! Wear gloves, an apron, closed toe shoes, and use a candy thermometer. Keep children away when handling hot dishes.
- I made my batch of doughnuts with almond milk and they came out exactly the same as with cow milk, so feel free to use a milk alternative.
- If you powdered sugar is clumpy, sift before adding water.
- If glaze is too thin add more sugar. If too thick add more water a half a teaspoon at a time.
- If you want your doughnuts extra pineapple-y, you can add a drop or two of pineapple extract to the glaze. But use sparingly!
- Leftover meringue can be stored in the fridge for up to two weeks in an airtight container.
- For this recipe I tested hand rolling doughnuts, cutting circles with a cutter, and rolling balls. To get a great puffy doughnut I found it best to roll into balls. However, if you’d like smaller doughnuts that still puff up, using a 2-3″ round cutter on flattened dough will produce smaller ones. Hand rolling will give you the classic shape, but you’d need to sandwich the pineapple jam between meringue in the hole.