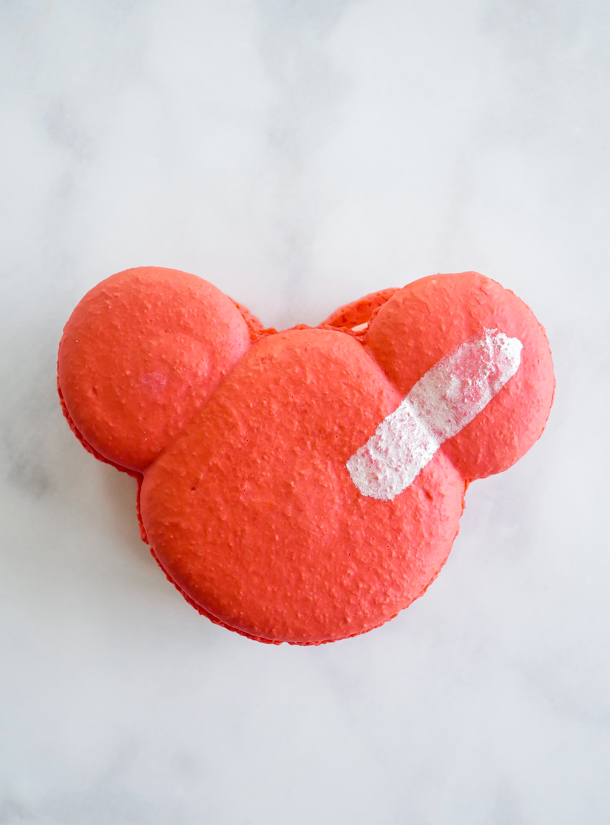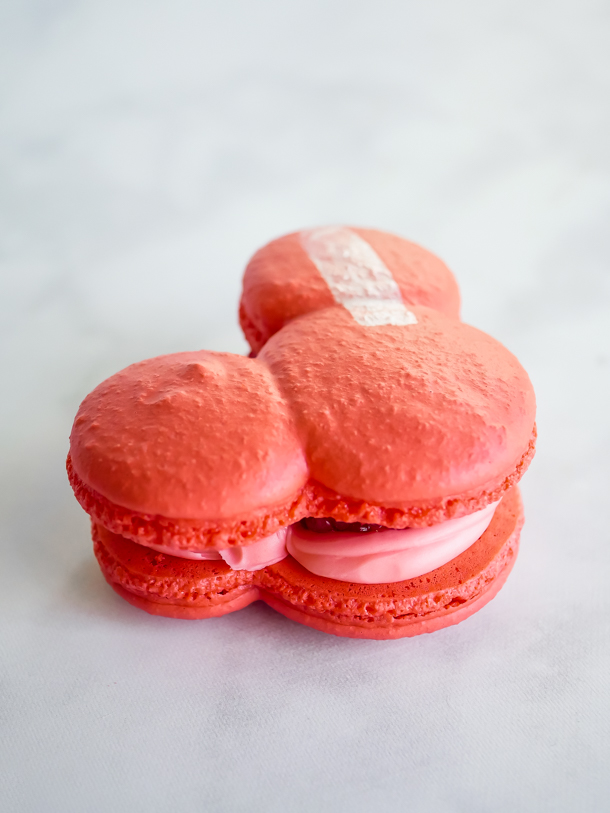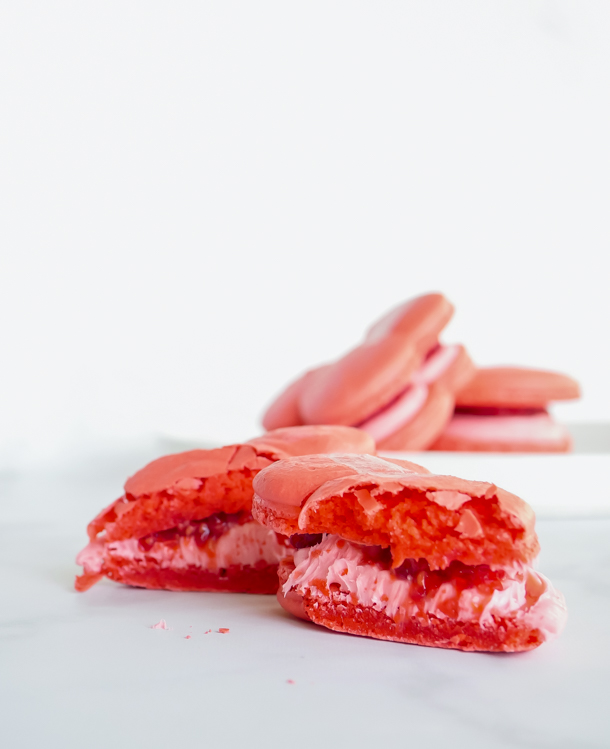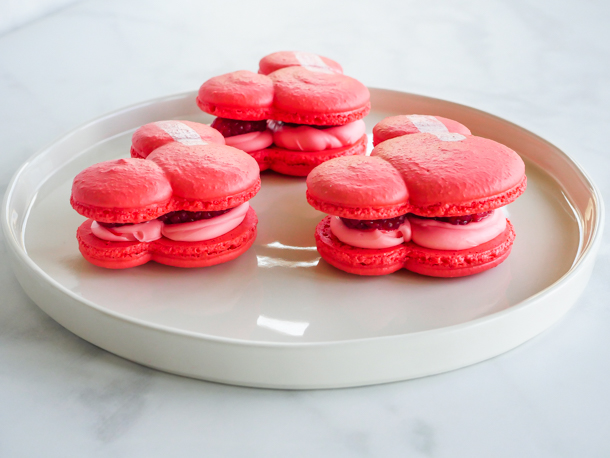
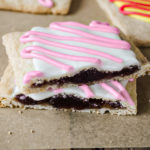
I get visibly excited anytime the Disney parks roll out a new form factor of treats. I may even exclaim an audible “ooooh” in public when I see them. So, suffice to say, I was on the verge of hopping up and down when Disneyland announced not just one, or two, or three, but five new hand pies earlier this year.
Usually one could catch a seasonal hand pie at the Jolly Holiday Bakery Cafe, although many times, but not always, it was strawberry filled with different decorations, my favorite exception being the Coco hand pies with the guava filling from 2020 right before the park temporarily closed (and I was going to make these for the site and even sourced the sugar skulls! I might still one day…). I had, incorrectly, assumed that these were going to be a temporary summer treat, but lo! They’re with us 6 months later, and still popular with guests. Similarly to the year-round treats found at The Candy Palace, Pooh Corner, Trolley Treats, Bing Bong’s, and Marceline’s, the hand pies span both parks and Downtown Disney, the catch is, each store has a different flavor, so if you want a specific kind, you need to be in the right place.
Or you can make them at home! Which is what I’ve got for you all today. In the recipe below, I’m giving you my tried and tested pop tart base recipe and icing ratios. Then you can choose your own adventure when it comes to the filling. I’m also including the Americolor food coloring names that correspond to each flavor decoration to take the guesswork out of that (unless you are using another brand of food coloring, in which case, you will be guessing, sorry!).
I opted to not include filling recipes, as I’ve found that store bought jams, curds, and pastes work just as well as homemade (but if you want to make one of the fillings from scratch, let me know and I can amend below). I made a lemon curd and tested it against a store bought curd for the lemon filling, and my only complaint is that the store bought was not as vibrant, but still tasted fine.
For the base, go with an all purpose flour. I tested pastry flour and found it went too soft on me. And FYI, my lemon hand pies here look a little darker than the strawberry, as I went with a stone ground all purpose from Janie’s Mill which gives a darker color than the standard AP flour you find at the grocery store (like King Arthur or Gold Medal). Both AP flours though are great no matter which you go with.
And finally, the icing takes, at a minimum, 30 minutes to set up. So, if you wanted to, say, put a bunch of sprinkles on top, that would be the time to do it. Also, remember to read all the tips and tricks in the recipe card below for your best bake!
Let me know which flavors you make! And happy baking!
Colorful Fruit Hand Pies
- Prep Time: 90 minutes
- Chill time: 30 minutes
- Cook Time: 15 minutes
- Total Time: 2 hours 15 minutes
- Yield: 4 Hand Pies 1x
- Category: Dessert
- Cuisine: American
Description
Inspired by the summery hand pies found throughout the Disneyland Resort.
Ingredients
This base dough was adapted from the Bravetart Cookbook.
Dough:
- 150 g (5.3 oz, 1–1/2 heaping cups) All Purpose Flour
- 25 g (.8 oz, 1/8 cup) granulated sugar
- 1/2 teaspoon baking powder
- pinch of salt
- 1 stick of butter, cut into cubes
- 92 g (3.2 oz, 1/4 cup) light corn syrup
Icing:
- 100 g (3.5 oz, 3/4 cup plus 2 tablespoons) powdered sugar
- 2–3 tablespoons heavy cream, divided
- 1/2 teaspoon vanilla extract
- pinch salt
Fillings:
- smooth strawberry jam
- lemon curd
- raspberry jam
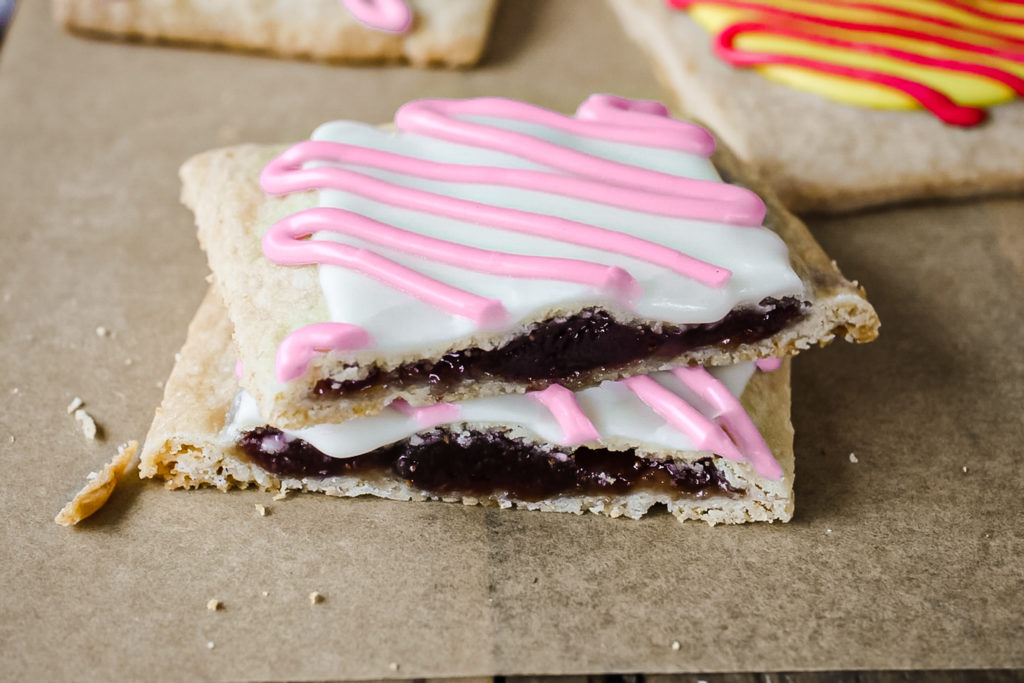
- blueberry jam
- guava paste
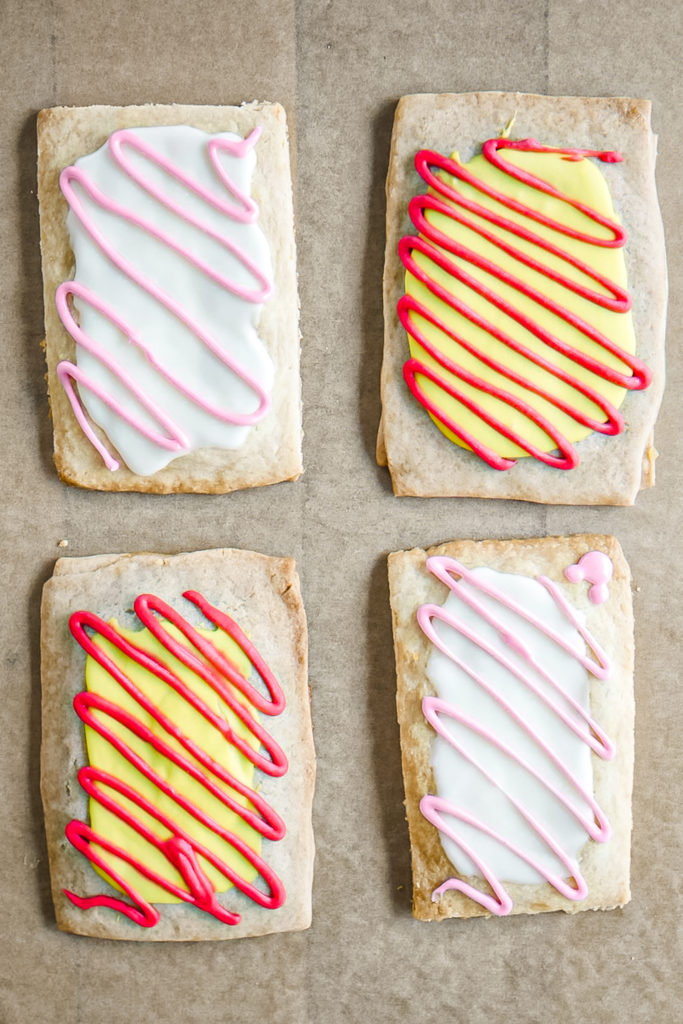
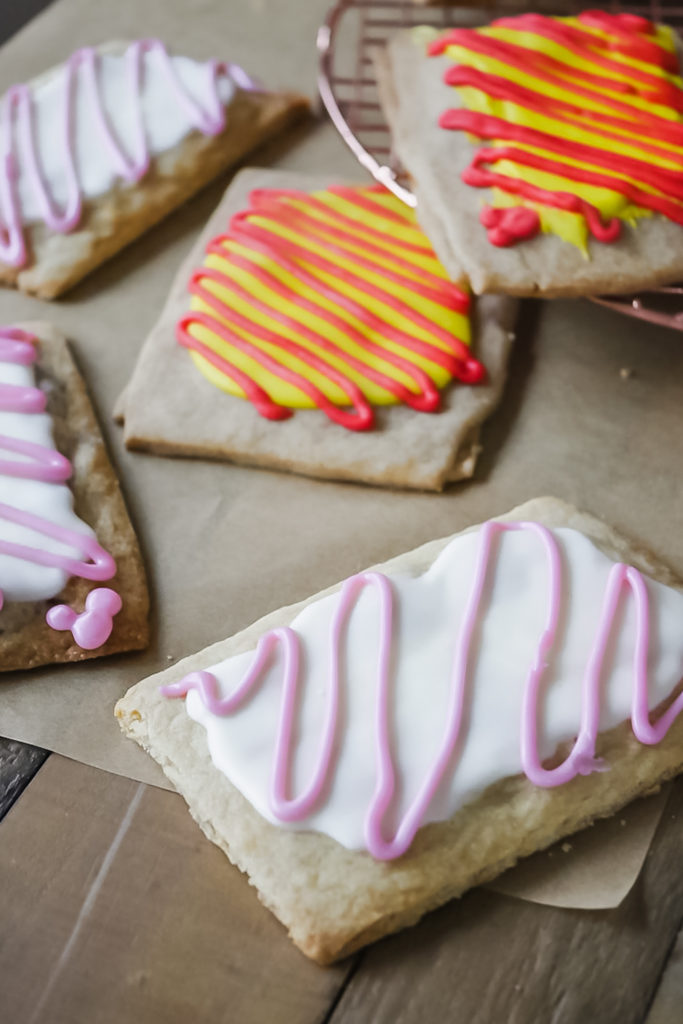
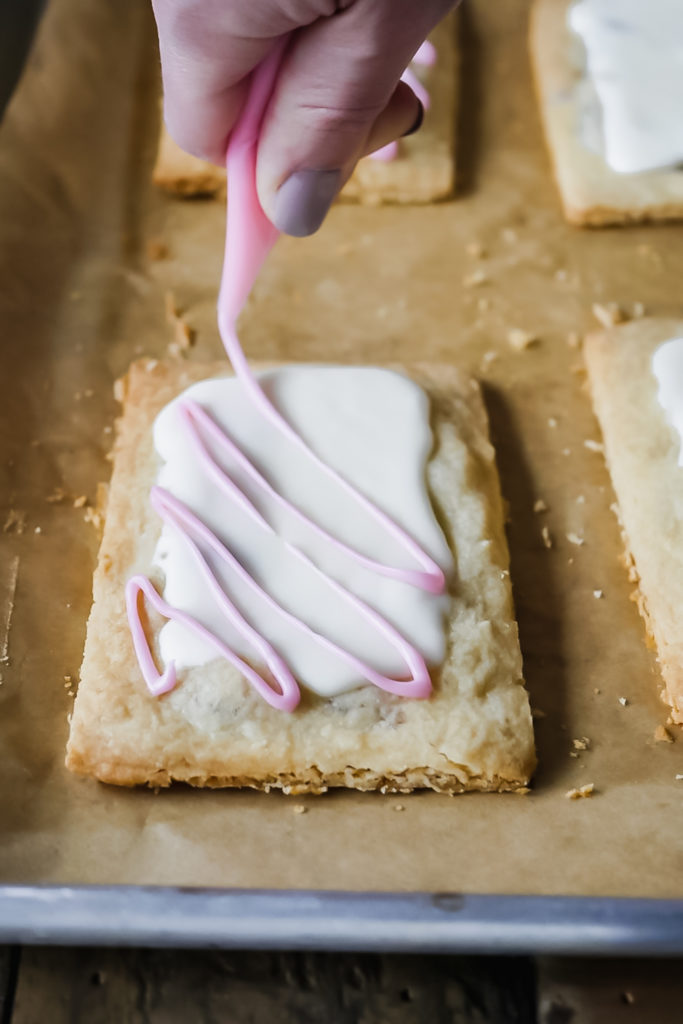
Americolor Gel Paste Color Combos (Base/Drizzle):
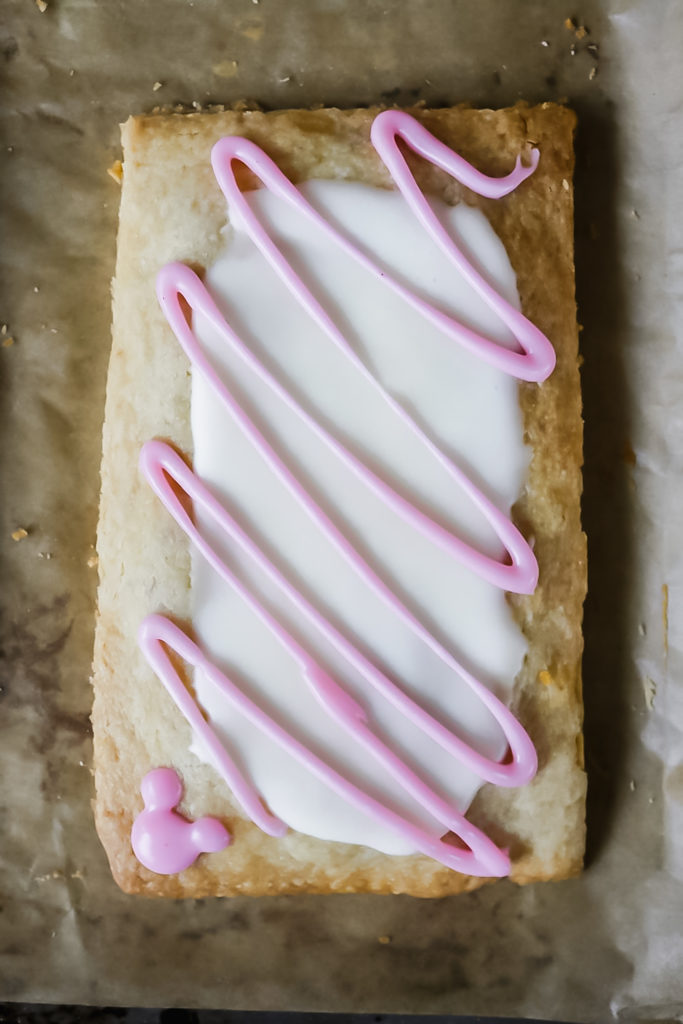
- Strawberry: White (no color on base)// Deep Pink
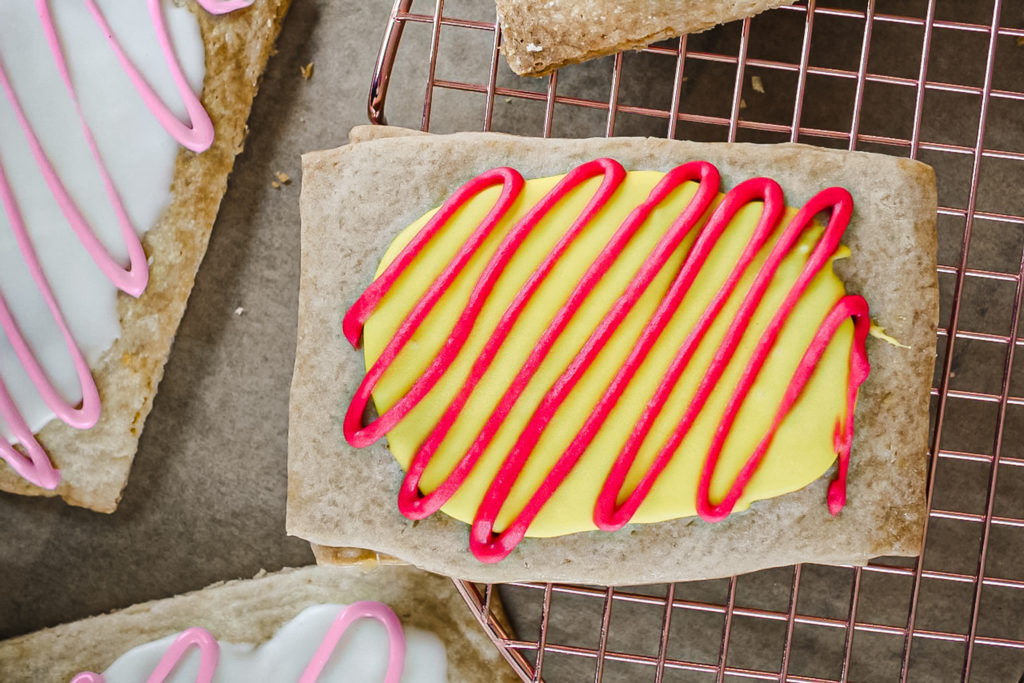
- Lemon: Lemon Yellow // Red Red
- Raspberry: Deep Pink // Violet
- Guava: Orange // Leaf Green
- Blueberry: Turquoise // White (no color on drizzle)
Instructions
For the dough:
- In a mixing bowl, whisk together the flour, sugar, baking powder, and salt.
- Add in the butter and combine until the mixture resembles wet sand (the butter should be fully incorporated with no chunks).
- Next, pour in the corn syrup and mix until it comes together and forms a thick dough.
- Form into a ball and then flatten into a disc. At this point you can either use the dough, or wrap tightly with plastic wrap or alternative wrap and refrigerate up to a week. (Chilled dough will need to sit out and reach room temperature, about 30 minutes, first.)
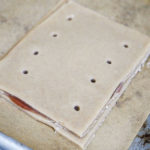
- On a floured work surface, roll dough out into a 13″ by 10″ rectangle. Divide dough in lengthwise to create to rectangles 5″ high. Next divide dough vertically into 4 long rectangles that measure 3-1/4″ wide. This will give you 8 total rectangles. (Note: I find drawing the entire dimensions listed on a piece of parchment first and then scoring the dough with a ruler or chopstick helpful for cutting later)
- Place 4 of the rectangles on a parchment lined sheet pan, and spread about 1 tablespoon of your filling evenly and thinly on each rectangle, leaving a 1/2″ border around all four edges.
- Cover these rectangles with the unused dough, placing them directly over the filling and bottom rectangles. Lightly pat the dough down over the filling and lightly press around all edges (no need to crimp the dough together).
- Poke 8 holes in each hand pie, and then cover tightly with plastic wrap or alternative wrap. Refrigerated for 30 minutes.
- Preheat oven to 350°f during this time.
- Remove tray from the refrigerator after 30 minutes, remove plastic wrap, and place in oven for 14 to 16 minutes until still light blonde in color but dry.
- Cool on the sheet pan until room temperature.
For the icing:
- In a small mixing bowl, combine the powdered sugar, 1-1/2 tablespoons cream, vanilla extract, and salt until stiff and no powdered sugar remains visible.
- Remove 1/4 of the mixture to a piping bag for the drizzle. You can add a drop of food coloring directly to the bag and knead until uniform in color. Set aside.
- Next, add another tablespoon of cream to the remaining mixture. If your icing is still too stiff, add another teaspoon or two until smooth and easily spreadable. If you go too far and it’s so runny it immediately drips off the hand pie, you can mix in a tablespoon or two of powdered sugar.
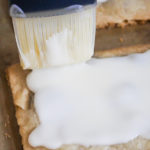
- At this point you can leave white for the strawberry hand pie, or mix in the desired color using the color combos above.
- Spread an even layer of the base icing on the hand pie, let the icing for a crust before adding the drizzle, otherwise the drizzle will sink into the base and the colors will bleed.
- Allow 30 minutes for the icing to harden up, however with the cream, it will be a ‘soft’ icing and not brittle.
Notes
- Recipe can be doubled to make 8 hand pies.
- Corn syrup may be “vanilla” flavored or plain.
- If your dough is sticky when rolling out, place the dough between two sheets of parchment.
- You can trim the edges with a knife or pizza cutter when they come out of the oven for sharper, defined lines.
- Store at room temperature for up to 5 days, refrigerated for 1 week.
- The longer the base and drizzle colors sit together, the greater chance they will begin to bleed together.