• Skip to primary navigation
  • Skip to main content
  • Skip to primary sidebar

Magical Treats at Home

  • About
  • Treats
  • Drinks
  • Savory
  • Favorite Tools
  • Etsy Shop

coconut

Matterhorn Macaroon

February 10, 2023 by Elana Lepkowski Leave a Comment

Where can I find the original treat?

  • The original treat is located at the Jolly Holiday Bakery Cafe at the Disneyland Resort.

When I started this website back in 2018, I had planned on making some of my favorite evergreen park treats to kick things off. However, that plan quickly unraveled when I attempted to make what I thought would be an easy recipe: the Matterhorn Macaroon. 
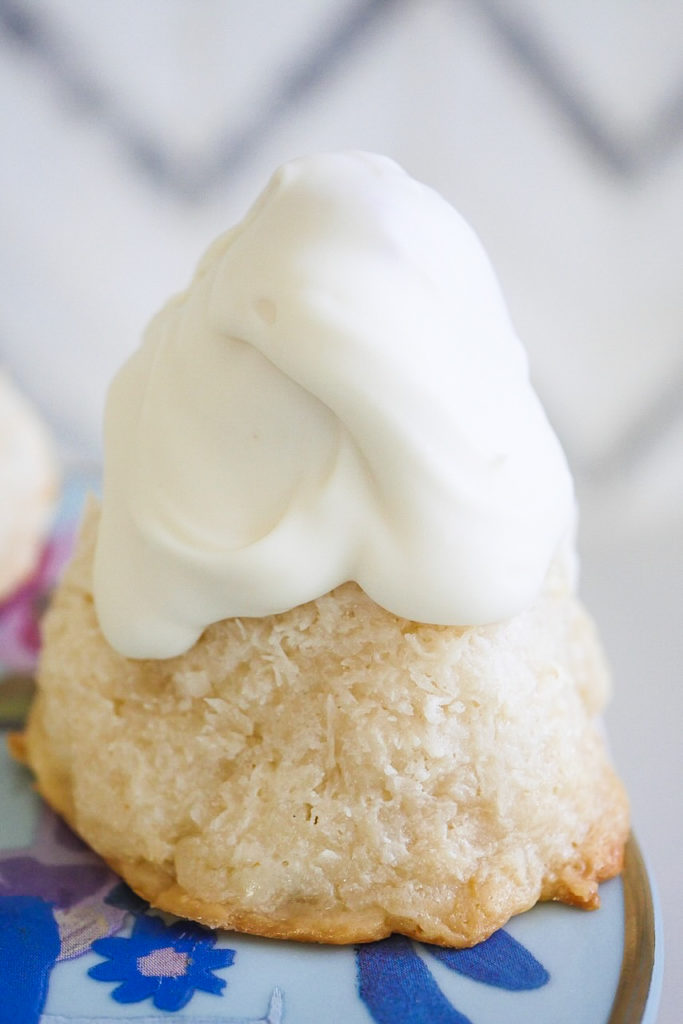
In retrospect, I was overthinking it. Was it like a cake? Or a cookie? I attempted to try a few recipes on the internet, except… they all failed. Butter? It melted! You cannot get the structure correct with butter. Six tries later I decided to put it to bed for another time. I had other recipes made and photographed, and no one wanted to eat another coconut dessert for some time. 

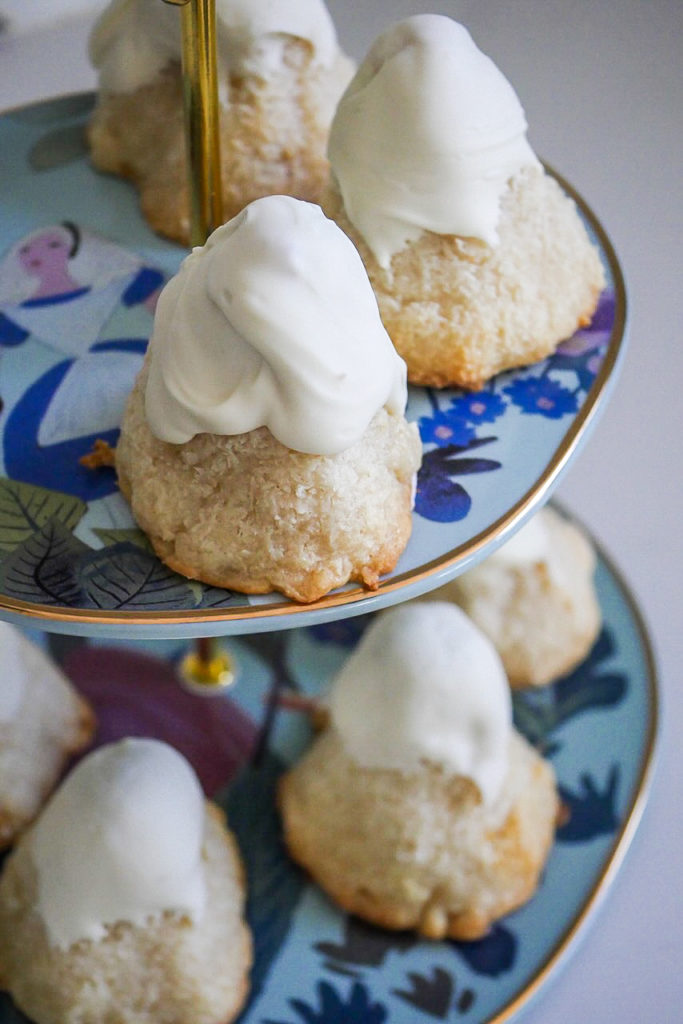
With some space between those frustrating weeks (weeks!!!) years ago now, I approached this again with fresh eyes, and the realization that a trusty, straightforward macaroon recipe would prevail, I bring to you today, the Matterhorn Macaroon.
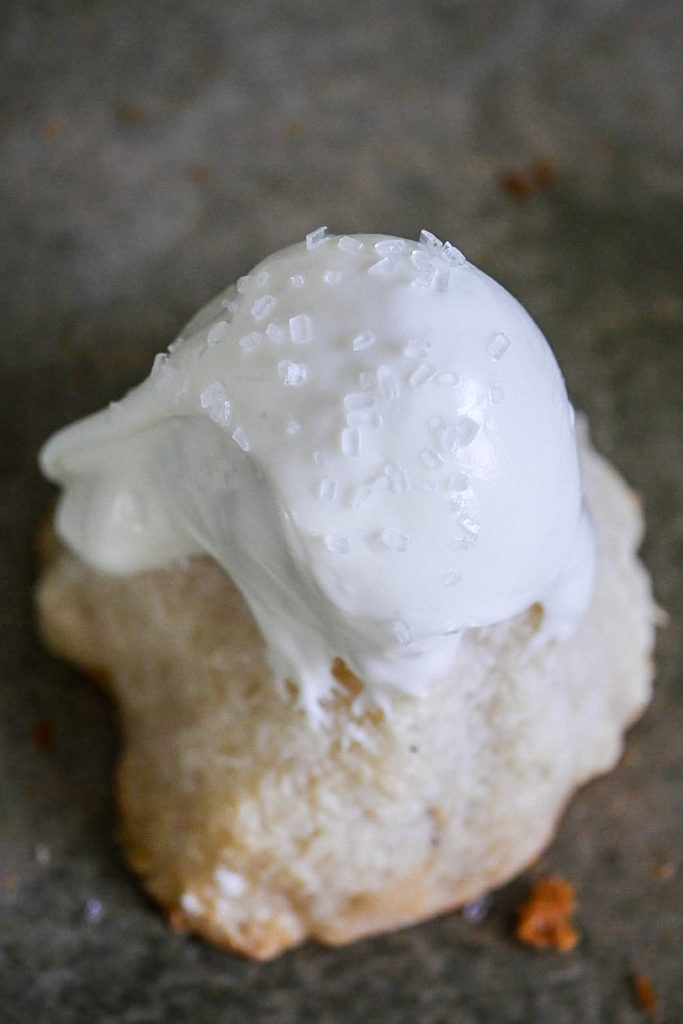
What makes this recipe work is two things, whipped egg whites for structure, and a not-too-wet batter. You will pour out about 3 cups of coconut and a small amount of sweetened condensed milk and you will think the recipe is too dry; IT IS NOT TOO DRY.

After you work the liquid in, and then fold in the egg whites, you can shape the mixture, and it will change noticeably little once it’s baked. Yes, it will shrink a bit down, but not much. And it definitely will not melt into a puddle of coconut shreds. 

When you take them out of the oven, do not try and touch them! Let them get to room temperature, they shouldn’t even be warm to the touch at this point, because then they will firm up, and you will be able to dip them into the white chocolate without them breaking on you. And once they’ve set up, you’ll get a crisp outside and a chewy, soft interior. 
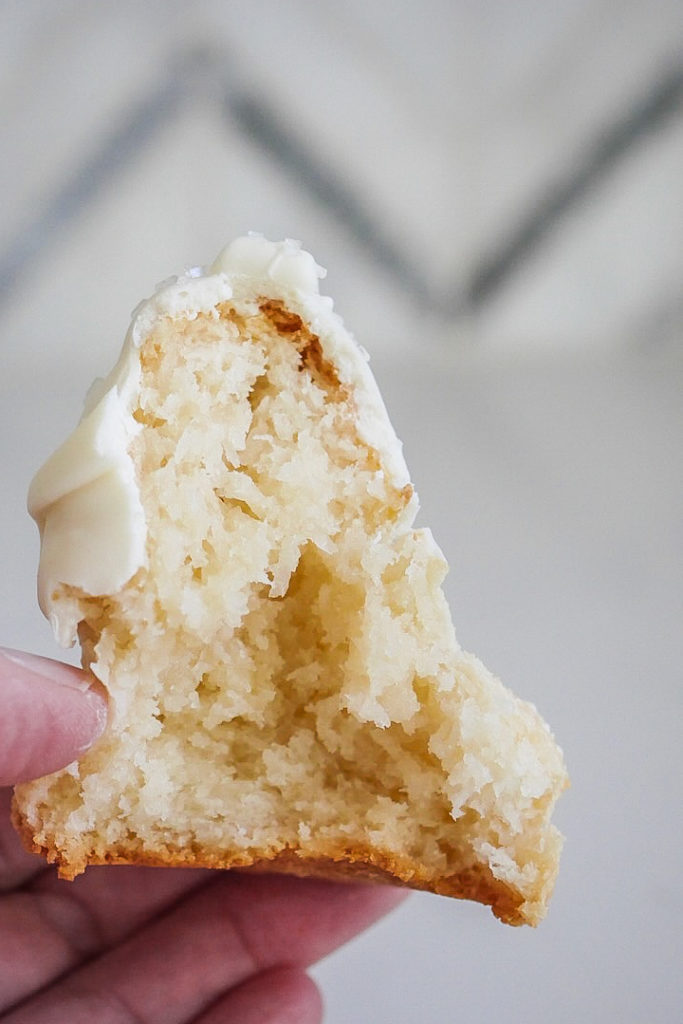
This recipe is very kid friendly! Let small hands mix, whip egg whites, and shape the mixture. With some supervision, younger kids can help melt the chocolate too (white chocolate should never get too hot regardless, as it will burn!).

I really hope you enjoy making (and eating) these macaroons. And I’m so happy to finally cross this bucket-list recipe off the list.

Print
clock clock iconcutlery cutlery iconflag flag iconfolder folder iconinstagram instagram iconpinterest pinterest iconfacebook facebook iconprint print iconsquares squares iconheart heart iconheart solid heart solid icon

Matterhorn Macaroons

5 Stars 4 Stars 3 Stars 2 Stars 1 Star No reviews
  • Author: Elana Lepkowski
  • Prep Time: 5 minutes
  • Cooling Time: 1 hour
  • Cook Time: 30 minutes
  • Total Time: 1 hour 35 minutes
  • Yield: 6–8 macaroons 1x
  • Category: dessert
  • Method: baking
  • Cuisine: American
Print Recipe
Pin Recipe

Description

A mountain of crispy, chewy, sweet coconut macaroons await your taste buds with this Disneyland-inspired treat!


Ingredients

Scale
  • 3 cups (300g) desiccated coconut (finely shredded), unsweetened
  • 1/2 cup (100g) granulated sugar
  • 2 tbsp rice flour (brown or white)
  • 3/4 cup (250g) sweetened condensed milk
  • 2 egg whites, from large eggs
  • pinch of salt
  • 1/2–3/4 cup white chocolate

Instructions

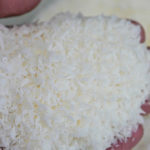
  1. In a mixing bowl, combine the coconut, sugar, and rice flour. Whisk to combine, and then pour the sweetened condensed milk over the top. Mix to combine.
  2. In a clean mixing bowl, pour in the egg white and the pinch of salt. Whip until stiff peaks are reached.
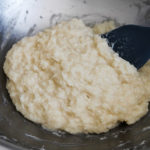
  3. Gently fold in the whipped egg whites into the coconut mixture. Refrigerate for 30 minutes.
  4. Preheat the oven to 300°f. Line a sheet pan with parchment and set aside.
  5. After your mixture has chilled, evenly scoop out 6-8 portions of the mixture. Form each scoop into your mountain, using your fingers to make indentations. The mixture will settle slightly as it bakes, so make the mountain a bit on the skinny side. Flatten the bottoms to stand on the sheet pan.
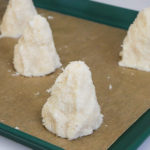
  6. Bake for 28-30 minutes, until top and bottom edges are golden.
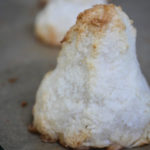
  7. Remove the tray from the oven and allow the macaroons to cool on the pan.
  8. Once the macaroons are cool, melt the white chocolate in the microwave in a heat proof bowl, like glass, in 15-20 second bursts, stirring in between.
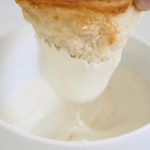
  9. When the chocolate is melted and smooth, dip the top 1/3 of the macaroon into the chocolate, rolling the macaroon around to coat evenly. Set aside on a piece of parchment and repeat with all the macaroons. Allow at least an hour for chocolate to fully set.
  10. Macaroons will keep at room temperature in an airtight container for up to one week. Store in the freezer (coated or uncoated with chocolate) for up to 3 months.

Notes

  • If your mixture feels very wet, sprinkle in more shredded coconut a tablespoon at a time.
  • Brown rice flour makes this treat gluten free. However, if rice flour is unavailable, you can sub in coconut flour or cake flour.
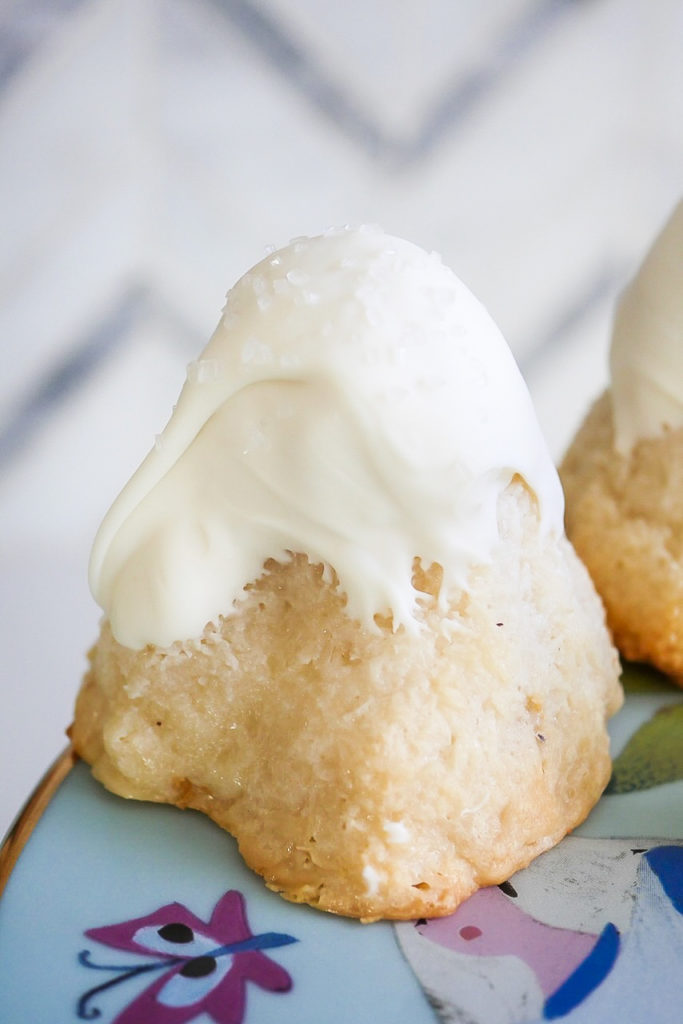
  • The presentation of the Matterhorn Macaroon is not consistent. Sometimes there has been a powdery-like top to the white chocolate. I’ve also had it with sugar crystals on top. Feel free to decorate yours however you’d like!
  • Recipe can be halved if desired.
  • Macaroons can be frozen in a freezer safe container for up to 3 months. Defrost overnight in the refrigerator to enjoy the next day.
Did you make this recipe?

Tag @magicaltreatsathome on Instagram and hashtag it #magicaltreatsathome

Share this:

  • Click to share on Facebook (Opens in new window) Facebook
  • Click to share on X (Opens in new window) X

Like this:

Like Loading...

Filed Under: Gluten Free, Recipes, Treats Tagged With: coconut, dessert, disneyland, Fantasyland, gluten free, jolly holiday bakery cafe, Matterhorn, treat, white chocolate

Bunny Butt Easter Crispy Treats

April 10, 2020 by Elana Lepkowski Leave a Comment

Bunny Butt Crispy Treats for Easter // magicaltreatsathome.com

Where can I find the original treat?

  • This seasonal treat can be found all over the Disneyland resort.

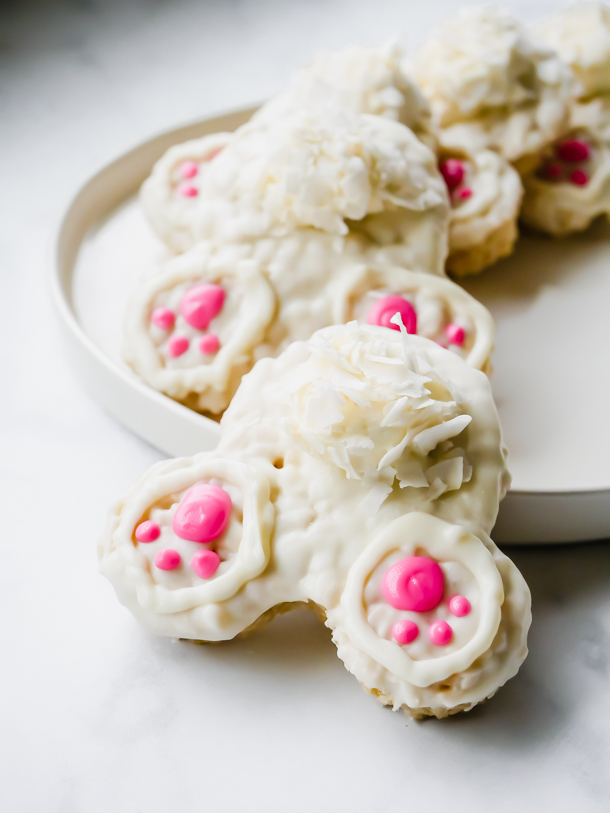
We’re back again today with another Disneyland park inspired Easter treat. Similar in style to yesterday’s Bunny Butt Cake Pop, today we’re not getting quite so technical with this Bunny Butt Easter Crispy Treat.

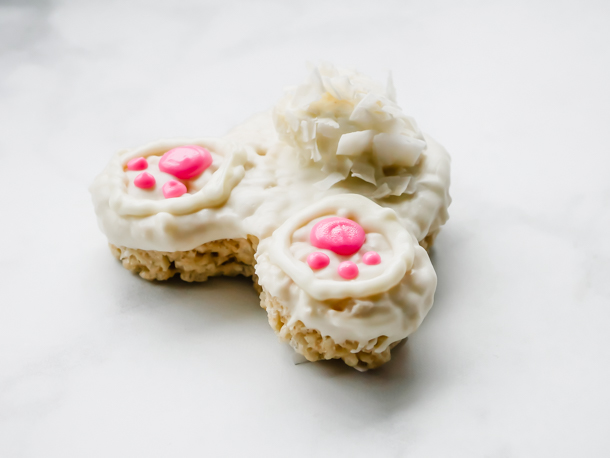
Yes! Disneyland did it again with some super cute crispy treats shaped like Peter Cottontail’s, er, cottontail. I just loved seeing these and the cake pops on my last few visits to the park in March. It was hard to narrow down what treats to make for Easter, but in the end, the bunnies won.

Bunny Butt Crispy Treats for Easter // magicaltreatsathome.com

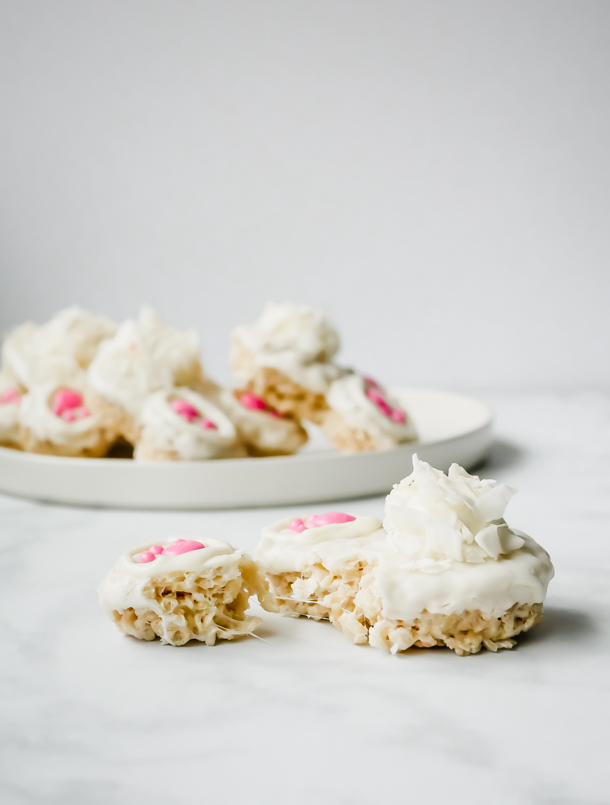
Unlike the smaller cake pops, these treats use flaked coconut to make a big tail for these Easter rabbits and the feet decorations are piped on. (And if you’ve got a large Mickey Mouse cutter at home, you’re in luck, since these use that shape, but flipped upside down to create the bunny butt!) Our batch below makes 3 generously sized crispy treats but you can definitely double this recipe using the handy button in the recipe too!

If you’ve saved your leftover white chocolate from yesterday, then you should still have plenty leftover to coat these and do some piping work. If not, no worries! These are still super easy to make even with a little extra time melting chocolate.

Bunny Butt Crispy Treats for Easter // magicaltreatsathome.com

One trick I learned with these this time, is that you can speed the firming up stage by sticking these straight into the freezer for a little bit right after pouring the mixture in the pan. Then go straight to cutting out the shapes. I’d still stick them back in the fridge after cutting so they don’t un-firm up quickly though before coating and decorating. This trick came in handy when I realized I was late for snack time this week and needed to put something in front of my kids ASAP.

Speaking of kids, this is a fun treat for kids to decorate. I like to stay clear of small hands touching the molten marshmallows, but that cools down very quickly once it’s out of the saucepan and into the baking pan to set.

Bunny Butt Crispy Treats for Easter // magicaltreatsathome.com

Ok, now let’s make some bunnies! And don’t forget to check the notes below for more tips!

Print
clock clock iconcutlery cutlery iconflag flag iconfolder folder iconinstagram instagram iconpinterest pinterest iconfacebook facebook iconprint print iconsquares squares iconheart heart iconheart solid heart solid icon
Bunny Butt Crispy Treats for Easter // magicaltreatsathome.com

Bunny Butt Easter Crispy Treats

5 Stars 4 Stars 3 Stars 2 Stars 1 Star No reviews
  • Author: Elana Lepkowski
  • Yield: 3 Bunny Butt Crispy Treats 1x
Print Recipe
Pin Recipe

Description

Sweet, chewy, crispy treats get the Cottontail treatment in these cute, Easter themed Bunny Butt dessert. A Disneyland-inspired treat.


Ingredients

Scale

For the crispy treat:

  • 2 tablespoons butter, unsalted
  • 2–1/2 cups mini marshmallows or 25 regular sized marshmallows
  • 2-1/2 cups crisped rice cereal

For the decoration:

  • 1 cup white chocolate, finely chopped (or candy white candy melts)
  • 1/4 cup light pink candy melts
  • 2 marshmallows, cut in half
  • 1/3 cup shredded coconut (sweetened or unsweetened)

Specialty Tools:

  • Mickey Mouse cutter
  • piping bags

Instructions

For the crispy treat:

  1. Before beginning, line a loaf pan with parchment.
  2. Combine the butter and marshmallows in a medium sauce pan over medium-low heat. Stir constantly until marshmallows have melted and mixture is smooth.
  3. Immediately dump in the crisped rice cereal and mix to combine.
  4. Pour into the prepared pan and gently press mixture into place with a rubber spatula (or damp fingers). Set aside for at least an hour in the refrigerator (or 20 minutes in the freezer) so that the mixture can firm up enough to cut shapes.
  5. When the treats have firmed up, use a Mickey Mouse cutter to cut out your shapes. Set aside.

For the decoration:

  1. First, melt the white chocolate (or candy melts) in the microwave inside a microwave safe bowl, like glass, for 30 seconds. Stir and microwave again for an additional 30 seconds. Keep stirring and microwaving in short bursts of 15-20 seconds until melted and smooth. Use can alternatively use a double boiler for melting.
  2. Dip the top of the treat into the melted chocolate, letting any excess drip off back into the bowl. Repeat for other treats.
  3. Then attach the half marshmallow, cut side down, into the center of the largest part of the crispy treat. Repeat with all the treats and set aside. (You’ll have half a marshmallow left over)
  4. Next, pour all the remaining white chocolate into a piping bag. Set aside.
  5. Melt the pink candy melts now in the microwave inside a microwave safe bowl, like glass, for 30 seconds. Stir and microwave again for an additional 30 seconds. Keep stirring and microwaving in short bursts of 15-20 seconds until melted and smooth. Use can alternatively melt directly in a heavy duty piping bag. If you haven’t melted in a piping bag, transfer the melted candy melts to one now. Set aside.
  6. Start piping the feet with the melted white chocolate first, outlining the circles for the feet. Then over the marshmallow with white chocolate and immediately press the shredded coconut onto it to create the cottontail.
  7. Then, using the pink candy melts, pipe the feet decorations. Start by squeezing until a large circle forms, and then using a quick motion, pipe three small dots.
  8. Let the treats firm up at least an hour in the refrigerator before serving. Enjoy!

Notes

  • Use a smaller pan than you think you’ll need for this. As the marshmallows melt into the butter, if there’s too much space in the pan, they will start to dry out and form strings. Keeping the marshmallows closer together in the pan will ensure they melt more evenly, creating a better mixture to add the cereal into.
  • When mixing crisped rice cereal into the melted marshmallows, keep the mixture on the flame so that marshmallows stay liquid. Removing to mix in can seize up the liquid before the cereal is fully mixed.
  • If crisped rice cereal is unavailable right now, use any kind of puffed grain, or cereal. Fruity Pebbles would work here too!
  • After you’ve cut out your treats, extra cereal/marshmallow mixture can be recombined by hand and cut again (or just combined and shaped into another treat by hand).
  • Melted white chocolate is thinner than candy melts. If you find your first dip in the white chocolate is too thin, wait 5-10 minutes and then dip a second time AND THEN adhere the marshmallow.
  • At the parks, they use marshmallow creme to hold the coconut tail in place. If you’ve got fluff in a jar, that would work here too!
  • Save any extra white chocolate or candy melts to reuse for another treat within a week for white chocolate and a month for candy melts. Let harden and then seal in an airtight container.
  • Treats can be kept in an air-tight container for up to 3 days.

Did you make this recipe?

Tag @magicaltreatsathome on Instagram and hashtag it #magicaltreatsathome

Bunny Butt Crispy Treats for Easter // magicaltreatsathome.com

Share this:

  • Click to share on Facebook (Opens in new window) Facebook
  • Click to share on X (Opens in new window) X

Like this:

Like Loading...

Filed Under: Recipes, Treats Tagged With: candy melts, coconut, crispy treat, disneyland, Easter, marshmallow, rice krispie treat, treat, white chocolate

Primary Sidebar

Follow Us

  • Instagram
  • Facebook
  • X
  • Pinterest
  • Email
  • YouTube

Hi! My name is Elana, and that’s me shoving a Mickey Mouse shaped treat in my face. I love the treats at Disneyland. A lot. So much so I’ve dedicated an entire website to making all my favorites, and hopefully yours too, out of my home kitchen. My aim is to create Disneyland-inspired treats, with easy to follow directions, and many recipes geared towards getting the kids in the kitchen to help too! Because putting sprinkles on things is F-U-N.

Top With Sprinkles

Get Recipes in Your Inbox!

* indicates required

Look for this icon in posts to find Kid Friendly recipes!

Recent Posts

  • Matterhorn Macaroon
  • Caramel Gingerbread Cookie Sandwiches
  • Colorful Fruit Hand Pies
  • Classic Mickey Shaped Beignets
  • Carrot Cake Cookies

Archives

  • February 2023
  • December 2022
  • August 2022
  • January 2022
  • December 2021
  • November 2021
  • December 2020
  • November 2020
  • October 2020
  • September 2020
  • August 2020
  • July 2020
  • June 2020
  • May 2020
  • April 2020
  • March 2020
  • February 2020
  • January 2020
  • December 2019
  • November 2019
  • October 2019
  • September 2019
  • August 2019
  • July 2019
  • June 2019
  • May 2019

Copyright © 2025 Magical Treats at Home on the Foodie Pro Theme

%d