Where can I find the original treat?
- This treat was found at the Jolly Holiday Bakery Cafe in Disneyland.
The Donut Cart at Disneyland was always my favorite place to visit for a treat and to say I was bummed when they decided to get rid of it to widen the walkways around Sleeping Beauty Castle is an understatement. However, some of those fabulous doughnuts can be found over at the Jolly Holiday Bakery Cafe on occasion. (Although they will sell out quickly if it’s a good one!)
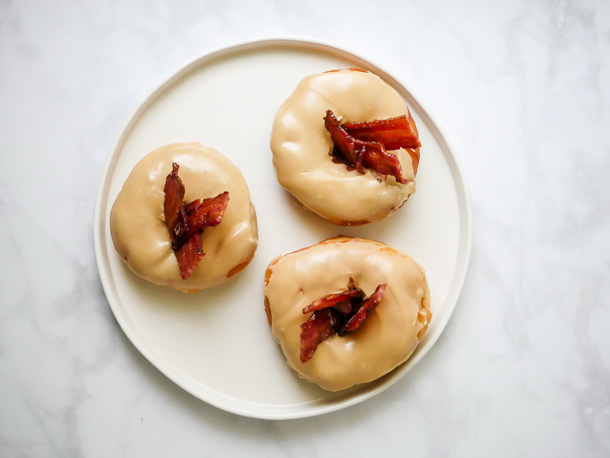
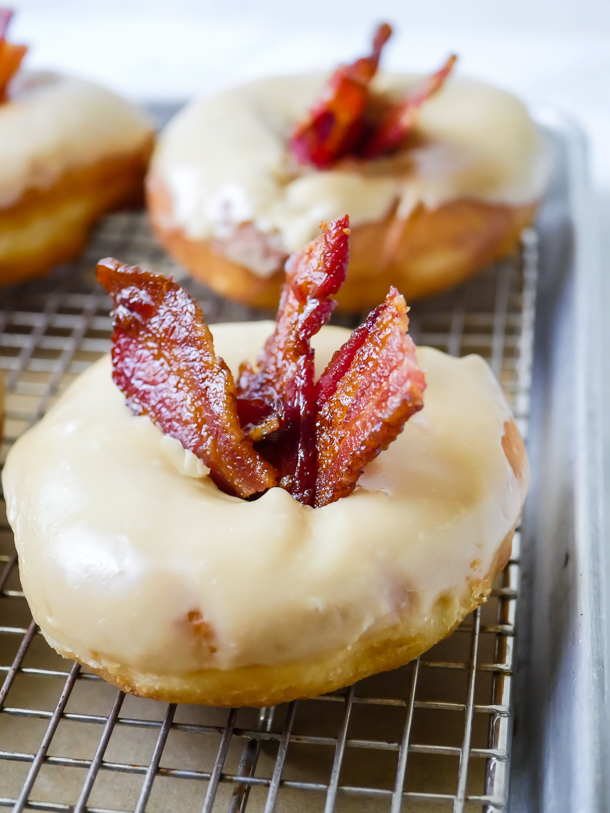
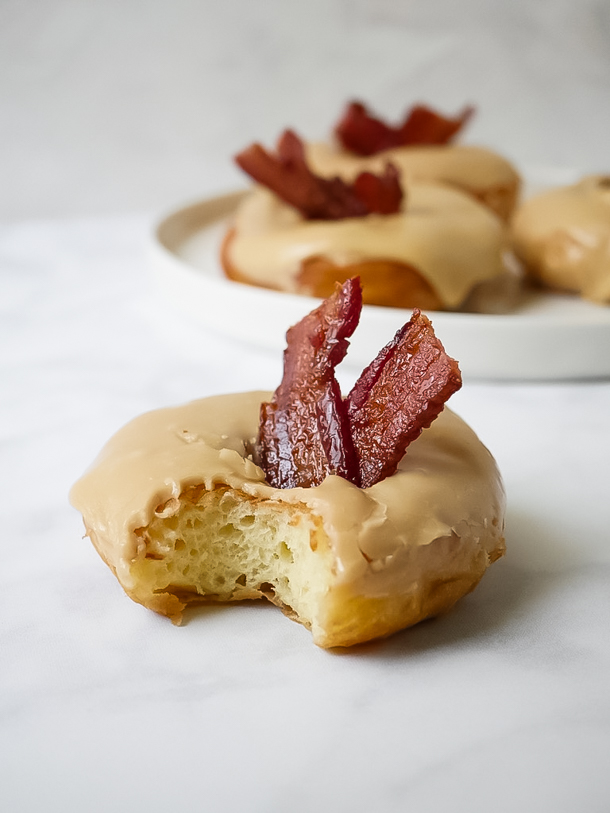
One of the last doughnuts I had while visiting the park this year was the Maple Bacon Doughnut, and let me tell you, the combination of sweet maple and salty bacon was *chef’s kiss*. I love sweet and salty treat combos, but I get it’s not for everyone (my husband picked all the bacon off and ate it separately). But I urge you to try the combo once, because it’s not just crispy bacon on top, it’s lacquered bacon and it gives another maple dimension to the doughnut.
These are yeasted doughnuts so they require two rises, but they also make the most fluffiest, softest doughnuts and it’s worth the time you put in. However, if yeast is not available to you right now, or the time is not there, you could also bake a batch (like these doughnuts!) or even just buy some plain doughnuts and decorate. We’ve got all the recipes below for every component, so choose whatever option works for you.
![]() I would not recommend that kids get involved for the actual frying part of the doughnut making, but mixing, shaping and decorating are all ways they can get involved. Although my kids just wanted to dip the bacon in the glaze.
I would not recommend that kids get involved for the actual frying part of the doughnut making, but mixing, shaping and decorating are all ways they can get involved. Although my kids just wanted to dip the bacon in the glaze.
TIP: Now, if making homemade doughnuts seems like a chore, please let me assure you it’s not! Hope on over to our Instagram account and head to our doughnut making highlight bubble for lots of tips. And remember to read all our tips below in the notes section of the recipe card. Also, if you want doughnuts in the morning, make the dough up the night before! Here’s the run down from our Churro Gears post…
Don’t wake up at 4am for breakfast doughnuts! Start them the night before!
- The night before, mix up the dough and instead of having it sit out to double in size for an hour and a half, cover and refrigerate it at least 8 hours and up to 12.
- The next day, take them out of the fridge, let the dough sit for 5 minutes uncovered, and then roll out and proceed with making the doughnuts.
- Once shaped, doughnuts need to rise for 45 minutes before frying off. So, during this time you can brew some coffee, scroll Instagram, make lunches, heat the oil, and whatever else eats up all that precious morning time every day.
- You should definitely though start heating the oil around 15-20 minutes before your timer goes off. I start on high to get it warmed up quickly in my dutch oven, and then ease on down to medium-high or medium at around 320°f or so. Otherwise it can reach temp and then get too hot and you don’t want that to happen.
- And from there you’ll start frying off doughnuts and have them ready to eat within 10 minutes!
Have a magical weekend everyone! And if you try these in an air fryer, let me know how they turn out (I still haven’t bought one yet…).
Print
Jolly Holiday Maple Bacon Doughnuts
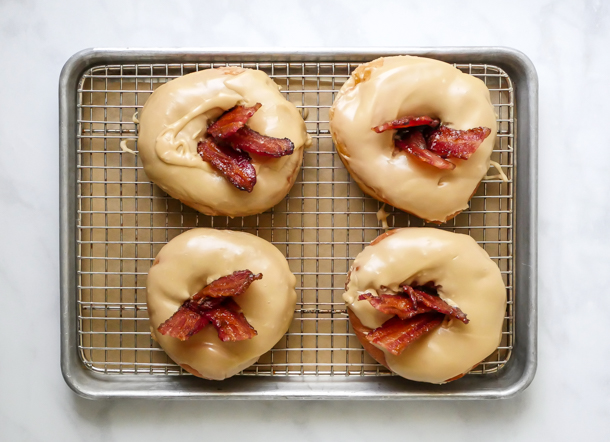
- Yield: 4 Maple Bacon Doughnuts 1x
Description
This sweet and salty breakfast treat combines rich maple glaze and lacquered bacon on the softest yeast dougnut. A Disneyland-inspired treat.
Ingredients
For the doughnuts:
- 3/4 teaspoon active dry yeast (not rapid rise)
- 1 tablespoon warm water (around 110°f)
- 1 cup (120 grams) all-purpose flour
- 1/4 cup warmed whole milk, or milk alternative of your choice (see notes below)
- 1 tablespoon unsalted butter, softened
- 1 large egg yolk
- 2 teaspoons granulated sugar
- 1/2 teaspoon kosher salt
- 4 cups neutral oil like avocado or canola
For the lacquered bacon:
- 4 strips bacon
- 1/4 cup maple syrup
For the maple glaze:
- 1/3 cup maple syrup (I used a robust grade B for a richer flavor)
- 1 tablespoon butter, unsalted
- 1 cup powdered sugar
- splash of cream or milk
Specialty Tools:
Instructions
For the doughnuts:
- Mix together yeast and warm water in a small bowl. Let sit for five minutes until bubbles form on top (if bubbles do not form, throw away and try again. Your yeast might be too old, or your water too hot/cold to activate yeast).
- While yeast sits, in the bowl of a stand mixer or a freestanding large bowl with a hand mixer, combine the flour, milk, butter, egg yolk, sugar and salt. Add in yeast mixture.
- Stir until just combined and then attach a dough hook and mix in the stand mixer on low until dough comes together. Then increase speed to high and mix for 3 more minutes. Alternatively, you can knead dough by hand for 5-7 minutes.
- Remove dough from the dough hook and let sit in the bowl, covered, at room temperature, for one hour until dough has doubled in size. (It will be done rising once you can leave an indentation in the dough with your finger and it doesn’t spring back)
- Next, sprinkle flour onto your counter and divide your dough into four equal pieces.
- Roll each segment into balls, and then shape them by either making a hole through them with your finger, or flattening into a circle and using a 1-1/4″ circle cutter to make a center hole, and let rise again for 30 minutes covered with a tea towel.
- About 20 minutes before the second rise is complete, heat oil in a dutch oven with a candy thermometer attached.
- When the oil reaches 350°f, carefully lower the dough into the hot oil. You can fry two to three doughnuts at a time in a wide dutch oven.
- Fry on each side about one minute. Then remove with a spider or slotted spoon onto a cooling rack with paper towels underneath. Let temperature in the pot come back to 350°f before frying next batch.
- Let doughnuts come to room temperature before glazing and filling.
For the lacquered bacon:
- Heat oven to 350°f.
- Cover the bottom of a sheet pan with foil and place a grate over the top. Set aside.
- In a bowl wide enough to accommodate the bacon, place bacon inside and then pour the maple syrup over them.
- Use your hands to massage the maple syrup into the bacon and to ensure all of the bacon is covered in the syrup.
- Lay the pieces of bacon flat on the grate and move into the oven.
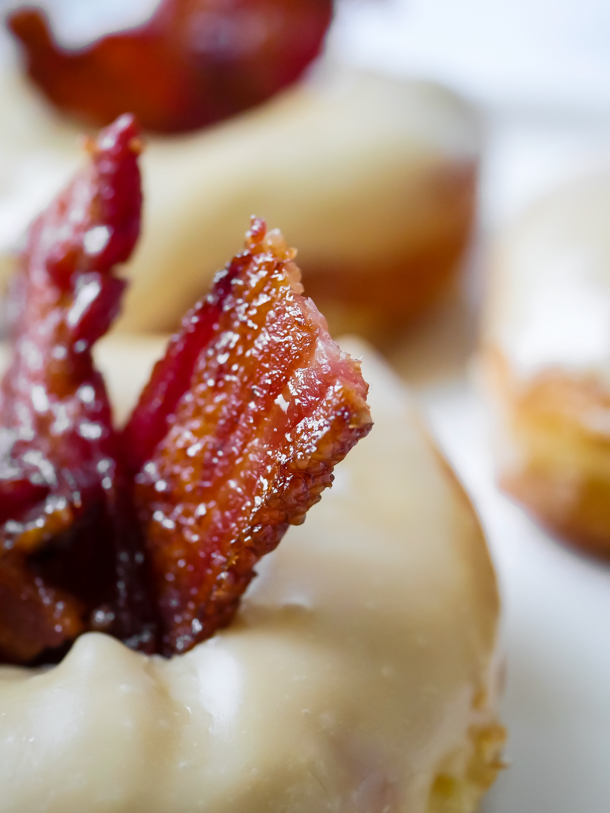
- Bake for 20 minutes (starting to check at 18 to make sure it is not burning) until crisp and shiny.
- Remove from the oven and let cool. Then chop into 1-1/2″ sections. Set aside.
For the maple glaze:
- In a small sauce pan, melt the maple syrup and butter together.
- Remove from the heat and add in the powdered sugar. Mix until smooth. If too thick, add a splash of milk or cream.
- Move back to the stove on the lowest setting to keep warm.
To assemble the doughnuts:
- Dip a doughnut top into the maple glaze.
- Add pieces of bacon to the center.
- Set aside and repeat on remaining doughnuts.
Notes
- This recipe can be doubled as is with no adjustments.
- Frying reaches temperatures of over 350°F so please use caution in the kitchen! Wear gloves, an apron, closed toe shoes, and use a candy thermometer. Keep children away when handling hot dishes.
- I made my batch of doughnuts with almond milk and they came out exactly the same as with cow milk, so feel free to use a milk alternative.
- If you choose to cut out your doughnuts instead of hand shaping, save the doughnut holes and fry those off as well! 40 seconds on side one, and then 30 seconds on the other side.
- Remember, bacon is a raw pork product, so clean your hands and any surfaces before handling cooked doughnuts.
- Doughnuts are best the day they are made, but can be placed in an air-tight container and eaten the next day (but no longer than that!).
- Extra glaze can be kept in an air-tight container in the refrigerator for up to 5 days and reheated on the stove with a splash of cream or milk.